


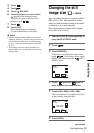
Dubbing/Editing
Dubbing/Editing
77
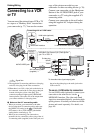
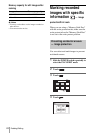
Recording pictures
from a VCR or TV
You can record and edit the picture or TV
programs from a VCR or TV on a tape or a
“Memory Stick Duo” inserted in your
camcorder. You can also record a scene as a
still image on a “Memory Stick Duo.”
Insert a cassette or a “Memory Stick Duo” for
recording before operation. When you
connect your camcorder to the other device
using the A/V connecting cable, select the
appropriate input signal in [VIDEO INPUT]
in the (STANDARD SET) menu
depending on the device to be connected
(p. 68).
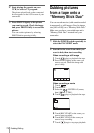
Recording a movie
1 Connect a playback device such as a
TV or VCR to your camcorder (p. 75).
2 If you are recording from a VCR,
insert a cassette.
3 Slide the POWER switch repeatedly to
select the PLAY/EDIT mode.
4 Operate your camcorder to record
movies.
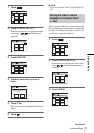
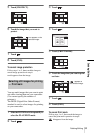
When recording on a tape
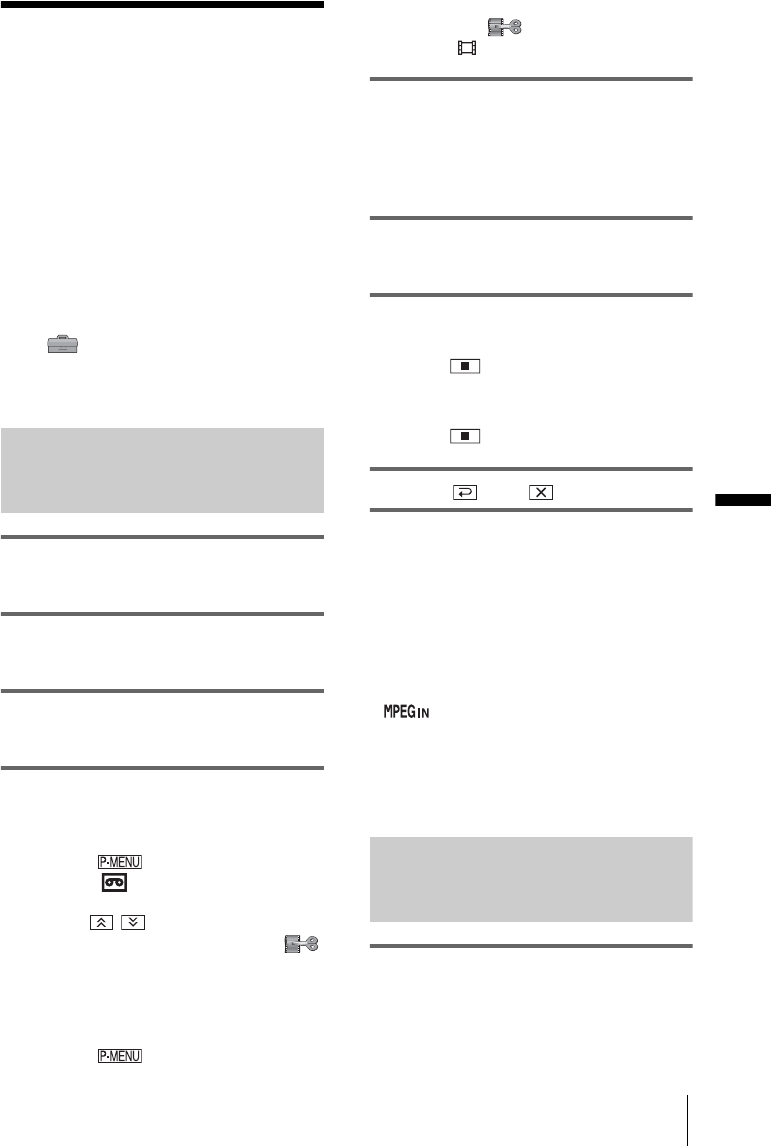
1 Touch .
2 Touch [ REC CTRL].
If the item is not displayed on the screen,
touch / . If you cannot find it,
touch MENU and select it from the
(EDIT/PLAY) menu.
3 Touch [REC PAUSE].
When recording on a “Memory Stick
Duo”
1 Touch .
2 Touch MENU.
3 Select the (EDIT/PLAY) menu,
then [ REC CTRL].
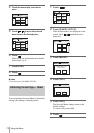
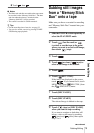
5 Start playing the cassette on your
VCR, or select a TV program.
The picture played on the connected device
appears on the LCD screen of your
camcorder.
6 Touch [REC START] at the point you
want to start recording.
7 Stop recording.
When recording on a tape
Touch (stop) or [REC PAUSE].
When recording on a “Memory Stick
Duo”
Touch (stop) or [REC STOP].
8 Touch , then .
b Note
• When recording pictures from a VCR using an
i.LINK cable, set your camcorder to playback or
playback pause before recording operation. When
you start recording with no signals input to your
camcorder, [Input a signal.] appears on the screen
and you can not record.
z Tips
• appears when you connect your camcorder
and other devices via an i.LINK cable. (This
indicator may also appear on your TV.)
• When you are recording a movie on a “Memory
Stick Duo,” you can skip step 4 and record a movie
by pressing START/STOP in step 6.
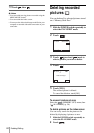
Recording still images
1 Follow the steps 1 to 3 in “Recording a
movie” (p. 77).
,continued