


19
Printing images
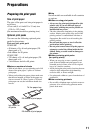
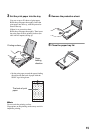
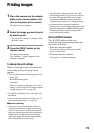
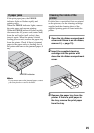
1 Place the camera and the adaptor
plate on the camera adaptor and
turn on the power of the camera.
The playback screen appears.
2 Select the image you want to print
by pressing
b/B.
• You can print an image by selecting it from
the index screen.
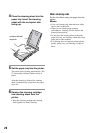
3 Press the PRINT button on the
remote control.
The image will be printed.
The “Printing...” screen disappears when
printing is complete.
To change the print settings
When you attempt to print from the menu
of the camera, the print setting screen
appears.
• You can select from the following print modes:
– Index print
– Border/Borderless print*
– Date print
* When you specify border print for 16:9 size
images, you can print the full images without
margins being cut off. (t page 30)
• For details on printing, refer to the Cyber-shot
Handbook.
• You can play back and review images on a TV
when printing the images. (t page 18)
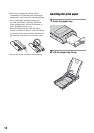
PNotes on printing
• Never move or turn off the printer while it is
printing; the ink ribbon or paper may become
stuck. In case you turn off the power, keep the
paper tray inserted and then turn on the printer.
If paper being printed remains in the printer,
remove the paper that emerged automatically
and resume printing from the step 1.
• The print paper emerges from the rear a few
times during printing. Do not touch or pull out
the paper that appeared. Make sure to spare
enough space behind the printer, such as by
using the paper protector, etc., during printing.
• If print paper runs out during continuous
printing or if you print with no print paper in the
paper tray, the printer’s ERROR indicator lights.
Feed the print paper without turning off the
power and resume printing.
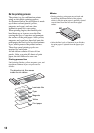
On the ACCESS indicator
The ACCESS indicator shows the
connection status between the printer and
the camera as follows:
• When the indication lights:
The connection between the printer and the
camera is established.
•
When the indication flashes:
The image to be printed is damaged.