24
GB
Setting the current time
The clock of the photo frame needs to be
adjusted in order to display an accurate time in
the clock and calendar view modes.
1 Press MENU.
The menu screen is displayed.
2 Press B/b to select the
(Settings) tab.
The settings screen is displayed.
Tip
You can use the B/b button only when a
memory card is inserted in the photo frame, an
external device is connected, or anything other
than the clock and calendar settings item
(page 30) are selected.
3 Press
v
/V
to select [Date/time
settings] and then press .
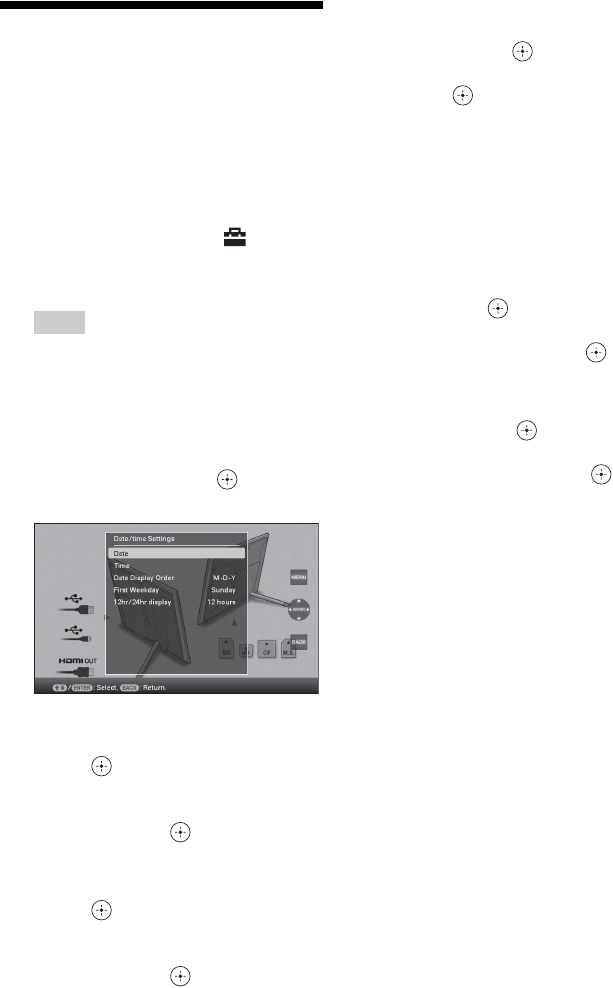
The Date/time settings screen is displayed.
4
Adjust the date.
1Press v/V to select [Date] and then
press .
2Press B/b to select year, month, and
day, and then press v /V to select a
value, then press .
5
Adjust the time.
1Press v/V to select [Time] and then
press .
2Press B/b to select hour, minute, and
second, and then press v/V to select a
value, then press .
6 Select the format of the date.
1Press
v
/V
to select [Date Display Order]
and then press
.
2Press v/V
to select a format and then
press
.
•Y-M-D
• M-D-Y
•D-M-Y
7 Set the day to start the week for the
calendar.
You can set the day that appears on the
very left when the calendar is displayed.
1Press v/V to select [First Weekday] and
then press .
2Press v/V to select
[Sunday] or
[Monday]
and then press .
8
Select the time display.
1Press
v
/V to select [12hr/24hr display]
and then press .
2Press
v
/V to select [12 hours] or
[24 hours] and then press .
9 Press MENU.
The menu screen is closed.


