45
GB
Advanced operations
Specifying the playback
device
You can specify the memory card or external
device to be displayed.
1 Press MENU.
The menu is displayed.
2 Press B/b to select the (Select
device) tab.
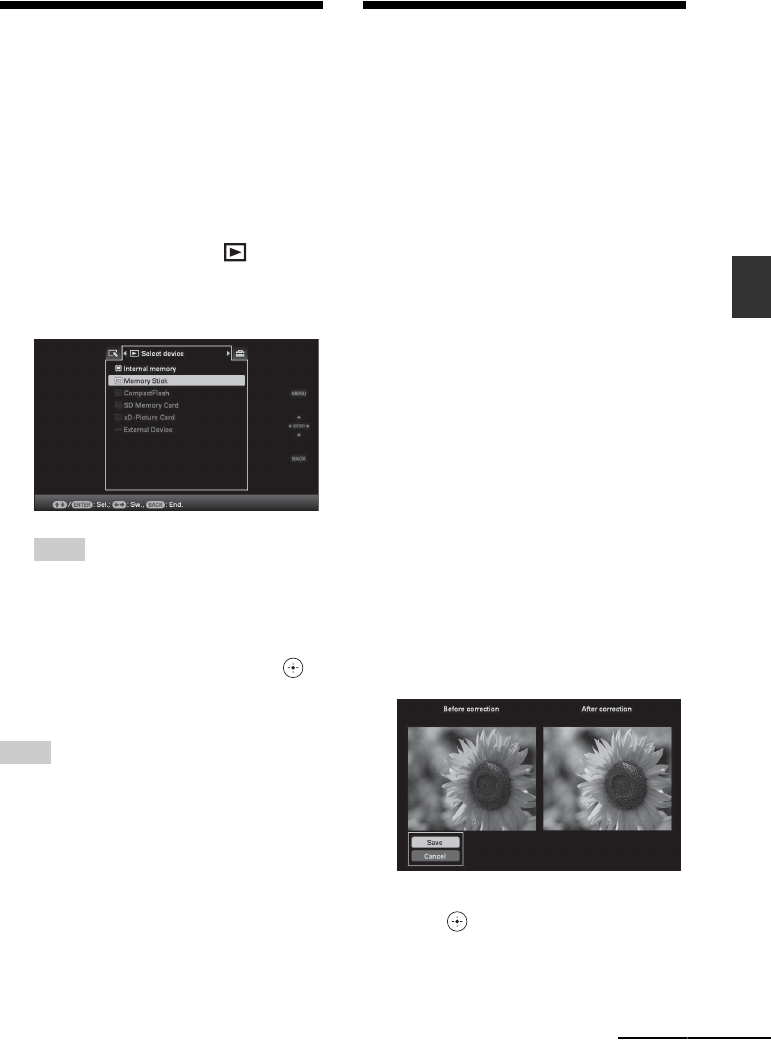
The screen used for selecting a device is
displayed.
Tip
Insert the device at this point during the
procedure if the device you want to use cannot
be selected.
3 Press v/V to select the device you
want to display and then press .
The images of the selected device are
displayed.
Tips
• You can also use the MENU button on the photo
frame.
• The search is cancelled automatically when you
change the playback device during a search.
Auto Touch-up
What is Auto Touch-up?
Auto Touch-up is a feature for performing the
following six corrections automatically at the
same time. Refer to page 60 for details on each
level.
Red-eye Correction: Automatically corrects red-eye
caused by the flash.
Exposure Correction: Adjusts the brightness by
using the face detect function.
Focus Correction: Improves the focus of an out-of-
focus image to create a better-focused image.
WB Correction: Corrects a color which is reddish or
bluish due to the light source at the time the photo
was taken (lighting), to a color suitable for that light
source.
Auto Dodging: Brightens the portion which is dark,
automatically. Keeps the brightness of the portion
which is bright.
Skin Smoothing: Automatically recognizes face
parts, and adjusts the skin tone for a smoother look.
1 Display the image you want to
correct as single image display.
2 Press Auto Touch-up.
Correction of the selected image begins,
and then the image before correction
appears on the left, and the corrected
image appears on the right.
3 Press v/V to select [Save] and then
press .
The corrected image is saved as a new
image.
Continued


