


62
Back Space Editing
Chapter 4 Recording and Playback
Back Space Editing
This section describes the steps for recording several
scenes continuously.
1
Follow steps in “Basic Procedure for Shooting” on
page 47 to begin recording.
To continue the time code that has been recorded on
the tape, set the F-RUN/SET/R-RUN switch to R-
RUN.
For details of time codes, see “Setting the time data”
on page 58.
2
When you have finished recording a scene, press the
REC button on the camcorder or the VTR button on
the lens.
This pauses the recording operation.
Do not do any of the following before the next scene
is shot as it will interrupt the recording (the
recording will not be continuous).
• Remove the cassette.
• Transport the tape (play, rewind, fast forward).
• Replace the battery when the camcorder is powered.
3
When you are ready to shoot the next scene, again
press the REC button on the camcorder or the VTR
button on the lens.
This restarts the recording operation.
4
Repeat steps 2 and 3 for each scene to be shot.
If there is a long period before shooting
the next scene
Once put the camcorder into recording pause mode, it
waits a certain (user-definable) period of time and then
automatically switches to standby-off mode. When the
camcorder is in standby-off mode, it takes time for the
recording to start after pressing the REC button.
You can set the time out value for automatic switching to
standby-off mode from 1 minute, 3 minutes, or 5 minutes,
on the VTR MODE page of the MAINTENANCE menu
(page 85).
Starting back space editing at any
tape position
This section describes the steps for inserting a new scene
at any desired position on the tape.
The following steps can also be used to restart recording
after an interruption has occurred.
1
Insert the cassette containing the previous recording.
2
Perform steps 2 to 11 in “Basic Procedure for
Shooting” on page 47.
To continue from the last time code of the previous
recording, set the PRESET/REGEN/CLOCK switch
to REGEN.
For details about time codes, see “Setting the time
data” on page 58.
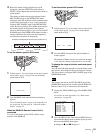
3
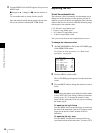
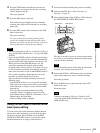
Press the PLAY button.
The recorded contents are displayed on the viewfinder
screen.
Note
To Procedure
Restart an interrupted
recording (see step 2
above)
See next section “Starting back
space editing at any tape
position” on page 62.
Check the recorded
contents
See “Checking the recorded
contents immediately after
shooting — Recording Review”
on page 66.
Stop recording Press the REC button on the
camcorder or the VTR button on
the lens, then press the STOP
button.
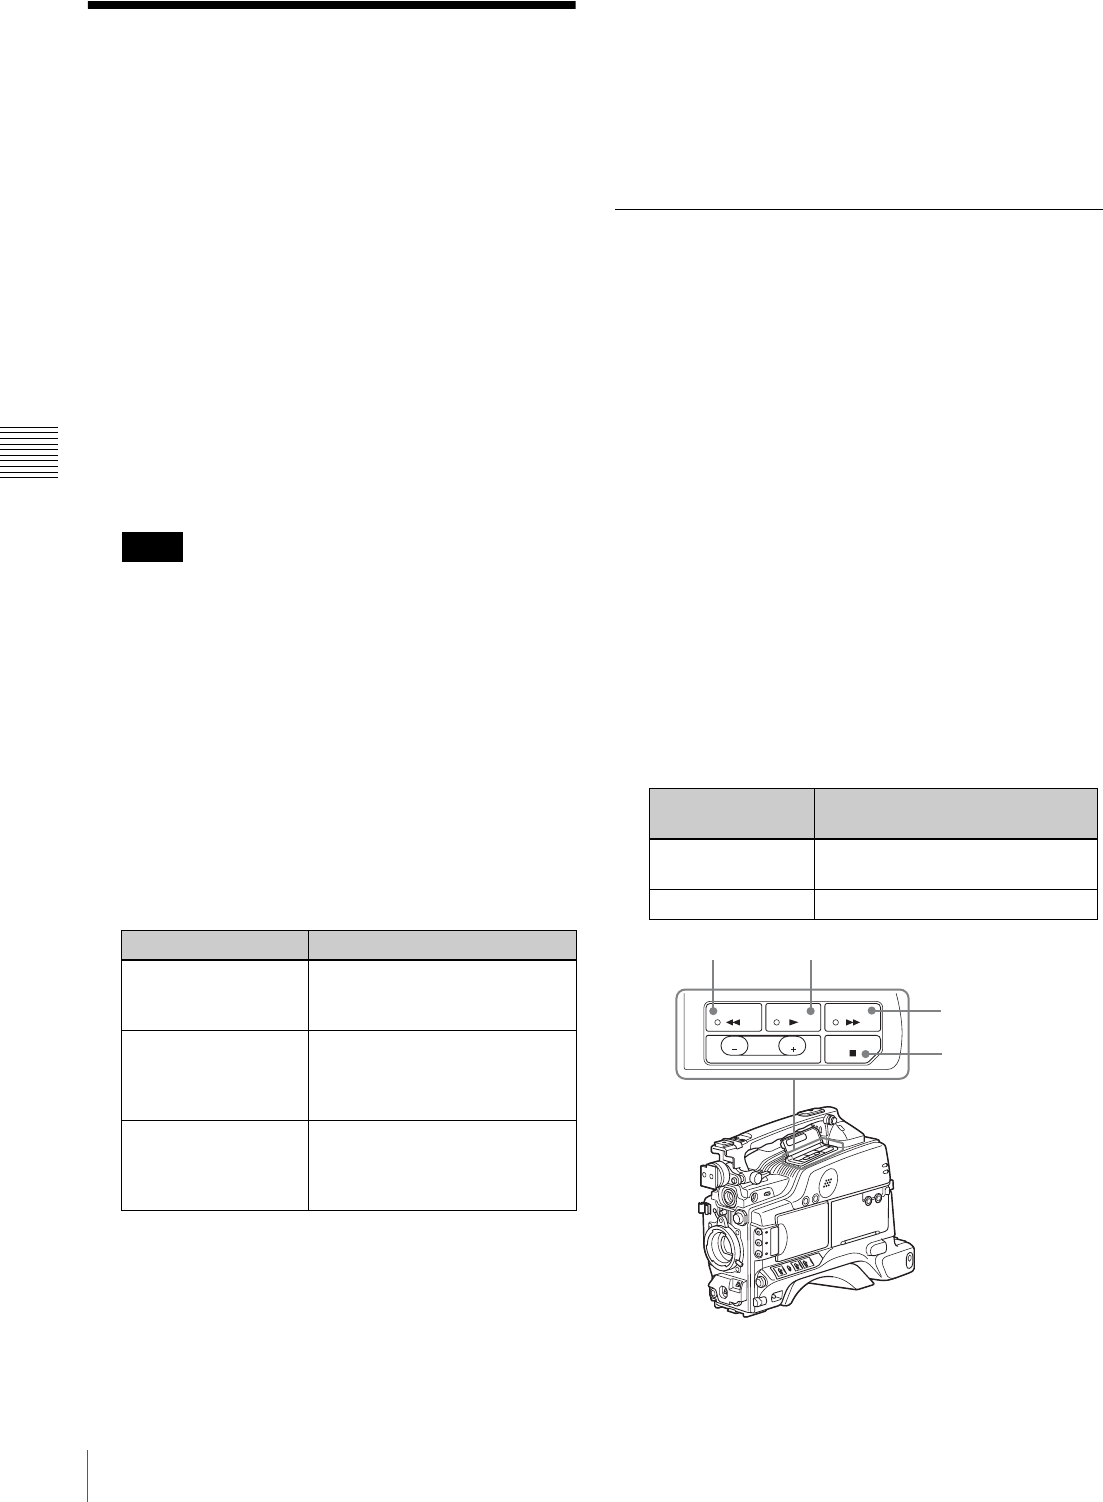
Operation at
playback
Procedure
Fast forward the
tape
Press the F FWD button.
Rewind the tape Press the REW button.
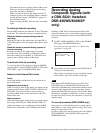
EDIT
STOP
REV
REW PLAY F FWD
FWD
SEARCH
STOP button
REW button
F FWD button
PLAY button