


74
When [Recording...] disappears, recording is
finished.
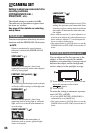
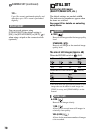
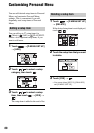
To select one of the following start points for
recording by pressing START/STOP, touch
[SET].
• Sounds cannot be recorded.
To cancel [SMTH SLW REC], select [END].
See page 92.
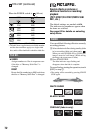
You can view pictures on a computer when
connecting your camcorder to your computer
with the USB cable or connect to the
PictBridge compliant printer (p.94).
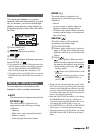
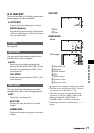
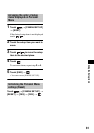
COMPUTER
Select this when viewing pictures in the disc
on a Windows computer and copying to the
computer with the supplied software.
COMPUTER
Copies still images in the “Memory Stick
Duo.”
PRINT
Prints still images in the disc using the
PictBridge compliant printer.
PRINT
Prints still images in the “Memory Stick
Duo” using the PictBridge compliant
printer.
• [USB SELECT] automatically appears on the
screen in the following:
– when PLAY/EDIT is pressed while
connecting your camcorder to another device
with the USB cable.
– when connecting your camcorder to another
device with the USB cable on the playback
screen.
• For the detail of a computer connection, see “First
Step Guide” in the supplied CD-ROM.
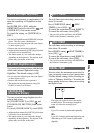
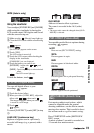
The default setting is [ON] so that you can
view the demonstration in about 10 minutes,
after you have set the POWER switch to
(Movie) without inserting a disc or “Memory
Stick Duo.”
• The demonstration will be suspended in
situations such as those described below.
– when you touch the screen during the
demonstration. (The demonstration starts again
in about 10 minutes.)
– when you slide the disc cover OPEN switch.
– when the “Memory Stick Duo” is inserted.
– when the POWER switch is set to (Still).
– when you set the NIGHTSHOT switch to ON
(p.43).
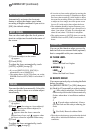
REC CTRL
USB SELECT
* The default setting
[3sec AFTER]*
[3sec BEFORE]
DEMO MODE
PICT.APPLI. (continued)