20
Settings and Adjustments
Using the Settings
Displays
Select (Setup) on the home menu when
you need to change the settings of the player.
The default settings are underlined.
1 Select (Setup) on the home menu
using </,.
2 Select the setup category icon using
M/m, and press ENTER.
Network Update
Select “OK” to update the player’s software
via the network.
z
• We recommend the network update every 2
months or so.
• For information about update functions, visit the
following website:
http://esupport.sony.com/
Screen Settings
3D Output Setting
Auto: Normally select this.
Off: Select this to display all content in 2D.
TV Type
16:9: Select this when connecting to a wide-
screen TV or a TV with a wide mode
function.
4:3: Select this when connecting to a 4:3
screen TV without a wide mode function.
Screen Format
Original: Select this when connecting to a TV
with a wide mode function. Displays a
4:3 screen picture in 16:9 aspect ratio
even on a wide-screen TV.
Fixed Aspect Ratio: Changes the picture size
to fit the screen size with the original
picture aspect ratio.
Cinema Conversion Mode
Auto: Normally select this. The player
automatically detects whether the
material is video-based or film-based,
and switches to the appropriate
conversion method.
Video: The conversion method suited for
video-based material will always be
selected regardless of the material.
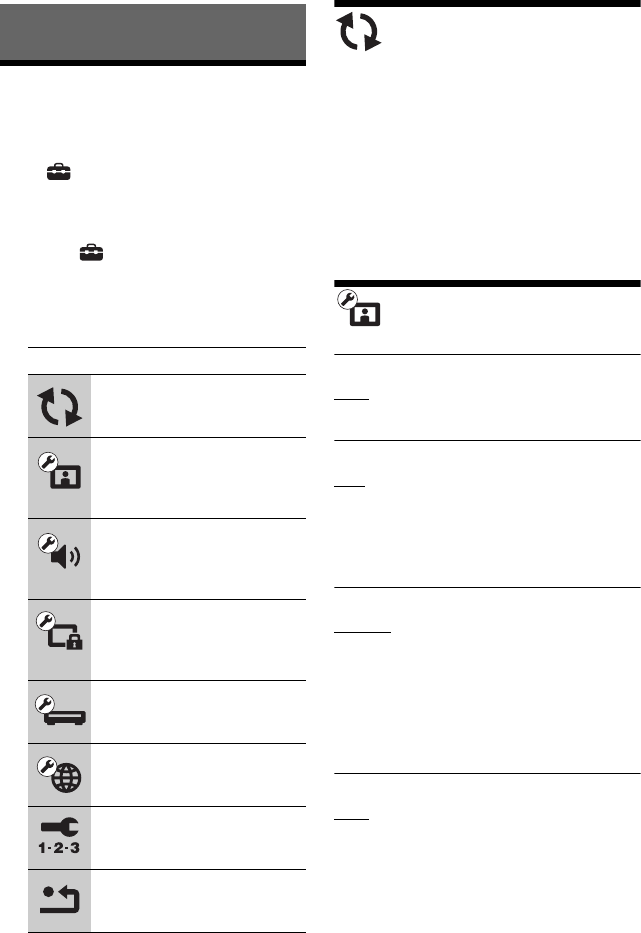
Icon Explanation
Network Update (page 20)
Updates the software of the
player.
Screen Settings (page 20)
Makes the video settings
according to the type of
connecting jacks.
Audio Settings (page 21)
Makes the audio settings
according to the type of
connecting jacks.
Parental Control Settings
(page 22)
Makes detailed settings for the
Parental Control function.
System Settings (page 22)
Makes the player-related
settings.
Network Settings (page 23)
Makes detailed settings for the
Internet and network.
Easy Setup (page 23)
Re-runs the Easy Setup to make
the basic settings.
Resetting (page 23)
Resets the player to the factory
settings.


