


Quick Start Guide
11
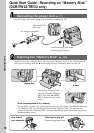
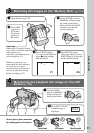
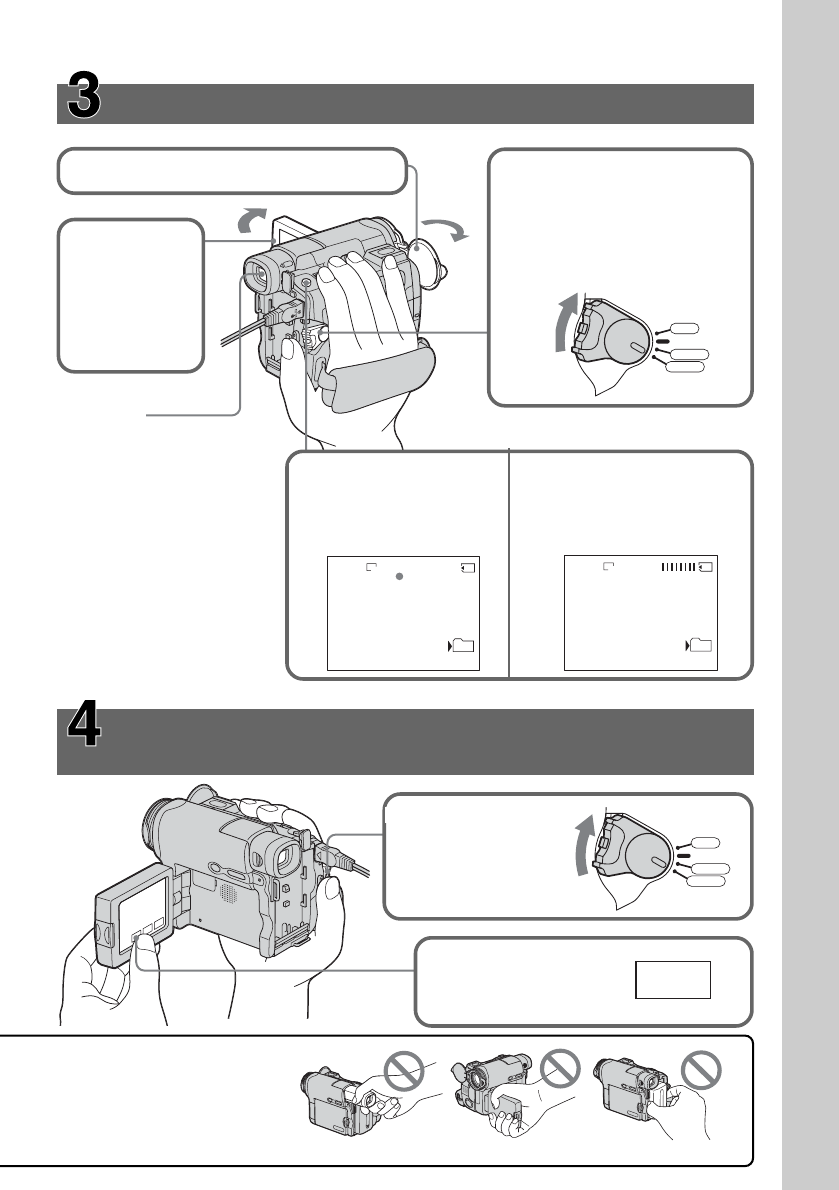
Recording still images on the “Memory Stick”
(p. 114)
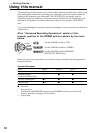
Monitoring the playback still image on the LCD
screen (p. 135)
1Set the POWER
switch to MEMORY
while pressing the
small green button.
2Press PLAY. The last
recorded image is
displayed.
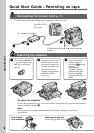
1Open the lens cap (p. 25).
5Press PHOTO deeply.
The image when you press
PHOTO deeply is recorded
on the "Memory Stick."
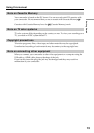
Viewfinder
When the LCD panel is closed,
pull out the viewfinder and look
at the picture in it.
Adjust the viewfinder lens to
your eyesight (p. 31).
3Press OPEN
to open the
LCD panel.
The picture
appears on
the screen.
2Set the POWER switch to
MEMORY while pressing
the small green button.
Make sure that the LOCK
switch is set to the left
(unlock) position.
4Press PHOTO lightly.
You can record when the
green z stops flashing
and remains lit.
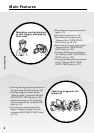
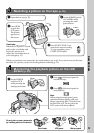
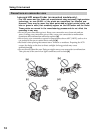
Do not pick up your camcorder
by holding parts as illustrated.
Viewfinder LCD panel Battery pack
VCR
OFF
(
CHG
)
POWER
CAMERA
MEMORY
12
FINE
640
101
101
FINE
640
When you purchase your
camcorder, the clock setting is
set to off. If you want to
record the date and time for a
picture, set the clock setting
before recording (p. 22).
VCR
OFF
(
CHG
)
POWER
CAMERA
MEMORY
PLAY