


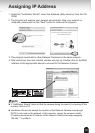

13
Hardware Installation
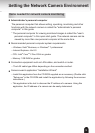
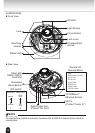
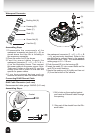
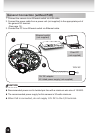
Bottom of the
Camera
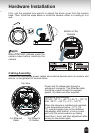
First, use the supplied torx wrench to detach the dome cover from the camera
base. Then, follow the steps below to install the camera; either to a ceiling or to a
wall.
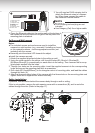
Sample
Connect the appropriate power cables and external devices such as sensors and
alarms, to the general I/O terminal block.
Cabling Assembly
For Ethernet
Cable
For Power &
IO Cables
Top View
Power and IO cables pass through a
waterproof connector. The Ethernet cable
should be routed through the supplied
gasket. All cables are user-supplied.
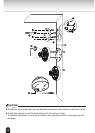
Operating environment:
12V DC: –30 °C ~ +50 °C {–22 °F ~ 122 °F}
PoE: -20°C ~ +50 °C {–4 °F ~ 122 °F}
When the camera is installed and operated
in low temperatures below –10 °C {14
°F}, normal images may not be obtained
immediately after startup. In such a case,
wait until the camera warms up (taking
more than 1 hour) and start adjustment after
turning on the power again.
NOTE
Record the MAC address under the
camera base before installing the
camera.