VBrick Appliance Getting Started Guide 1
Chapter 1
Appliance Setup
Topics in this chapter
Setup Overview . . . . . . . . . . . . . . . . . . . . . . . . . . . . . . . . . . . . . . . . . . . . . . . . . . . . . . . . . . . .1
Appliance Setup . . . . . . . . . . . . . . . . . . . . . . . . . . . . . . . . . . . . . . . . . . . . . . . . . . . . . . . . . . . .3
This chapter explains how to set up and configure all VBrick MPEG and WM network
appliances. The information here is more detailed than the Quick Start Guide that came with
the appliance. You can use this document or the Quick Start Guide to set up and configure
an appliance. Before you do anything else, be sure to unpack and inspect the VBrick
appliance. Each shipment comes with:
• MPEG-2, MPEG-4, or WM network appliance.
•MPEG-2/MPEG-4 and WM Quick Start Guide.
•Power supply.
• Product CD that introduces the appliance and has all documentation.
• Serial port cable and adapter.
• IR Remote Control unit.
• A cable and adapter kit, which includes an Ethernet cable.
Setup Overview
The VBrick Appliance is shipped with all appropriate cables and a handheld IR remote
control unit. Your appliance has two available slots. Depending on what options you
purchased, you may have a single encoder, a dual encoder, or a mixed model (for example one
encoder and one decoder). You can also mix and match formats with an MPEG-2 encoder,
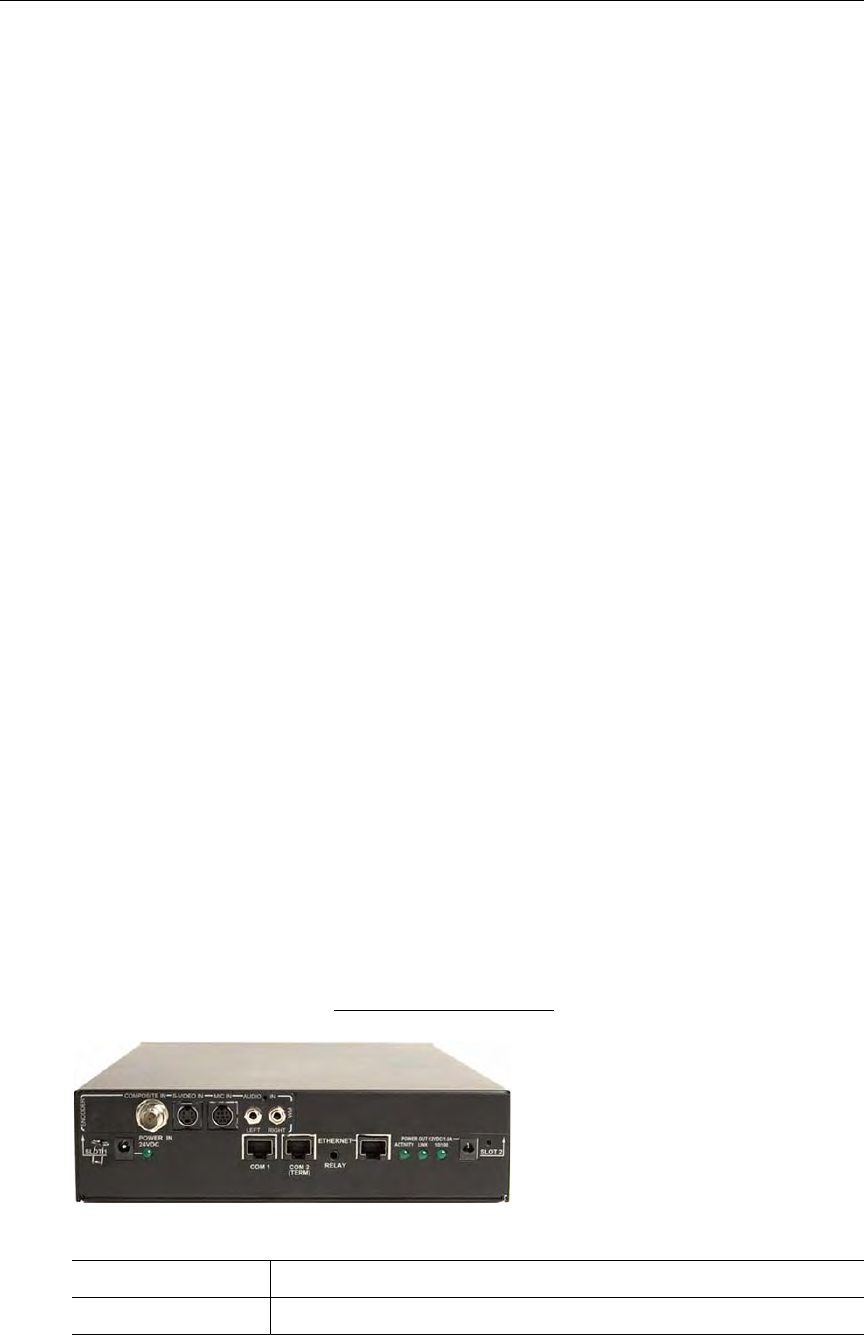
for example, in Slot1 and a WM encoder in Slot2. The following picture shows an appliance
configured with Slot1 on the upper left side. A second encoder or decoder slot would be
configured in Slot2 on the right. The appliance(s) you actually purchased may vary from this
illustration depending on the type and configuration but the basic elements listed below are
common to all appliances. See VBrick Appliance Models
on page 65 for more information.
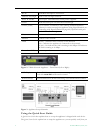
Figure 1. VBrick Network Appliance – Rear Panel (Left to Right)
Composite In Composite video cable in.
S-Video In S-Video cable in.


