


41
10. On PC only: Let the “Vivitar Experience Image Manager” installer create the folder to where
the program will be installed, and then click “Install”.
11. Please wait while the application continues the installation process on your computer.
12. On PC: Click the “Close” button when the installation is complete.
On Macintosh: Click the “Quit” button when the installation is complete.
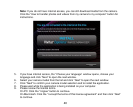
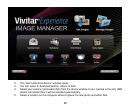
13. Click the “Launch Vivitar Experience Image Manager” to open the application or close the
window and run the Vivitar Experience Image Manager from your computer.
Connect your camera to the computer
1. Use the USB cable that came with your camera to connect your camera to your computer.
2. Turn on the camera.
3. MSDC will appear on the LCD indicating that you are in the USB mode.
4. The first time you connect the device to the computer you will have to wait a few seconds
until the computer recognizes the device.
Get photos and videos from your camera to your computer
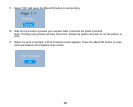
An SD card needs to be inserted. Do not disconnect the cable during transfer. Doing so will cancel
the transfer of any files on their way to your computer.
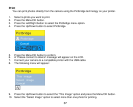
1. Select the “Get images” button from the Main menu.