VIVOTEK
User's Manual - 57
■ Refresh: Click this button to refresh all current connections.
■ Add to deny list: You can select entries from the Connection Status list and add them to the Deny List
to deny access. Please note that those checked connections will only be disconnected temporarily
and will automatically try to re-link again (IE Explore or Quick Time Player). If you want to enable the
denied list, please check Enable access list ltering and click Save in the rst column.
■ Disconnect: If you want to break off the current connections, please select them and click this
button. Please note that those checked connections will only be disconnected temporarily and will
automatically try to re-link again (IE Explore or Quick Time Player).
Enable access list ltering: Check this item and click Save if you want to enable the access list ltering
function.
Filter Type
Select Allow or Deny as the lter type. If you choose Allow Type, only those clients whose IP addresses
are on the Access List below can access the Network Camera, and the others cannot access. On the
contrary, if you choose Deny Type, those clients whose IP addresses are on the Access List below will
not be allowed to access the Network Camera, and the others can access.
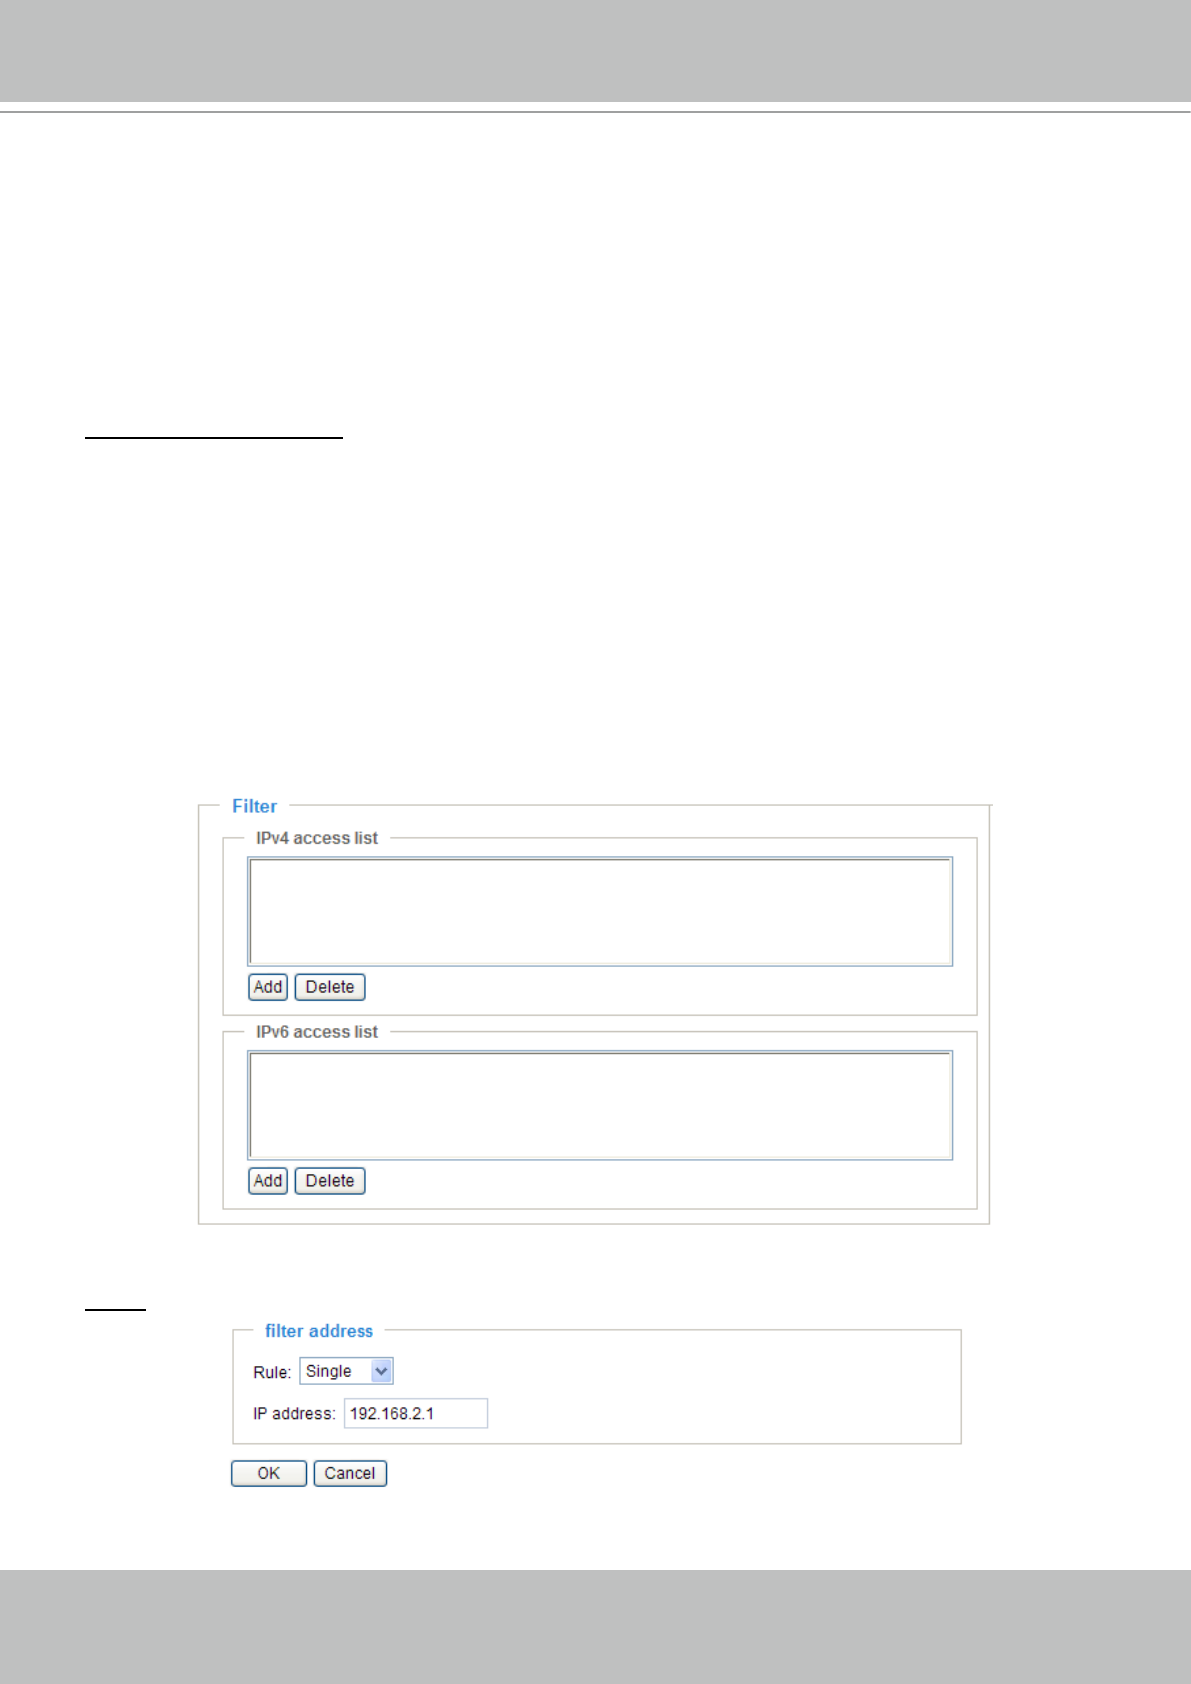
Filter
Then you can add a rule to the following Access List. Please note that the IPv6 access list column will not
be displayed unless you enable IPv6 on the Network page. For more information about IPv6 Settings,
please refer to page 41 for detailed information.
There are three types of rules:
Single: This rule allows the user to add an IP address to the Allowed/Denied list.
For example:


