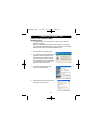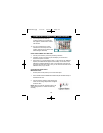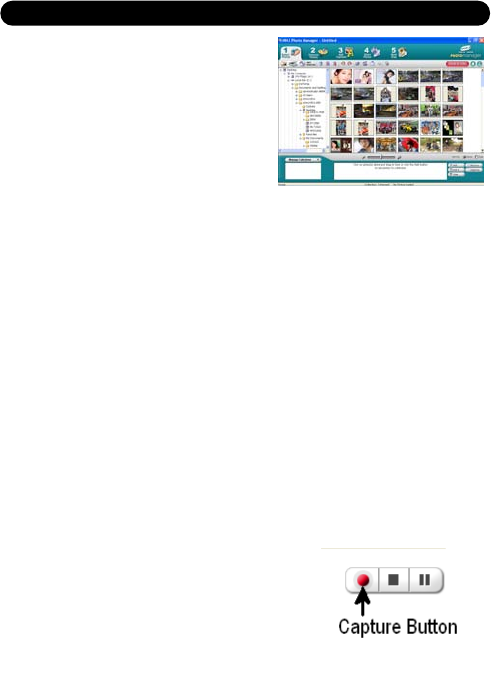
9 . All of the pictures and video clip
continuous images you imported will
then appear in “Select Photos” mode’s
main window.
1 0 . You can now follow the on-screen
instructions to enhance photos, add
captions, share photos or use the “NHJ
Photo Manager” Wo r k s h o p !
USING YOUR CAMERAAS AWEB CAM:
1 . Connect your camera to your PCas previously instructed.
2 . If desired, connect a microphone (not included) to your audio card’s
external microphone connector.
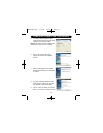
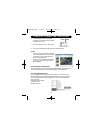
3 . Follow steps 1 to 4 as described on page 17. Then Click on the "We b C a m
Express”; the WEB CAM will appear on the desktop. For the uses of the
WebCAM or additional assistance, click on the "Show Me How" button at
the upper right side of the screen. Then you can view the instruction for the
WebCam on the pop up window.
CAPTURING AVI VIDEO FILES:
I M P O R TANT NOTE:
• AVI files (short movies) take up a lot of hard drive space.
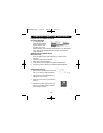
1 . Follow 'USING YOUR CAMERAAS A WEB CAM' (as described above) to
activate the web cam.
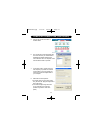
2 . Click the “Capture” button to start recording the
video. The recording’s elapsed time will appear
under the video.
NOTE: When you click the "Capture" button, it will
start capturing video for 1 minute and then stop
r e c o r d i n g .
18
COMPUTER CONNECTION (CONTINUED)
DDC9000P.qxp 7/15/05 10:40 AM Page 18


