


-
43
-
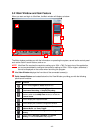
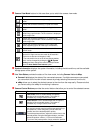
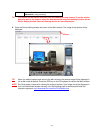
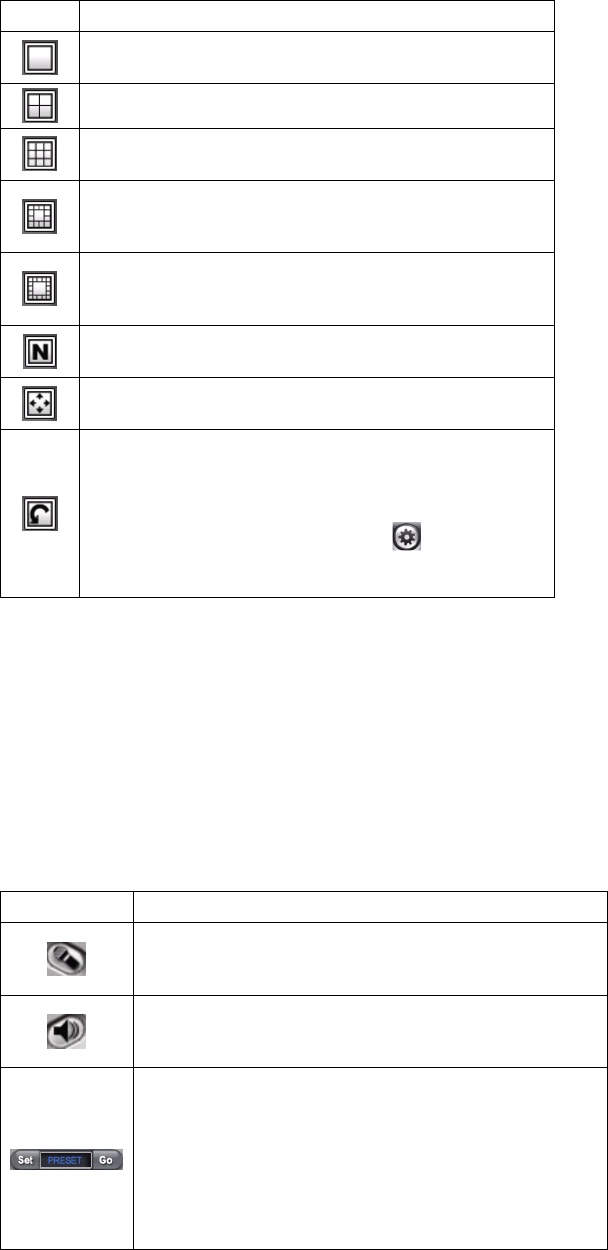
Camera View Mode buttons in this area allow you to switch the camera view mode.
Button Function
Display the connected camera(s) in single camera view
mode.
Display the connected camera(s) in quad view mode.
Display the connected camera(s) in 3 x 3 grid view
mode.
Display the connected camera(s) in 13-camera view
mode using a split window. The first camera is displayed
as the major view.
Display the connected camera(s) in 17-camera view
mode using a split window. The first camera is displayed
as the major view.
Display the connected camera(s) in N x N grid view
mode, supporting up to 36 views (up to 32 cameras).
Display the live view of the selected camera in full
screen mode.
Automatically switch the live view of each connected
cameras in single camera view mode by 30 seconds*.
Click once to start and click again to stop.
* The auto-switch time is set as 30 seconds by default,
which can be changed by clicking the
System
Setting and then change the value from the pull-down
list of the Auto Switch time interval option.
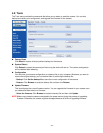
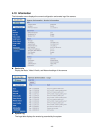
System Information displays the system information, including the date and time, and the available
storage space of the system.
Live View Status provides the status of live view mode, including Camera List and eMap.
Camera List displays the status of the connected cameras. If multiple cameras are connected,
you can switch to the live view of each camera by simply selecting the camera from the list.
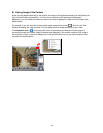
eMap allows you to select the desired camera to the view from the map easily. Please note that
you have to set up the eMap for monitoring in advance.
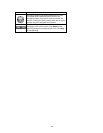
Camera Control Buttons provides the control buttons that allow you to control the selected camera.
Button Function
Talk On/Off. Click to enable/disable the speaker
function of the connected camera. This option is
available only in single camera view mode.
Listen On/Off. Click to enable/disable the microphone
function of the connected camera. This option is
available only in single camera view mode.
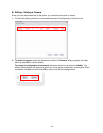
If the connected camera features pan/tilt functions, you
can use this control panel to set the preset positions (up
to 8 positions). Once configured, you can move the
camera lens to the desired position quickly.
To set the preset positions, adjust the camera lens to the
desired position using the Navigation buttons, and then
select the position number (1~8) from the Set button.
To move to the preset position, simply select the position