


26
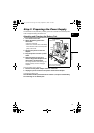
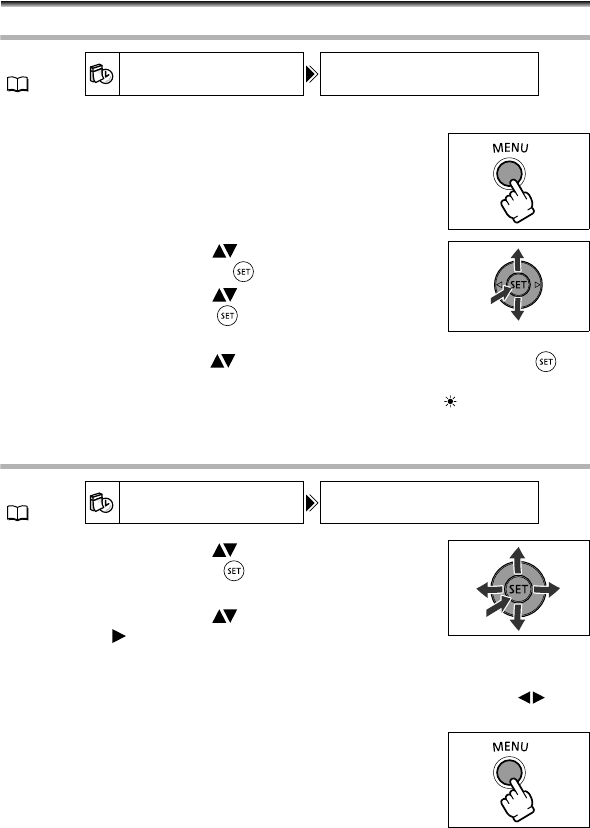
Step 6: Setting the Time Zone, Date
and Time
Setting the Time Zone/Daylight Saving Time
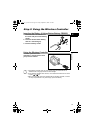
1. Turn on the camcorder (CAMERA or PLAY).
2. Press the MENU button to open the menu.
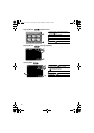
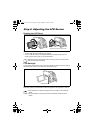
3. Use the omni selector ( ) to select the [D/TIME
SETUP] menu and press ( ).
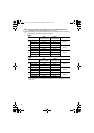
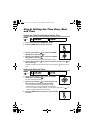
4. Use the omni selector ( ) to select the [T.ZONE/
DST] option and press ( ).
The time zone setting appears. The default setting is Paris.
5. Use the omni selector ( ) to select your time zone and press ( ) to
save the setting.
To adjust for daylight saving time, select the time zone with the mark next to the
area.
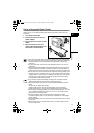
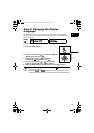
Setting the Date and Time
6. Use the omni selector ( ) to select the [DATE/
TIME] option and press ( ).
The year is displayed in orange.
7. Use the omni selector ( ) to select the year and
push it to ( ) to move to the month setting.
• The next part of the date/time is displayed in orange.
• Set the month, day, hours and minutes in the same way.
• If you do not need to change all settings, you can use the omni selector ( ) to
move to a specific setting you want to change.
8. Press the MENU button to close the menu and start
the clock.
MENU
(77)
D/TIME SETUP T.ZONE/DST
MENU
(77)
D/TIME SETUP DATE/TIME
DC 20_10_PAL-E.book Page 26 Friday, September 2, 2005 6:36 PM