Turn to appropriate page for a detailed explanation of each function.
2 CAM. MENU
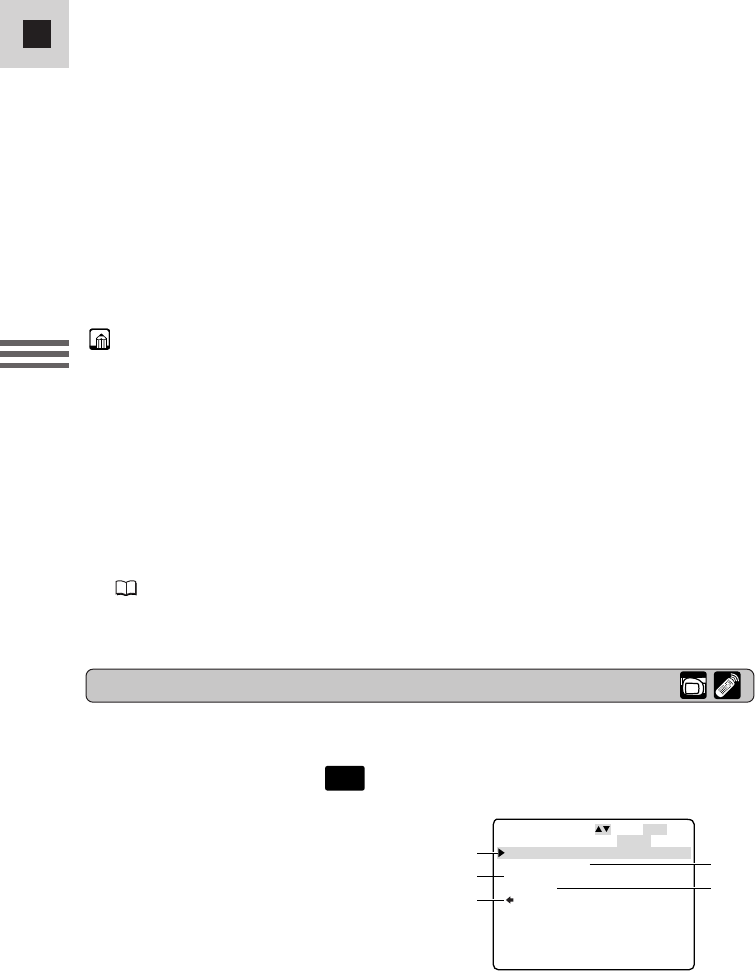
Set the POWER switch to . There are 4 submenus.
CAM.MENU SEL.SETSET
MENUCLOSE
CAM.SET UP
VCR SET UP
DISP.SET UP
SYSTEM
RETURN
1
3
5
2
4
List of Menus
40
E
Using the Full
Range of Features
6. Press the selector dial in to select.
• The function and its settings only appear.
7. Turn the selector dial and move the arrow to the desired setting.
• If you are setting a function other than the white balance or shutter speed,
the function will be set if you skip to step 11.
8. Press the selector dial in to select.
• The function is set and you return to the submenu.
9. Turn the selector dial and move the arrow to
bb
RETURN.
10.Press the selector dial in to select.
• You return to the main menu.
11.Press the MENU button.
• The main menu disappears.
Notes:
• Pressing the MENU button at any time closes the menu.
• Selecting b RETURN takes you back one menu, or closes the main menu.
• Items that are unavailable, due to the settings of other menu items, appear in
purple.
• You may often find it convenient to use the wireless controller to move around
the menus. Press its MENU button to open/close the menu and use the arrow
keys in place of turning the selector dial. Push the SET button to select.
• Pressing the start/stop button or the PHOTO button will close the menu and
start recording.
• You can display the menus on a connected TV screen by turning TV SCREEN
( 111) on through the menu or using the wireless controller’s TV SCREEN
button. See p. 32 for TV hookup instructions.
q To camera set up submenu
w To VCR set up submenu
e To display set up submenu
r To system submenu
t Close main menu
#3_ MV500/MV500i__E(38-75) 2/6/02 14:17 Page 40
