45
Shooting – The Basics
The Basics
z The lower indicator will light yellow when the
shutter button is pressed halfway.
z Shooting procedures are the same as for the
Mode (p. 33).
z Always use the LCD monitor to compose
images in macro mode. Shooting with the
viewfinder is possible, however, part of the
image may not appear in the actual shot
(p. 35).
z When the lens is zoomed out to the wide
angle end*
1
, the recordable area is approx.
60 x 44 mm (2.4 x 1.7 in.), and at telephoto
end*
2
, it is approx. 84 x 63 mm (3.3 x
2.5 in.).
When the zoom position is located between
the telephoto end and the wide angle end,
the distance between the front of the lens
and the subject will be the same as the
telephoto end.
z The exposure may not be optimal when the
flash is used in macro mode.
*
1
Closest focal distance.
*
2
Maximum optical telephoto setting.
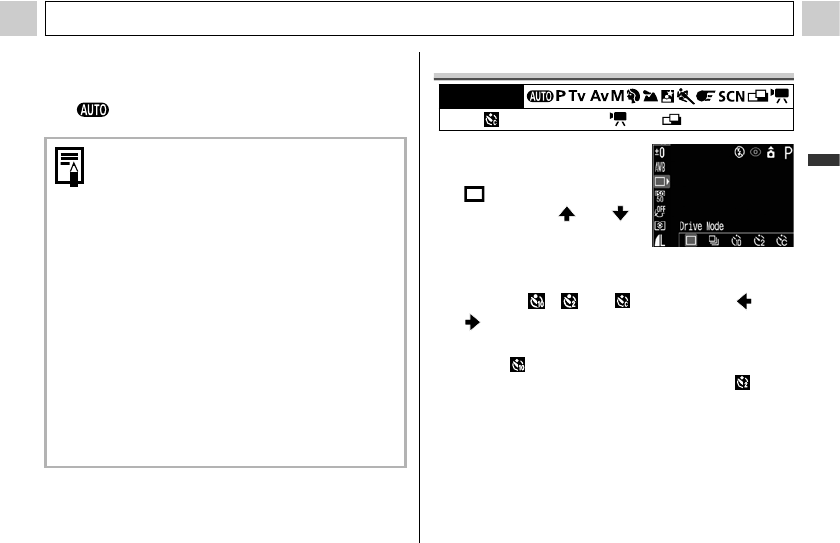
Self-timer
1
Press the FUNC.
button and select
*(Drive Mode)
using the or
button.
* The current setting is
displayed.
2
Select , or using the or
button and press the FUNC.
button.
z When is selected, the shutter release will
be delayed for 10 seconds, and when is
selected, the shutter release will be delayed for
2 seconds, after you press the shutter button
all the way.
Mode Dial
* The cannot be set in and modes.


