


Preparation
22
E
Setting the Date and Time
The date and/or time display forms part of the data code. You can choose to display or hide it during
playback (see p. 54).
Set the date and time display when you first start using your camera. Install the backup battery before you
begin (see p. 63).
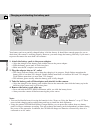
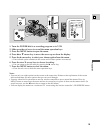
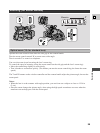
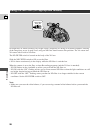
1. Turn the POWER dial to a recording program or to VCR.
2. Open the menu and select D/TIME SET.
• The year display starts to flash in the viewfinder.
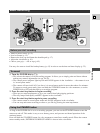
3. Press the r or t cursor key to change the year. Press the e cursor key to move to another
part of the display.
• Press once to scan a year at a time. Press and hold to scan quickly.
• Once you move from the year, the next part of the display starts flashing.
4. Set the months, days, hours, and minutes in the same way.
5. Press the MENU button when finished, and to start the clock.
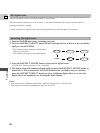
• The date can be set to any year between 1997 and 2020.
• If you press the MENU button in the middle of setting the date and time the seconds are set to zero, you
leave the menu, and the clock starts.
• If you press the
e cursor key after setting the minutes, the seconds are set to zero, the clock starts and you
return to the full menu. (When using the remote control, use the
4 cursor key instead. Pressing the e
cursor key returns you to the end of step 2, to let you set the date and time again from the start.)
MENU
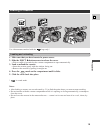
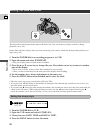
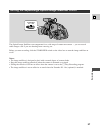
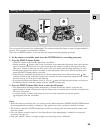
1. Turn the POWER dial to VCR.
2. Open the VCR menu and select D/TIME SEL.
3. Choose between DATE, TIME and DATE & TIME.
4. Press the MENU button to close the menu.
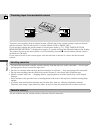
Setting the display style
D/TIME SEL.•DATE & TIME
(see p. 18)