


Recording
E
37
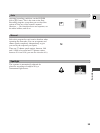
Set the input for Stereo 1 in one of two ways, A or B, depending on the source for the input:
Setting the Audio Input — Two Channel Recording
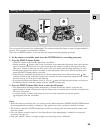
1. Change the audio mode at the menu if necessary (see page 36).
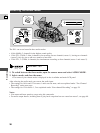
2. Slide the INPUT SELECT switch to AUDIO 1.
• This assigns the AUDIO 1 RCA jacks as the source for the audio input.
In normal recording conditions, the camera sets the audio recording level automatically, as long as you slide
the REC LEVEL switch to A.
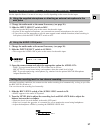
You can also set the recording level manually:
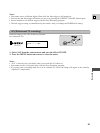
1. Slide the REC LEVEL switch of the AUDIO 1/MIC controls to M.
• MANU appears in the audio LCD pannel.
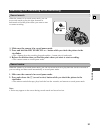
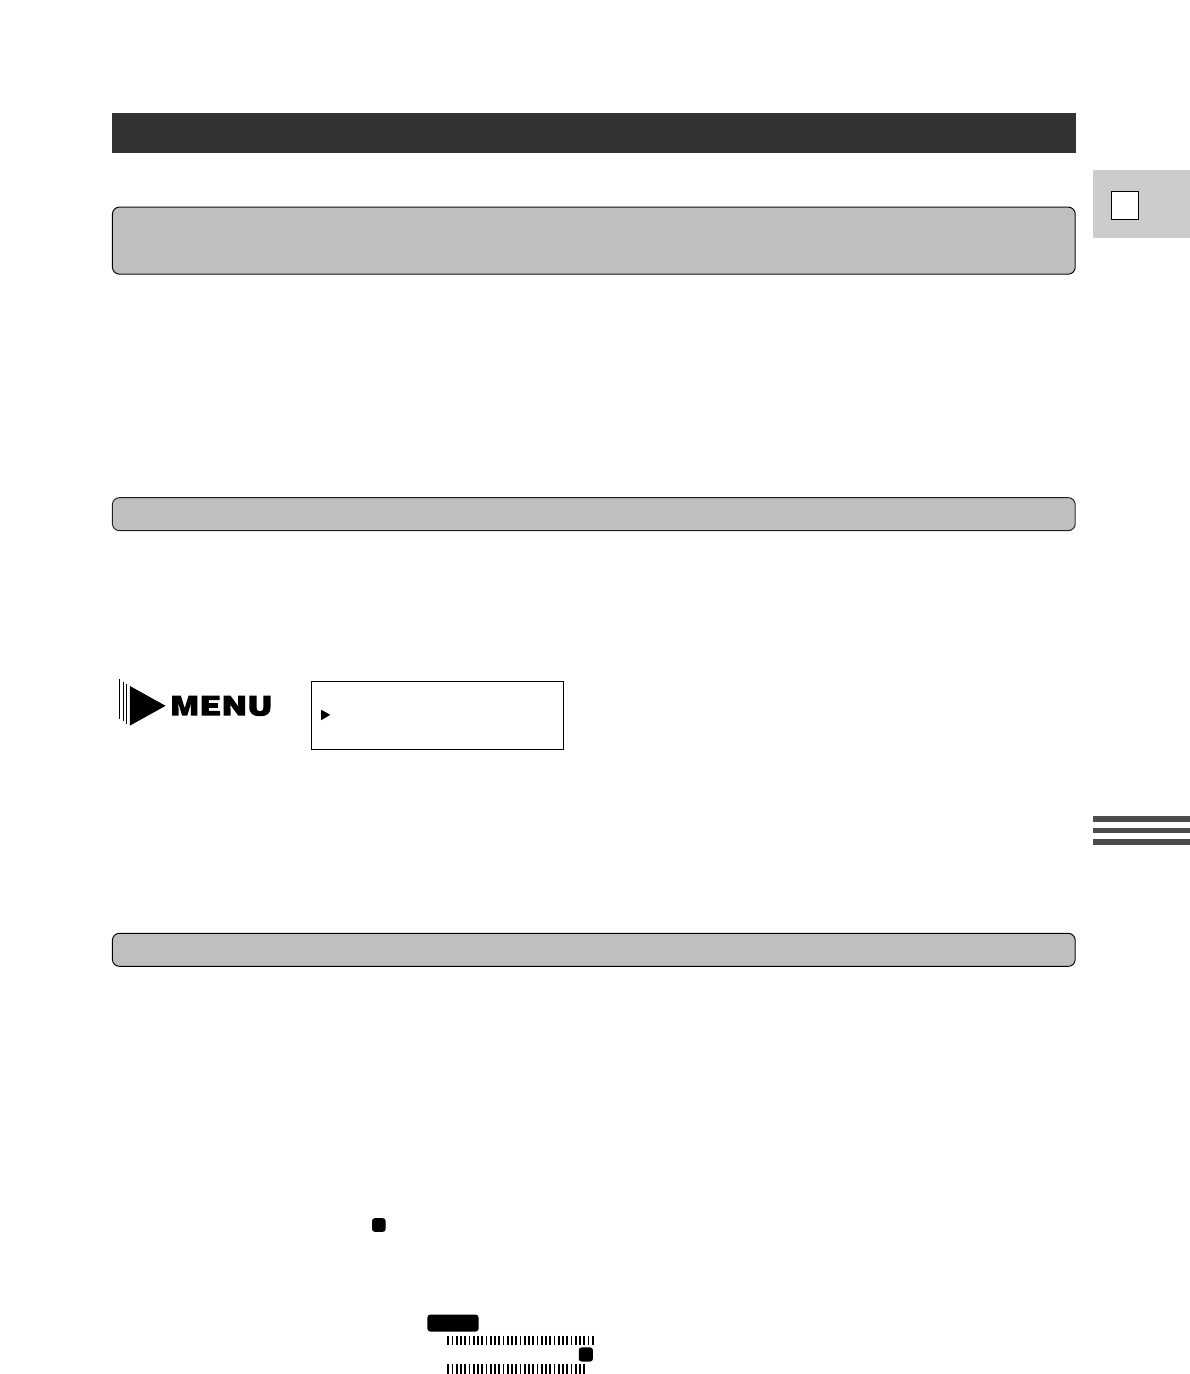
2. Turn the LEVEL dial to adjust the recording level and BALANCE dial to adjust the
balance between the two inputs.
• Check the levels for each channel in the audio LCD panel.
• If the level exceeds the point, it is essential for you to monitor the sound using headphones.
• Adjust the headphone volume by rotating the PHONES LEVEL dial.
12
Setting the recording level for two channel recording
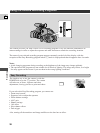
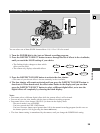
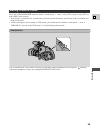
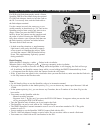
A. Using the supplied microphone or attaching an external microphone to the
mini jacks
AUDIO 1 IN••LINE
(see p. 18)
3. Open the camera menu and select the appropriate option for AUDIO 1 IN:
- LINE: To record sound from a VCR, CD or other line in devices.
- MIC ATT20: To record sound using a microphone, when the sound level is high.
- MIC: To record sound using a microphone (e.g. attached via the optional MA-100 Microphone
Adapter/Shoulder Pad).
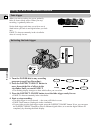
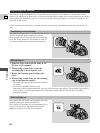
1. Change the audio mode at the menu if necessary (see page 36).
2. Slide the INPUT SELECT switch to MIC.
• This assigns the MIC mini jacks as the source for the audio input.
• In place of the supplied microphone, you can attach an external microphone to the mini jacks.
• If you wish to use the attenuator to provide more natural sound without distortion (when recording in
loud places) slide the INPUT SELECT switch to ATT.
B. Using the AUDIO 1 RCA jacks
026
20
40
30
50
R
L
-dB
12
MANU