123
Preparing to Print
6
Playback the image.
¡ Press the <x> button.
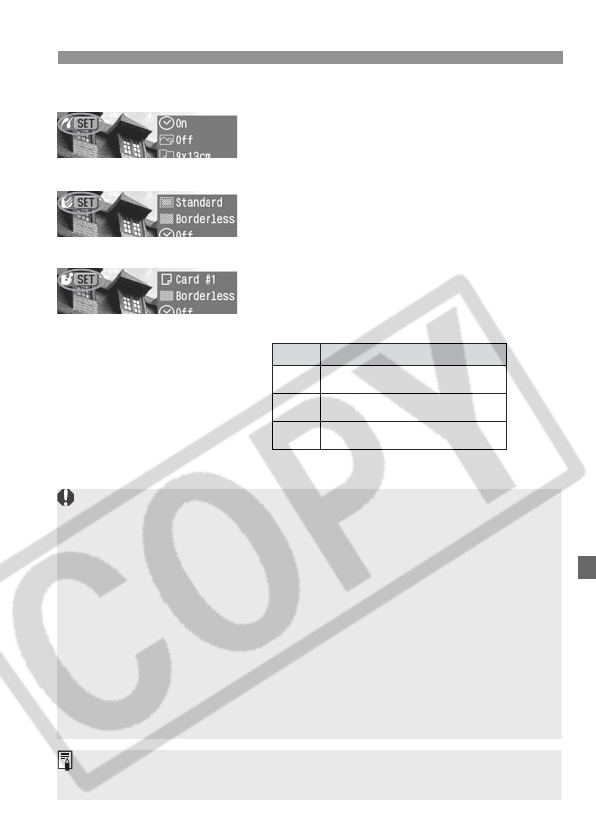
s The image will appear and one of
three icons <w/ A/ S> will appear
on the upper left to indicate that the
camera is connected to the
respective type of printer.
s The Direct print button lamp will light
in blue.
¡ The procedure will be different
depending on the icon displayed. See
the applicable pages below.
SBubble Jet Direct
ACP Direct
w
PictBridge
Icon Reference pages
124 - 127, 136
128 - 130, 136
131 - 133, 136
w
A
S
¡ If the camera is running by battery power, make sure it is fully charged.
During direct printing, keep checking the battery level.
¡ If there is a long beeping sound in step 5, it indicates a problem with the
PictBridge printer. To find out what’s wrong, do the following:
Press the <x> button to playback the image and follow the steps below.
1. Press <0>.
2. On the print setting screen, select [Print].
The error message will be displayed on the LCD monitor. See “Error
Messages” on page 127.
¡ Before disconnecting the cable, turn off the camera and printer. Pull out
the cable while holding the plug, not the cord.
¡ When connecting the camera to the printer, do not use any cable other
than the dedicated interface cable.
For direct printing, using AC Adapter Kit ACK-DC20 (optional) to power the
camera is recommended.


