110
PLAYBACK
To re-record audio
1.
In the PLAY mode, use [̇] and [̈] to scroll
through snapshots until the one whose audio
you want to re-record is displayed.
2.
Select the “PLAY” tab, select “Dubbing”, and
then press [̈].
3.
Use [̆] and [̄] to select “Delete”, and then
press [SET].
• If you merely want to delete the audio with re-
recording, press [MENU] here to complete the
procedure.
4.
Press the shutter release button to start audio
recording.
5.
Recording stops after about 30 seconds or
when you press the shutter release button.
• This deletes the previous recording and replaces it
with a new one.
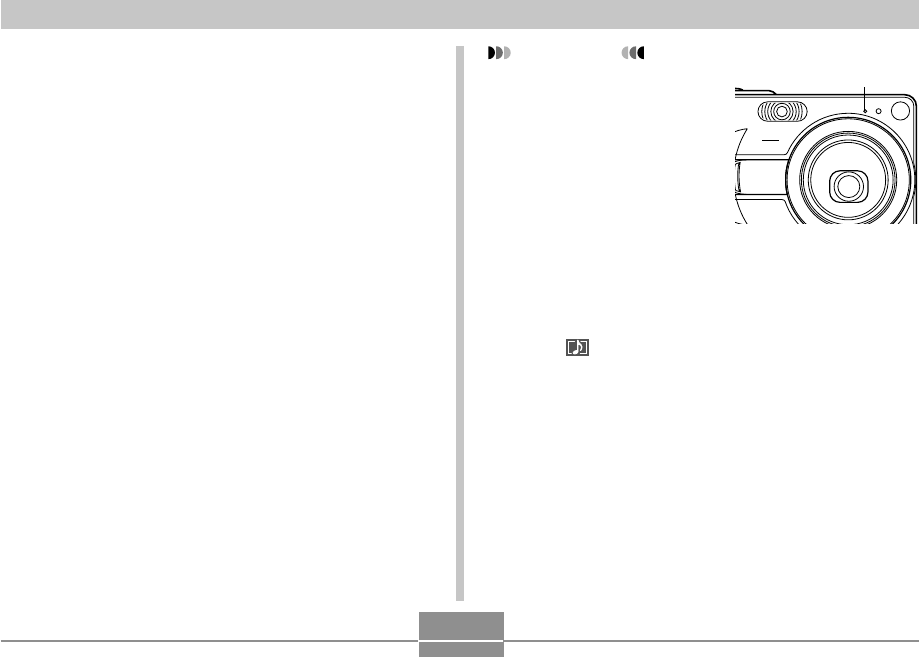
IMPORTANT!
• Keep the microphone
on the front of the
camera pointed at the
subject.
• Take care that you do
not block the
microphone with your
fingers.
• Good recording results
are not possible when
the camera is too far
from the subject.
• Operating camera buttons during recording can
cause button noise to be included in the audio.
• The (Audio) icon appears on the monitor screen
after audio recording is complete.
• You will not be able to record audio when remaining
memory capacity is low.
• The following types of audio recording are not
supported.
— Adding audio to a movie image
— Adding audio to a protected snapshot (page 115)
• Audio that is re-recorded or deleted cannot be
recovered. Make sure you no longer need audio
before re-recording or deleting it.
Microphone
