33
Quick Start Basics
If memory becomes full, you can delete snapshots and movies you no longer need in
order to free up storage and record more images.
IMPORTANT!
• Remember that a file (image) delete operation cannot be undone.
• For information about images recorded using continuous shutter (CS), see page
112.
• If you select “Disabled” for the “Delete Key” setting on the “
¥
SETTING” menu
(page 160), the delete menu will not appear when you press [2] ( ) (Delete).
You can delete files only while “Enabled” is selected for “Delete Key”.
. To delete a single file
1. Press [p] (PLAY) to enter the PLAY mode and then
press [2] ( ).
2. Use [4] and [6] to scroll through the files until the one
you want to delete is displayed.
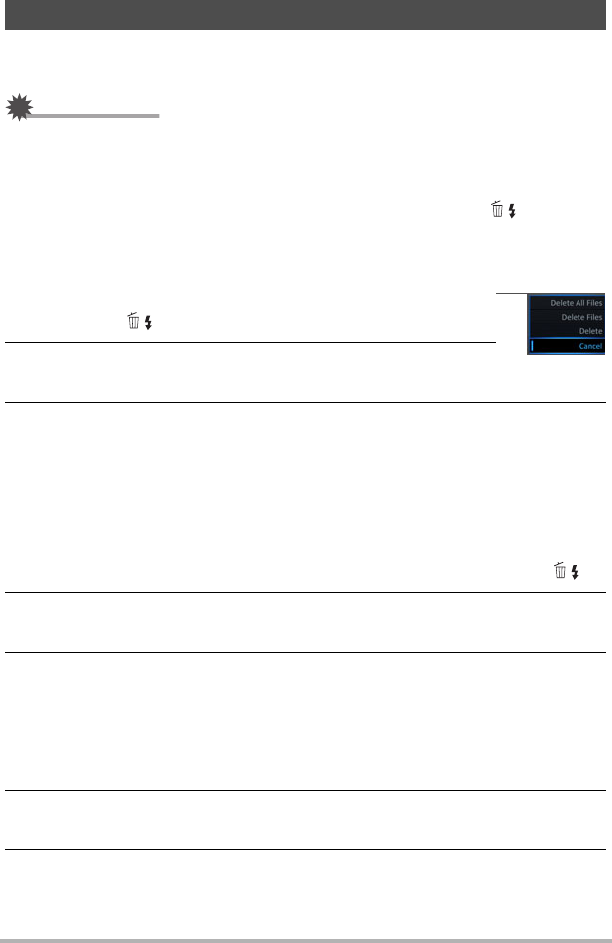
3. Use [8] and [2] to select “Delete” and then press [SET].
• To delete other files, repeat steps 2 and 3.
• To exit the delete operation, press [MENU].
• If a CS group (page 111) is displayed when you perform the above procedure,
all of the images in the currently displayed CS group will be deleted.
. To delete specific files
1. Press [p] (PLAY) to enter the PLAY mode and then press [2] ( ).
2. Use [8] and [2] to select “Delete Files” and then press [SET].
• This displays a file selection screen.
3. Use [8], [2], [4], and [6] to move the selection boundary to the file
you want to delete, and then press [SET].
• This will select the check box in the lower left corner of the selected file’s image
and move the blue boundary to the next image.
• You can enlarge the selected image before deleting it by rotating the zoom
controller towards z ([).
4. Repeat step 3 to select other files, if you want. After you are finished
selecting files, press [MENU].
5. Use [8] and [2] to select “Yes” and then press [SET].
• This deletes the files you selected.
• To cancel the delete operation, select “No” in step 5 and then press [SET].
Deleting Snapshots and Movies


