HOW DO I CONTROL THE PICTURE “ON” AND “OFF” TIMES?
Adjusting your Receiver’s automatic on and off times may be done by logging into your account
at www.ceiva.com, and selecting the
Settings option. Once you have selected the desired times,
remember to click on
Update Receiver to confirm your changes.To turn the LCD screen of
your CEIVA
TM
Receiver On or Off, simply press the black button on the back of your Receiver
until the screen is dark.To turn the LCD screen on, simply press the black button again.
NOTE: If you’ve selected to have your Receiver’s display turned off during the night hours,your CEIVA Receiver will
still dial into the CEIVA Network to receive new pictures and update Content Channels. It should also be noted that
when the LCD screen is on, the back of the CEIVA Digital Photo Receiver
TM
may be warm to the touch.
HOW MANY PICTURES ARE STORED ON MY RECEIVER?
Your CEIVA Digital Photo Receiver
TM
can store up to 30 images at a time. Images can be actual
photos or Content Channels you have selected for your Receiver. If you scroll through the slide
show manually (by pressing and releasing the white button on the back of the Receiver), you
will see the “CEIVA
TM
Tip of the Month” image.This image sits in the 31st slot of your Receiver,
and may only be viewed when scrolling through the pictures manually.The Tip Of The Month
cannot be deleted.
WHAT IF MY RECEIVER DIDN’T UPDATE LAST NIGHT?
If your Receiver did not successfully connect to the CEIVA Network
TM
last night, please allow for a
second evening’s dial-in attempt. Connection problems are usually due to heavy Internet traffic, or
temporary phone network problems, which, in almost all cases, resolve themselves within 24 hours.
Your CEIVA Digital Photo Receiver
TM
has been designed to retry its call to the Ceiva Network
TM
periodically when a connection attempt has failed. If you would prefer not to wait, you may press
and hold down the large white
Picture button on the back of your Receiver until it displays the
message “You can let go now, I’m connecting”.To cancel, press the button again.
FAQ’S
12 21
SHARING MADE EASY
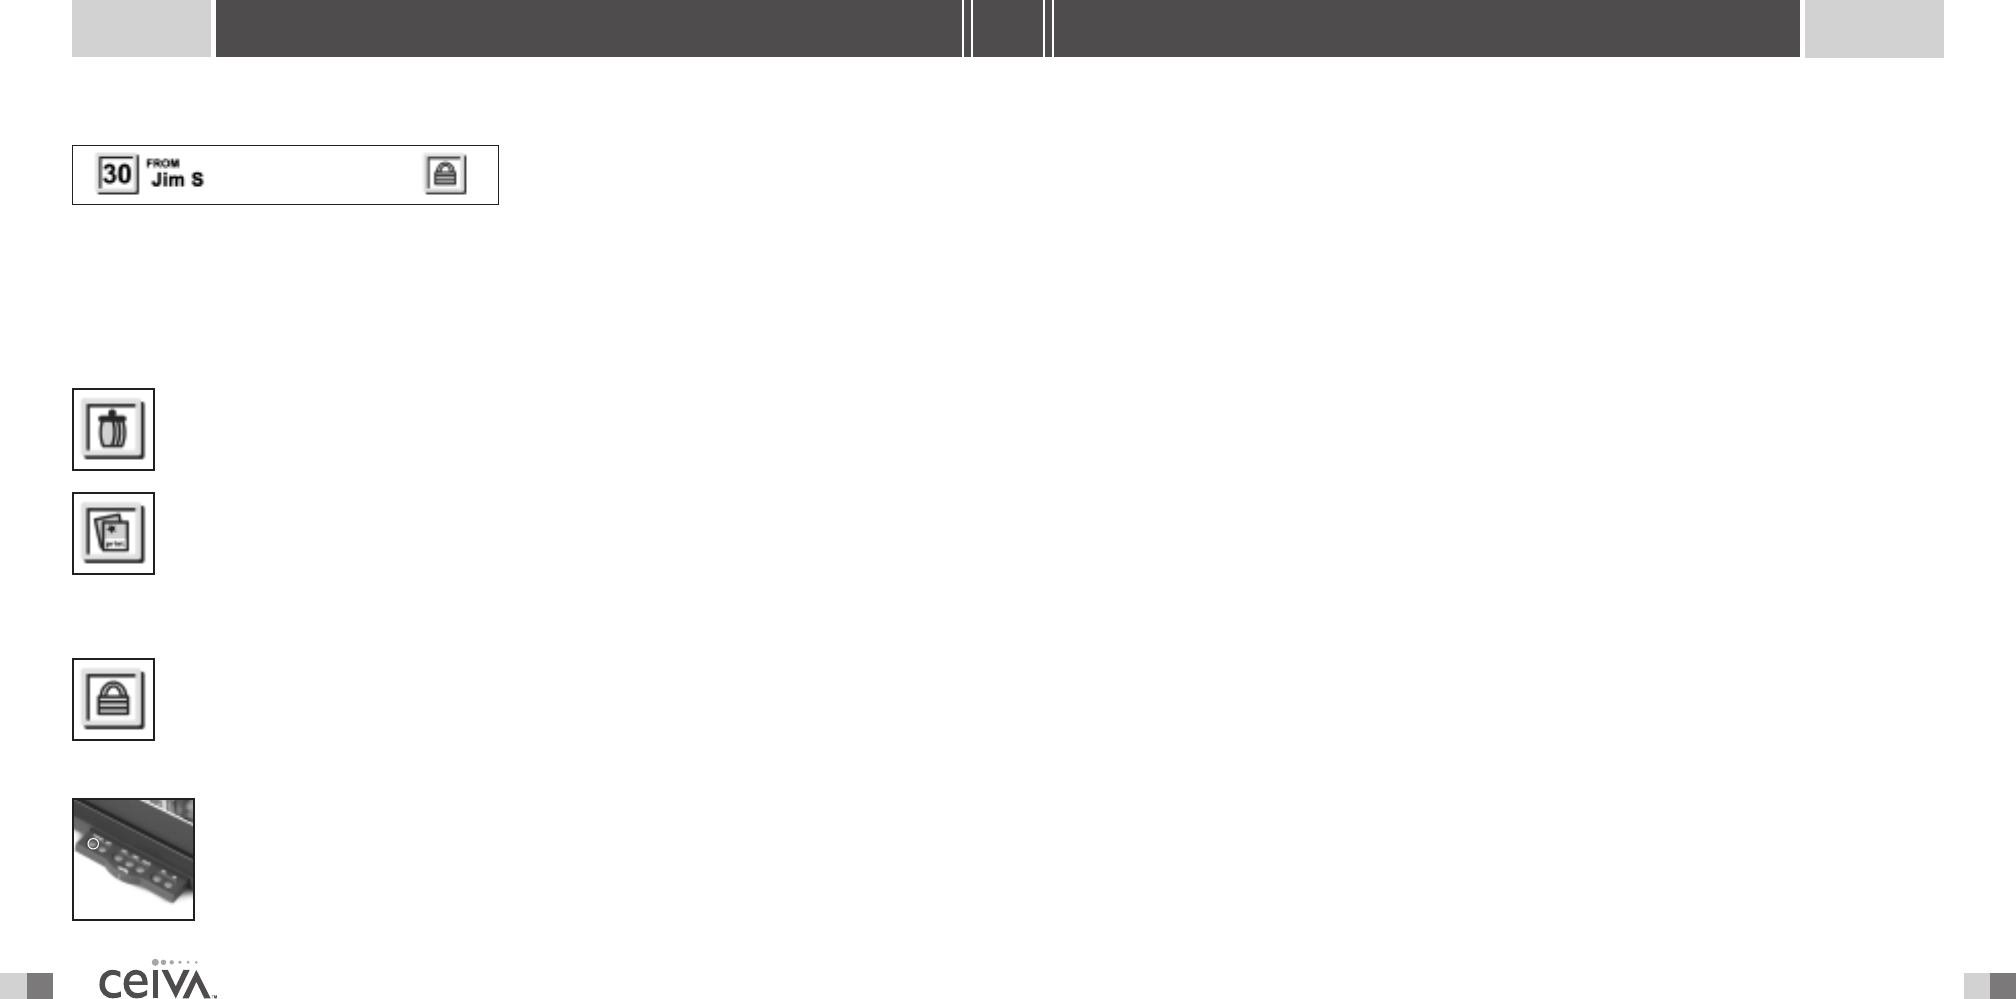
INFO BAR
The Info Bar is displayed at the bottom of
the Receiver’s screen and displays a variety of
information.The name of any CEIVA
TM
member
whom you have approved on your CEIVA
TM
Receiver’s Buddy List will appear on the left side of
the Info Bar.Additionally, the number of each of the 30 images displayed on your CEIVA
TM
Receiver
is displayed on the left side of the Info Bar.The icon of any action performed (such as
Lock,
Delete
or Order A Print) on an image will be displayed on the right side of the Info Bar.
ON-SCREEN ICONS
This icon is displayed in the right corner of the Info Bar when a picture on the
Receiver has been marked for deletion.This action will be performed the next
time your CEIVA
TM
Receiver dials into the CEIVA Network
TM
.
This icon is displayed in the right corner of the
Info Bar when a print order has
been placed.This action will be performed the next time your CEIVA
TM
Receiver
dials into the CEIVA Network
TM
.
NOTE: Canceling a Print Order of a specific picture does not cancel any remaining print orders
which may have been placed.
This icon is displayed in the right corner of the Info Bar when a picture on the
Receiver has been locked.A locked picture can only be deleted once it has been
unlocked or the
Delete action is performed on it.
PREVIOUS
The Previous button enables you to manually scroll through photos in reverse
order on your CEIVA
TM
Receiver. Press the button once to reverse to the previous
picture. Continue to press and release the button until you reach the photo you
are searching for. Pressing and holding the button down will resume the automatic
slide show in reverse order.
ADVANCED FEATURES


