


20 13
SHARING MADE EASY
FAQ’S
Frequently Asked Questions
NOTE: FAQ’s are also available on-line at help.ceiva.com and are updated on a regular basis.
HOW DO I GET MY PHOTOS ONTO MY RECEIVER?
There are several ways to get your personal photos to display on your Receiver. First of all, you
need digital pictures.You can use a scanner to scan in some of your old prints to preserve them
or use pictures from your digital camera or camera phone. If you are using a traditional camera,
most film developers now can supply you with a CD with your photos on it.
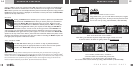
From there, either go to www
.ceiva.com and log in to send your photos to your Receiver or
you can use the CEIVA Sender
TM
and prepare your photos on your hard drive and then send to
the CEIVA Network
TM
from there. Photos are also sent directly from your camera phone to
your Receiver.
WHAT DO I NEED TO USE MY RECEIVER?
To use your Receiver, you will need a standard AC power outlet, and a working analog phone line.
Make use of the provided dual jack splitter if necessary. Remember, a PicturePlan
TM
subscription
to the CEIVA Network
TM
is necessary so that your personal Photo Receiver may receive photos.
WHO CAN SEND PHOTOS TO MY RECEIVER?
With the owner’s permission, anyone with Internet access can send pictures to a CEIVA Digital
Photo Receiver
TM
from anywhere in the world. Remember, anyone sending pictures must sign up for
a FREE membership at CEIVA
TM
.The member’s sign-in name is then put on the Buddy List of your
CEIVA Receiver, allowing them to send you pictures.The free membership also allows members to
store up to 200 pictures in on-line albums, customize pictures, add captions and messages.
HOW DO I CARE FOR MY RECEIVER?
Dust regularly with a clean, soft, dry cloth. Do not spray liquids directly onto your CEIVA Digital
Photo Receiver
TM
. Do not submerse the CEIVA Digital Photo Receiver
TM
in water, or use your
CEIVA
TM
in any location where it may become wet.
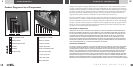
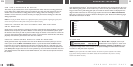
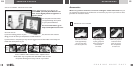
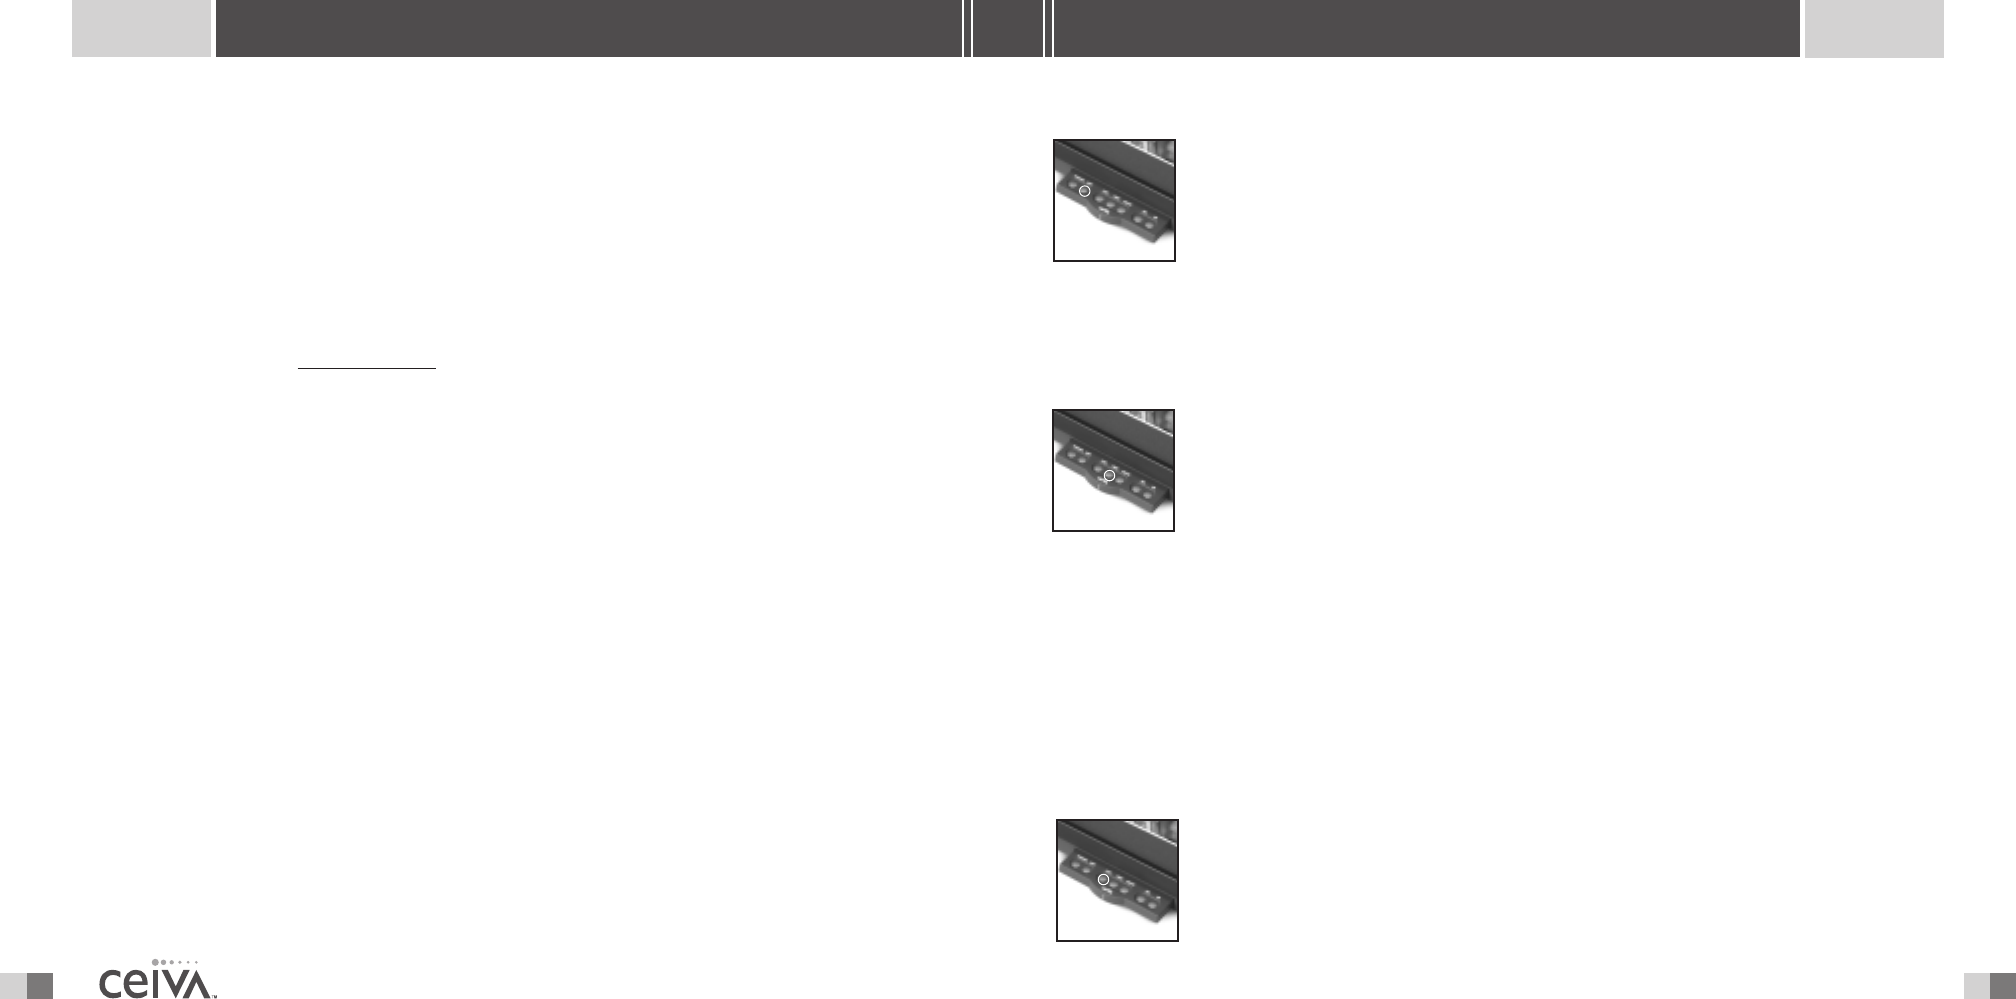
NEXT
The Next button enables you to manually scroll through pictures in a forward
direction. Press the
Next button once to advance to the next photo. Continue
to press the button until you reach the photo you are looking for. Pressing and
holding the button down will resume the automatic slide show.
NOTE: Using the Previous and Next buttons will stop the slide show mode for a brief time.Your CEIVA
TM
Receiver will
automatically resume the slide show after 2 minutes.The amount of time your CEIVA
TM
Receiver waits before resuming
the slide show may be adjusted in the Receiver Settings area of the website.
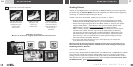
PRINT
When you see a photo displayed on your CEIVA
TM
Receiver that you would like to
order a traditional print of, push the
Print button. Simply follow the on-screen
questions to confirm your order.The next time your Receiver dials into the CEIVA
Network
TM
, your order will be placed. If you change your mind, you may cancel your
order by scrolling through your pictures until you locate the picture you ordered.
Push the Print button again and follow the on-screen instructions to cancel your order. Remember
that once your Receiver dials into the CEIVA Network
TM
, your order will be processed. Please allow
5-7 days to receive your print in the mail. Please note that your Receiver must be “print enabled”
at the CEIVA
TM
website to be able to place print orders.
If you received your CEIVA Digital Photo Receiver
TM
as a gift, the person who gave it to you may
have already enabled the print function.
CEIVA Prints
TM
are competitively priced. Check the website or call Customer Service.
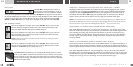
LOCK
The Lock button assures that a favorite picture isn’t deleted from your Receiver
when new pictures are added.To lock a picture, scroll to the picture you wish to
lock, then press the
Lock button.The Action Bar will be displayed at the top
of your Receiver’s screen. Simply press the
Ye s button to Lock the desired
ADVANCED FEATURES