


26 7
SHARING MADE EASY
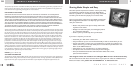
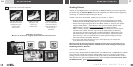
THE RECEIVER DISPLAYS AN ERROR MESSAGE.
If the CEIVA Digital Photo Receiver
TM
is having difficulties performing its dial-in connections
to the CEIVA Network
TM
, it will display a variety of error messages. Here are a few things you’ll
want to check:
Make sure the phone number in your
Settings (located on your CEIVA
TM
Home Page)
is the actual location from where the CEIVA Digital Photo Receiver
TM
is dialing.
Make sure there is a variety of dial-in numbers (3 different local dial-in numbers are
preferred) in your
Settings section. (NOTE: Toll-Free accounts will only have one number).
Verify that all connections to the CEIVA Digital Photo Receiver
TM
and wall outlets
(both power supply and phone line) are securely plugged in.
Make sure there isn’t anything unnecessary in the
Dialing Prefix (located in your
Receiver Settings) of your Receiver’s account (e.g. A 1, 9, 7 etc.).
For example: If the Dialing Prefix in your Receiver’s account had a 9 in it,your CEIVA Digital Photo Receiver
TM
would
try to dial 9,515-000-0000. If your phone system doesn’t need a 9 to access a dial tone, this would of course be too
many numbers, and be the cause of a failed connection attempt.
NEED MORE ASSISTANCE?
If you have a computer, take a few minutes to access Customer Care or go directly to the
Help section at help.ceiva.com.The Customer Care section was designed with your time in
mind, providing fast and easy to understand answers to all your questions. It’s a wonderful and
powerful resource that is available 24 hours a day, every day of the year. Loaded with information
about your personal Receiver, the
Help library is a wealth of information and ideas.You can also
reach Customer Care via e-mail at support@ceiva.com. If you don’t have a computer, the CEIVA
TM
Customer Care Team can be reached by dialing 1-877-MYCEIVA (1-877-692-3482).
TROUBLESHOOTING
>
>
>
>
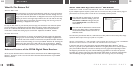
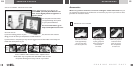
The serial number is located on the sides of the product box and on the bottom of the CEIVA
Digital Photo Receiver
TM
stand.The CEIVA
TM
website will walk you through the registration process,
and before you know it your CEIVA Digital Photo Receiver
TM
will be ready to receive pictures!
NOTE: If your Receiver is dialing from a location which has “Pulse Dialing” or is in need of a dialing prefix, please visit
the CEIVA
TM
Care Support pages (available at help.ceiva.com) to learn more.
Your CEIVA Digital Photo Receiver
TM
requires an analog phone line to place its daily call to the CEIVA
Network
TM
. A digital line could cause damage to the CEIVA Digital Photo Receiver
TM
. Digital lines are most
commonly used in offices and hotels. Please ask your phone company what type of line you have
if you are unsure.
IF YOU RECEIVED YOUR CEIVA DIGITAL PHOTO RECEIVER
TM
AS A GIFT
Your Receiver may already be registered with a subscription. Please check with the individual that
provided you with your gift.
NOTE: If you install your Receiver before registering it to the CEIVA Network
TM
and try to retrieve images, an error
message will be displayed on the LCD screen.
For assistance, contact the CEIVA
TM
Customer Care Team at 1-877-MYCEIVA (1-877-692-3482).
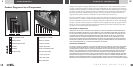
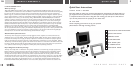
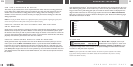
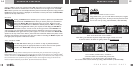
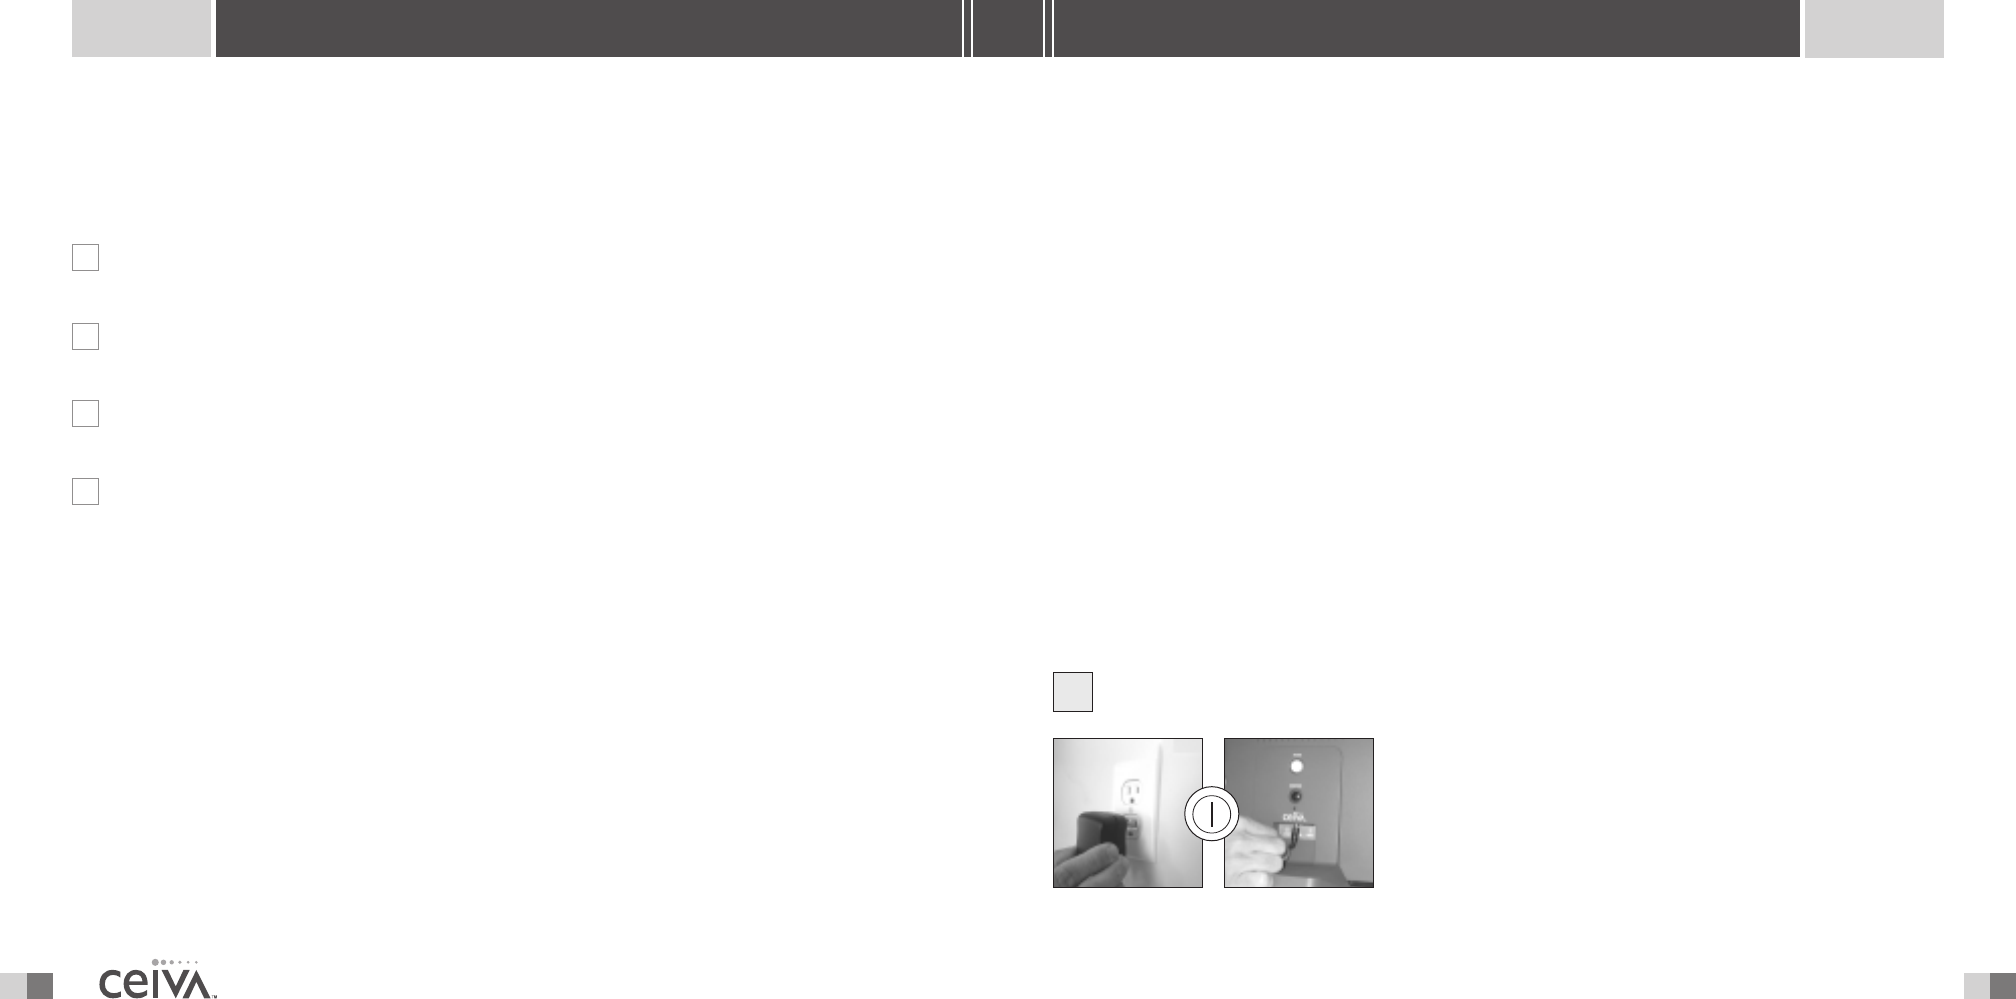
PLUG IN PHONE AND POWER CORDS
Plug one end of the power cord into the round Power
Access hole on the back of the CEIVA Digital Photo
Receiver
TM
, if it is not already plugged in. Plug the other
end of the power cord into an electrical outlet that
is not controlled by a light switch. As with most
electronic items, we suggest making use of a “surge
protector” or “power strip” extension cord to protect
your CEIVA
TM
Receiver against surges of electrical current.
SETTING UP
2