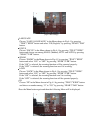
▪ WHITE BALANCE (WB)
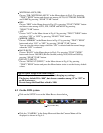
Choose “WB (WHITE BALANCE)” in the Menu shown in Fig.4-2 by pressing
“TELE”/”WIDE” button and choose one among AUTO, OUT DOOR, INDOOR
and LAMP by pressing “NEAR”/”FAR” button.
▪ IRIS
Choose “IRIS” in the Menu shown in Fig.4-2 by pressing “TELE”/”WIDE” button
and choose one among AUTO, FIX, NIGHT and MOVE by pressing
“NEAR”/”FAR” button.
▪ AGC
Choose “AGC” in the Menu shown in Fig.4-2 by pressing “TELE”/”WIDE” button
and select “ON” or “OFF” by pressing “NEAR”/”FAR” button.
▪ MIRROR (MIRR)
Choose “MIRROR” in the Menu shown in Fig.4-2 by pressing “TELE”/”WIDE”
button and select “ON” or “OFF” by pressing “NEAR”/”FAR” button.
You can view the mirror image when the “ON” is selected and the normal image
when the “OFF” is selected.
▪ BAUD RATE
Choose “BAUD” in the Menu shown in Fig.4-2 by pressing “TELE”/”WIDE”
button and choose 2400 BPS (Bit Per Second) among 2400, 4800 and 9600 by
pressing “NEAR”/”FAR” button.
▪ DEFAULT (DEFLT)
Choose “DEFAULT (DEFLT)” in the Menu shown in Fig.4-2 by pressing
“TELE”/”WIDE” button and press the Menu button twice to set the factory default
values.
4.2 On the DVR system
▪
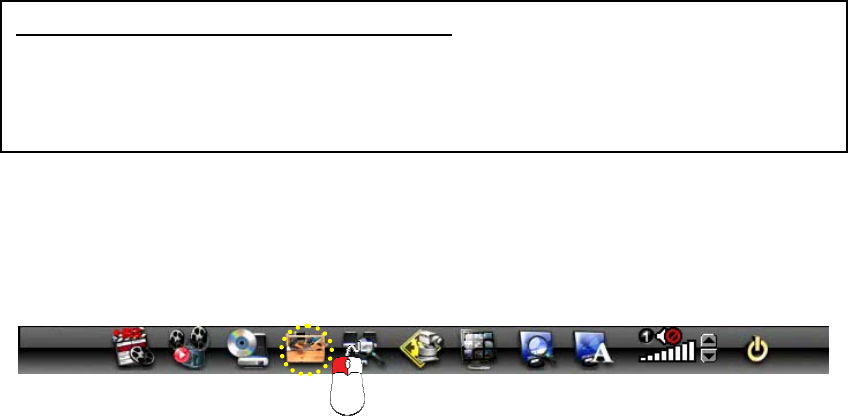
Click on the SETUP icon on the Menu Bar as shown below.
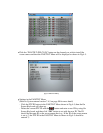
▪ Click the “CAMERA” in the Setup Menu and then the Camera Menu will be
displayed as shown in Fig.4-4.
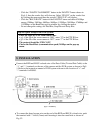
Tips for Quick Setup on the zoom camera:
- You can operate the zoom camera without changing any settings.
- The factory default ID is “000”, but choose a number among “0” to “255” as
an ID if necessary.
- Do not chan
g
e the Baud Rate which is 2400.
[Fig.4-3 Menu Bar]


