20
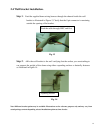
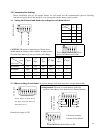
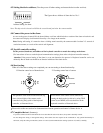
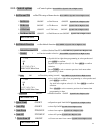
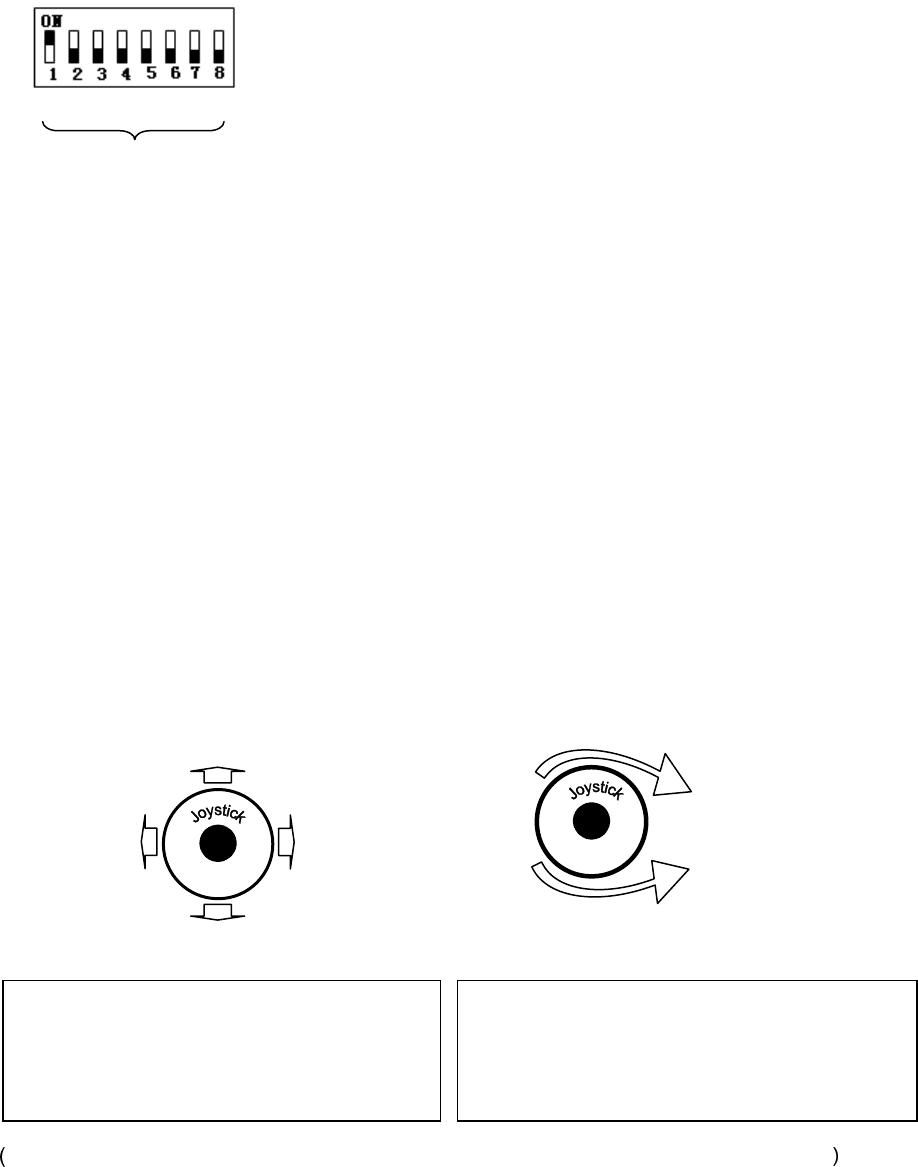
4.3 Setting the device address. (Turn the power off when setting, and restart the device after revision).
The figure shows: Address of dome device: No. 1
Note: This dip switch is located on PCB in the control board just below the camera module
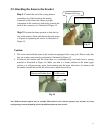
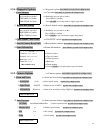
4.4 Connect the power to the dome.
As soon as the power is turned ON, the dome initiates a self test which includes a rotation of the dome on both axis and
the camera will display a brief menu followed by a live image on the monitor.
Note: During self-testing, it is normal to hear a clicking sound caused by the camera module for about 2~5 seconds of
vertical movement, as a result of the vertical self alignment.
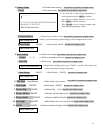
4.5 Joystick controller setting.
Set the protocol, baud rate, and address of the keyboard controller to match the settings on the dome
(For instructions of how to set the keyboard communication settings please refer to keyboard controller manual).
Attention: If the protocol setting of the dome is set to auto detection, the protocol of keyboard controller can be set
arbitrarily. But its baud rate should be set identical with that of the dome device.
4.6 Start testing.
When all of the above settings are completed you can start testing to dome functionality.
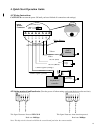
1. Direction control test of dome device 2. Zooming control test of camera
Please refer to the next section for demonstration of menu operation and control of dome device.
4.7 Complete the test. (Summary).
If you have achieved control of the dome device as described in section 4.6 above, the system is basically normal.
Do not change the wiring or the applied settings. If the dome does not respond to the commands or only partial functionality is
achieved, verify the wiring connections (section 4.1 and 4.4) and communication settings (sections 4.2, and4.3) carefully.
Address Setting for dome
Up
D
own
Left
Right
Zoom in
Zoom out
Rotate
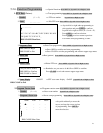
The operation of the dome and the direction (up,
down, left and right) of the camera can be
controlled using the joystick of the keyboard
controller, as illustrated above.
Zoom control of the camera can be achieved by
rotating the knob on the joystick or by using TELE
(zoom in) and WIDE (zoon out) functions on the
keyboard controller as illustrated above.


