


40
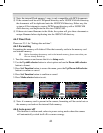
4. Use the Down shift selector button to select and set: print all, select single print,
date stamp visible or invisible, select print all, press Set/ Function button to access
menu, use Up/ Down shift selector button confirm or cancel. Afterwards, press
Set/ Function button to start printing or cancel.
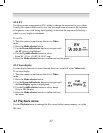
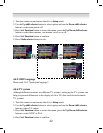
To set single print, press Set/ Function button to access the menu, press Down/
Down shift buttons to determine the number of prints, press Browse button to swap
photos, press Set/ Function button to confirm printing, or press Mode selector
button to exit menu.
※ In the DPS menu, the system will prompt you to plug in the USB/ AV cable that is
connected to the printer. Only when the printer supports DPS, then you can use
this print interface to print the pictures.
※ In the process of printing, if error messages occur on the LCD display, please
refer to the list for troubleshooting in the Appendix.
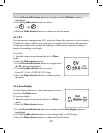
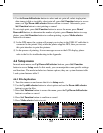
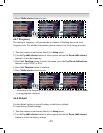
4.4 Setup menu
In mode main menu, use Up/ Down shift selector buttons, press Set/ Function
button to access Setup mode. In this mode, you can manipulate some specific settings
and functions. The mode includes two feature options, they are: system features table
1 and system features table 2.
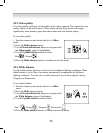
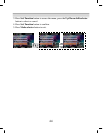
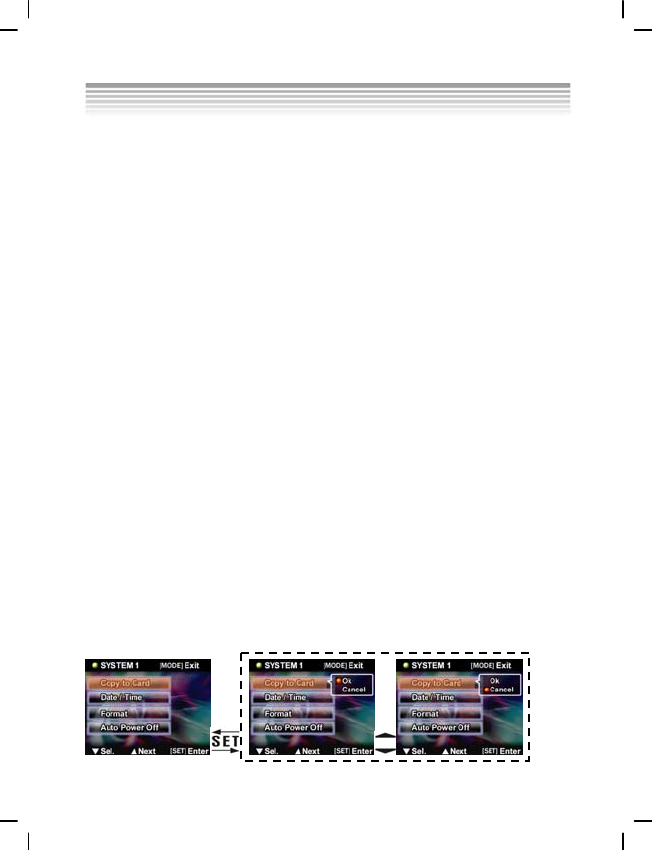
4.4.1 File duplication
1. Turn the camera on and ensure that it is in Setup mode.
2. Use the Up shift selector button to select option and use the Down shift selector
button to copy the files.
3. Press Set/ Function button to access the menu, press the Up/ Down shift selector
button to confirm or cancel.
4. Press Set/ Function button to confirm or cancel.
5. Press Mode selector button to exit.