


Genie Monochrome Series-GigE Vision Camera Network Tools • 79
Network Configuration Tool
The Network Configuration tool provides information on all network adapters installed in the system and any
connected GigE Vision devices. For the Genie, the tool allows a simple method to assign a User-Defined name and
also to set a Persistent IP address instead of the default DHCP/LLA assigned IP address. Using this tool, Genie
network configurations can be easily made without having to use any Windows Control Panel application.
Important: Any changes made with this tool will update the Genie flash memory. Do not remove power from the
Genie camera for a minimum 10 seconds. Then cycle the Genie power to load the new flash settings.
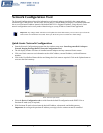
Quick Genie Network Configuration
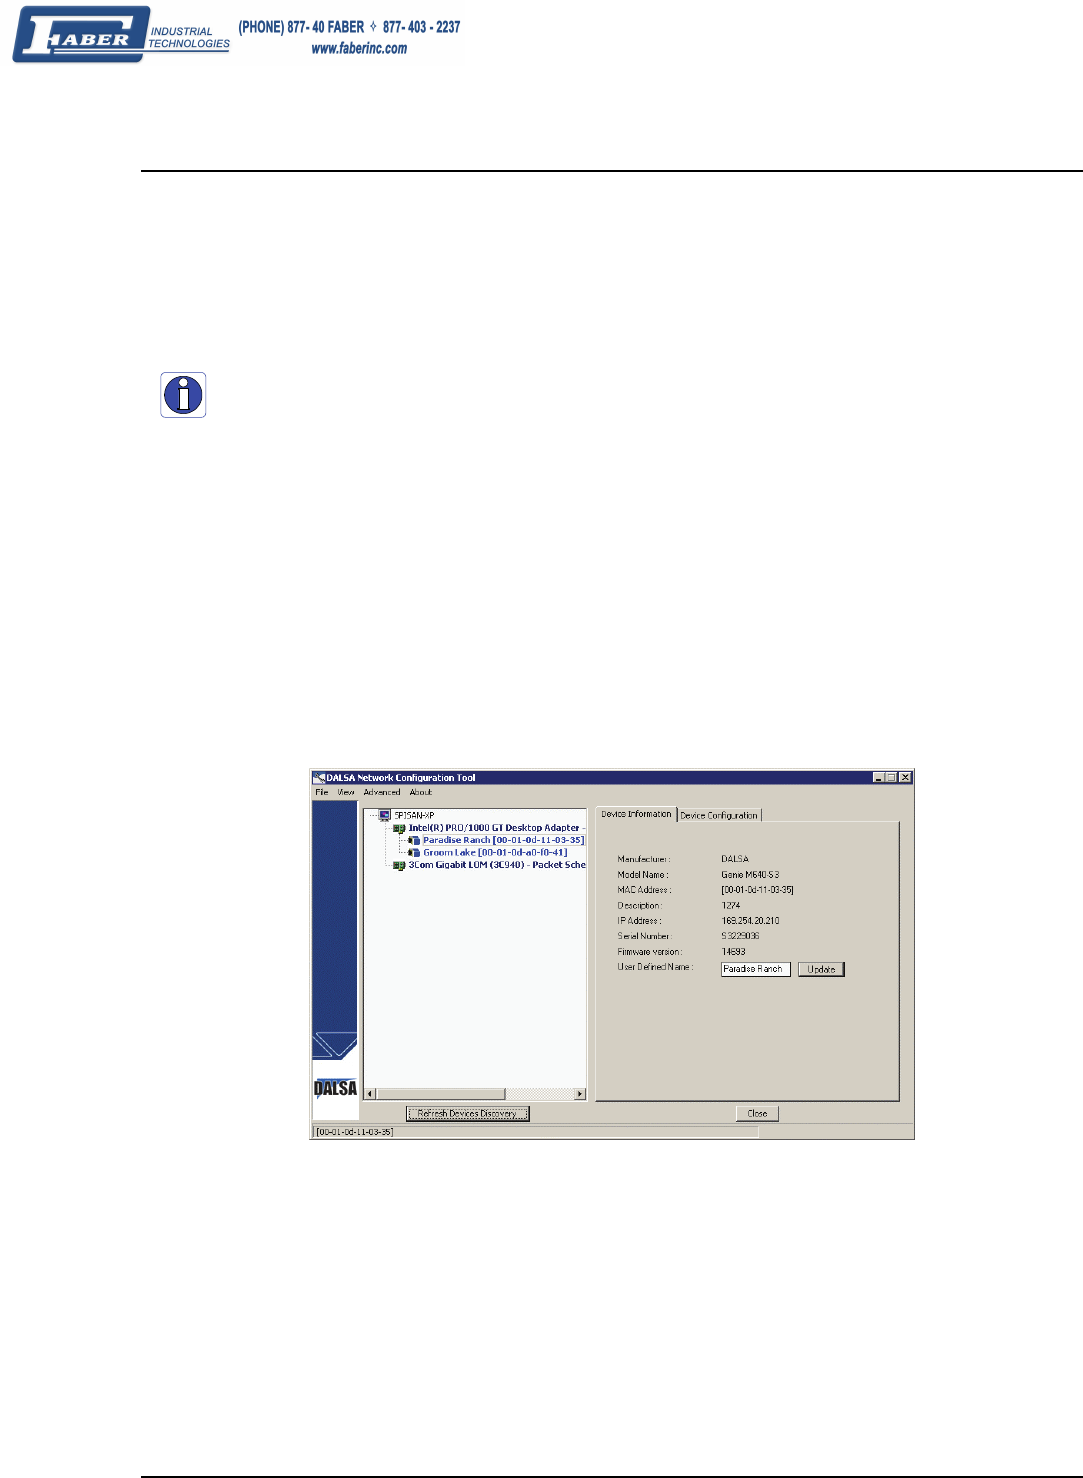
• Start the Network Configuration program from the windows start menu: Start•Programs•DALSA•Sapera
Network Imaging Package•DALSA Network Configuration Tool.
• The left display window will show all installed network adapters and any connected Genie camera.
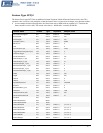
• Click on a Genie camera to see information such as MAC address, current IP address, serial and firmware
numbers.
• Click in the User Defined Name edit box and change the Genie name as required. Click on the Update button to
write into the Genie memory.
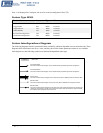
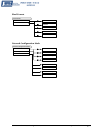
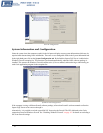
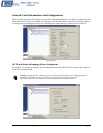
Genie Network Information
• Select the Device Configuration tab to switch from the default IP configuration mode DHCP/LLA to
Persistent IP mode (only if required).
• With Persistent IP mode selected enter the desired IP address, subnet mask, and default gateway.
Important: do not forget the persistent IP address you assign, else the camera can not be controlled.