


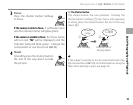


27
More on Photography
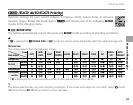
Shooting Mode
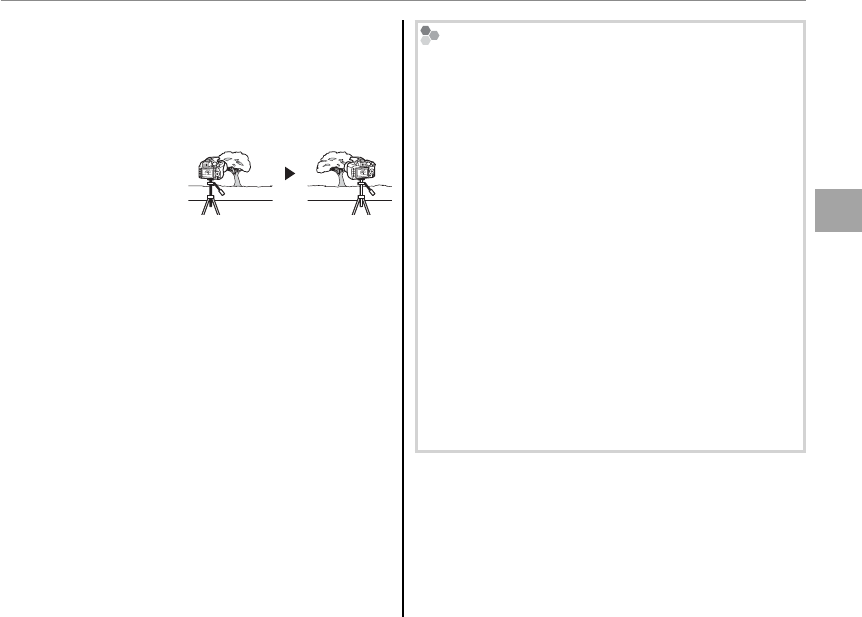
3
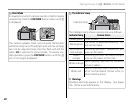
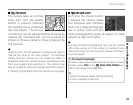
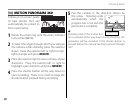
The first shot will be shown superimposed on
the view through the lens. Using it as a guide,
frame the second shot and press the shutter
release button.
a
• The 3D effect
may not be vis-
ible with some
subjects or under
some shooting conditions. For best results, the
distance the camera is moved between shots
should be about 1/30th to 1/50th of the dis-
tance to the subject.
• The camera will turn off automatically if no op-
erations performed for the time selected for
N AUTO POWER OFF ( P 102). The first shot will
not be saved if the second shot is not taken be-
fore the camera turns off.
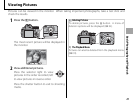
Viewing and Printing 3D Images
• The camera displays images in 2D. Press the selector
down to toggle between the first and second shots.
• Devices equipped for 3D display, such as the FINEPIX
REAL 3D V3 digital photo frame or FINEPIX REAL 3D
W3 digital camera, will display the images in 3D.
• 3D prints can be ordered from http://www.fujifilm.
com/3d/print/
• The supplied software displays 3D anaglyph images.
3D photos can also be viewed using other applica-
tions that support the MP format.
• 3D TVs that support the MP format can display im-
ages in 3D. See the manual for your TV for details.
c
• Images are not output in 3D when printed directly
from the camera.
• 3D images are displayed in 2D in slide shows and
when output on a conventional TV.
• 3D images can not be edited or retouched.
Note: The MP (Multi-Picture) format is a CIPA standard for
files containing multiple still images. Files in MP format are
referred to as “MP files” and have the extension “*.MPO”. The
camera uses this format for 3D images.