


26 27
Advanced
Features
ERASING IMAGES
(
ERASE FRAME
)
PLAYBACK MODE
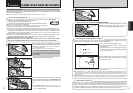
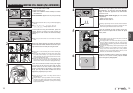
1
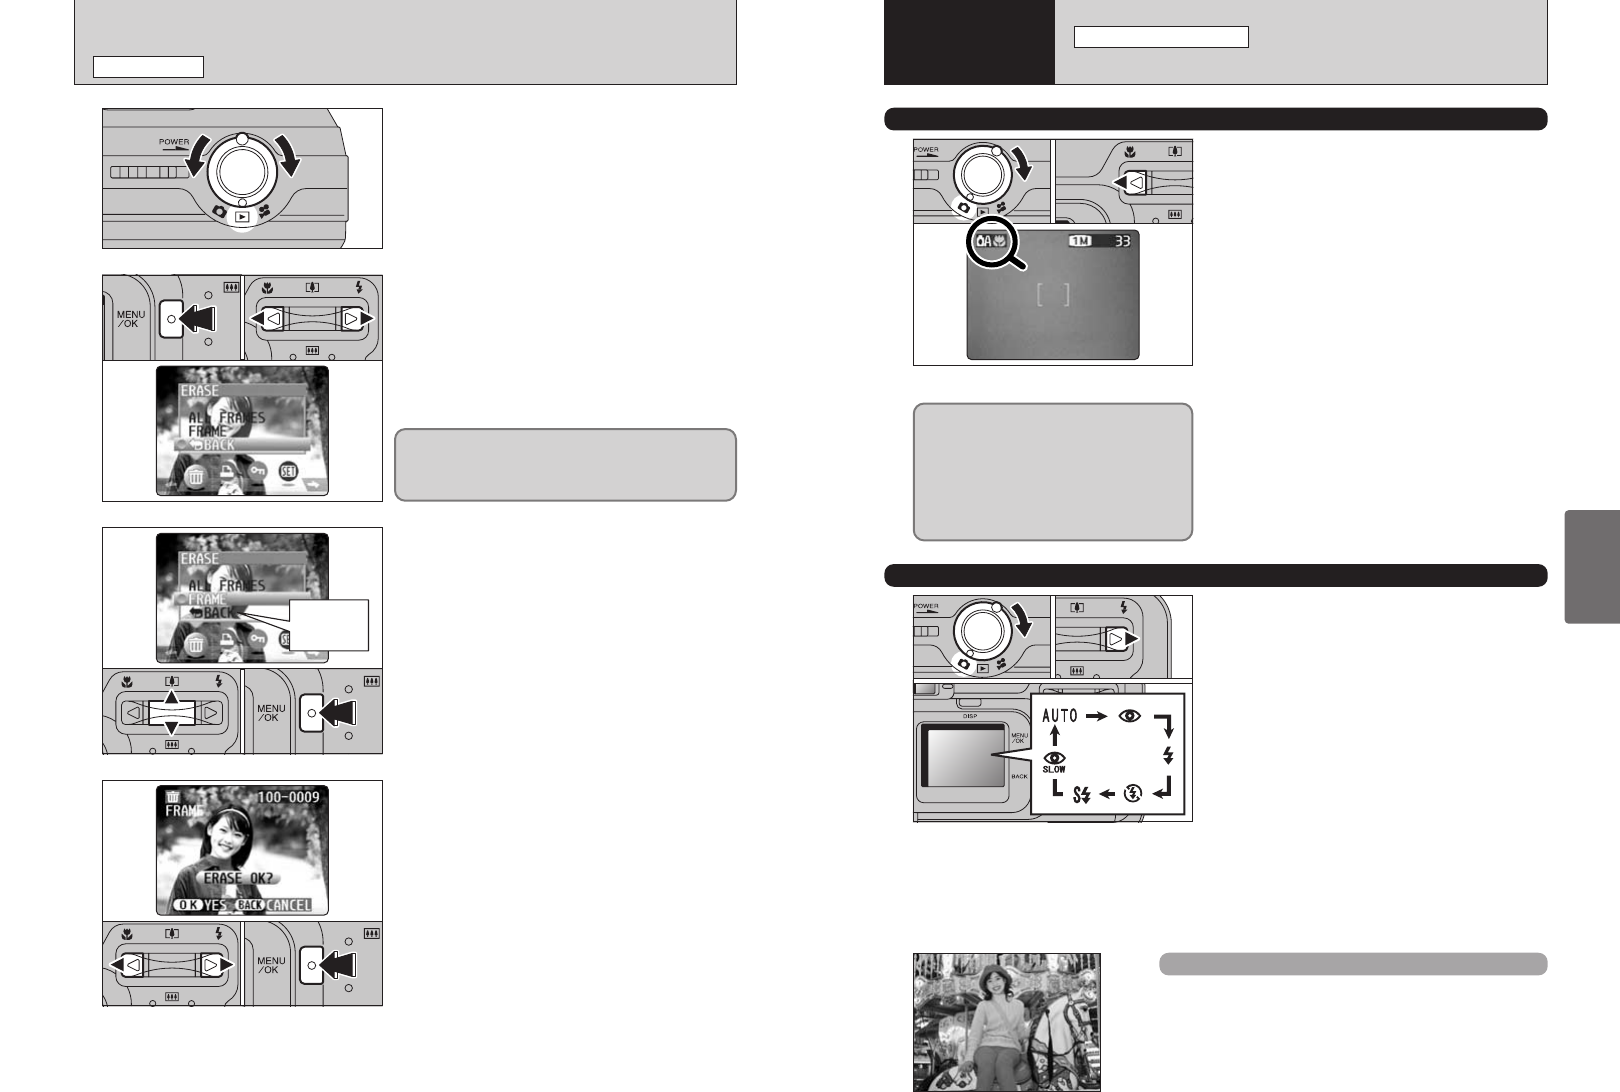
Turn the Mode switch to “w”.
2
3
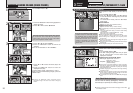
1Press the “MENU/OK” button during playback to
display the menu.
2Press “d” or “c” to select “o” ERASE.
1Press “a” or “b” to select “FRAME”.
2Press the “MENU/OK” button to confirm the
selection.
See P.37 for information on “ALL FRAMES”.
4
1Press “d” or “c” to select the frame (file) to be
erased.
2Press the “MENU/OK” button to erase the
displayed frame (file).
To erase another image, repeat steps 1 and 2.
When you have finished erasing images, press the
“BACK” button.
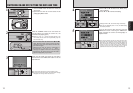
01 02
0! 02
01 02
●
!
Pressing the “MENU/OK” button repeatedly erases
consecutive images. Take care not to erase an image by
mistake.
01 02
Note that mistakenly erased frames (files) cannot
be recovered. You should back up important
frames (files) that you do not want to be erased
onto your computer or another media.
Return to
single-frame
playback
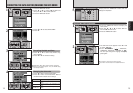
e
MACRO
(
CLOSE-UP
)
PHOTOGRAPHY/
d
FLASH
STILL PHOTOGRAPHY MODE
e MACRO
(
CLOSE-UP
)
PHOTOGRAPHY
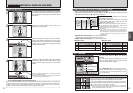
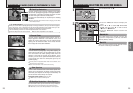
Selecting Macro mode allows you to take close-up
shots.
1Turn the Mode switch to “
q”.
2Press the “
e” Macro button. The “e” appears
on the LCD monitor indicating that you can take
close-up shots.
To cancel Macro mode, press the “
e” Macro
button again.
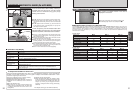
hFocus distance
Approx. 0.1 m to 1.0 m (3.9 in to 3.3 ft.)
hEffective flash range
Approx. 0.3 m to 1.0 m (1.0 ft. to 3.3 ft.)
●
!
Macro photography is automatically cancelled in the following
situations:
i When the Mode switch setting is moved to another setting
(excluding
w)
i When the camera is switched to“
a” or “s” mode
i When the camera is switched off
●
!
Select the appropriate flash mode for the conditions.
●
!
To take pictures in a dark location (when the “|” camera
shake warning icon is displayed), use a tripod to prevent
camera shake.
●
!
The lens is fixed at the wide-angle zoom setting and only the
digital zoom can be used.
●
!
The LCD monitor is automatically switched ON and cannot be
switched OFF.
●
!
Canceling Macro mode, the LCD monitor remains on.
01
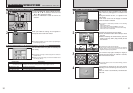
d FLASH
Choose from 6 flash modes according to the type
of shot.
1Turn the Mode switch to “
q”.
2The flash setting changes each time you press
the “
d” Flash button. The last flash mode
displayed is selected.
hEffective flash range (for
a AUTO)
Wide-angle: Approx. 0.8 m to 3.5 m
(2.6 ft. to 11.5 ft.)
Telephoto : Approx. 0.8 m to 3.0 m
(2.6 ft. to 9.8 ft.)
●
!
Using the flash in very dusty conditions or when it is snowing,
white dots may appear in the image due to the flash reflecting
off the dust particles or snowflakes. Try taking the shot using
Suppressed Flash mode.
●
!
The flash charging time may increase if the charge remaining
in the battery is low.
●
!
Taking a shot using the flash, the video image may disappear
and the screen go dark as the flash charges. At the same
time, the viewfinder lamp blinks orange.
●
!
“c” and “n” can not be used in the “a” Still photography
mode.
01
02
02
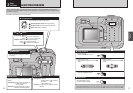
If you use the viewfinder to take a picture
in Macro mode, the field visible through
the viewfinder does not match the field
actually photographed because the
viewfinder and lens are in different
positions. Accordingly, you should use
the LCD monitor to take pictures in
Macro mode.
Auto Flash Mode
(
no icon
)
Use this mode for ordinary photography. The flash fires
automatically as required by the shooting conditions.
●
!
Pressing the Shutter button while the flash is charging, the shot will be
taken without the flash.
3
Advanced
Features