


31
Advanced
Features
30
1
2
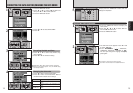
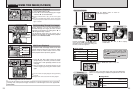
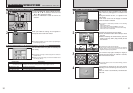
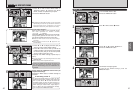
PHOTOGRAPHY MENU OPERATION
1Press the “MENU/OK” button to display the menu.
2Press “d” or “c” to select the menu item and
“a” or “b” to change the setting.
3Press the “MENU/OK” button to confirm the
selection.
When you enable the setting, an icon appears in
the top-left corner of the LCD monitor.
●
!
The settings available in the menu screen vary depending on
the Still photography mode.
01
02
03
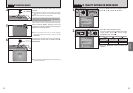
PHOTOGRAPHY MENU
STILL PHOTOGRAPHY MENU
✽ SELECTING a AUTO /s MANUAL (➡P.29)
Use the table below as a guide for selecting the
best setting.
y
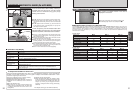
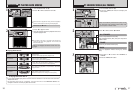
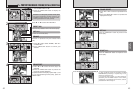
QUALITY SETTINGS IN STILL PHOTOGRAPHY MODE
●
!
The numbers to the right of each setting show the number of
available frames.
●
!
When you change the quality, the number of available frames
also changes (➡P.21).
Printing at A4 or A5 size or printing part of the image cropped at A6 size.
Quality mode
3
3 MB (2048 × 1536)
✽ FinePix A210 only
Best for A6 or A5 size prints.
2
2 MB (1600 × 1200)
Best for A6 size prints.
1
1 MB (1280 × 960)
For an image attached to E-mail or used on a website.
`
0.3 MB (640 × 480)
Sample Uses
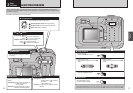
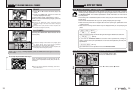
1
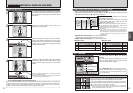
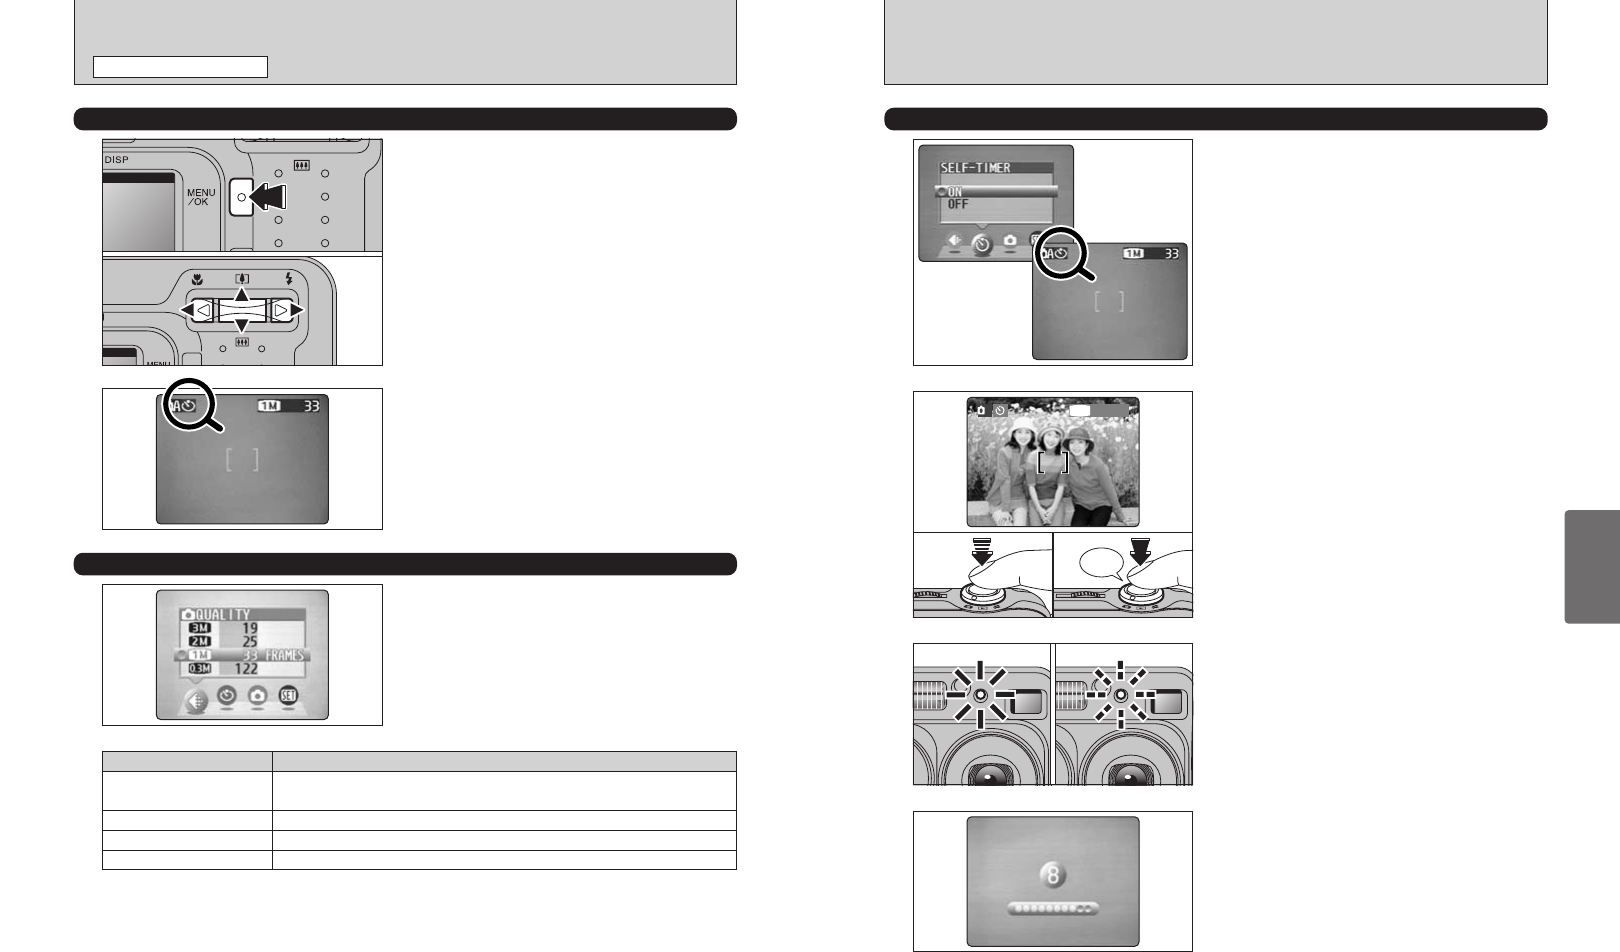
The self timer is used in situations such as group
shots where the photographer is included in the
shot.
Setting the self-timer to “ON”, “*” appears on the
LCD monitor.
In this mode, a timer runs for roughly 10 seconds
before the shutter is released.
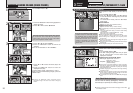
1Position the AF frame over the subject.
2Press the Shutter button down halfway to focus
the shot.
3Without releasing the Shutter button, press the
button all the way down (fully pressed) to start
the self-timer.
Beep
2
01
02
03
*
SELF-TIMER PHOTOGRAPHY
●
!
The self-timer is automatically switched off in the following
situations:
i When shooting ends
i When the camera is switched to“a” or “s” mode
i When the Mode switch setting is moved to another setting
i When the camera is switched off
●
!
The AF/AE lock can be also used (➡P.22).
●
!
Take care not to stand in front of the lens when you press the
Shutter button as this can prevent the correct focus or
brightness (exposure) being obtained.
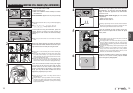
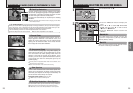
The self-timer lamp lights steadily for roughly 5
seconds and then blinks for another 5 seconds,
after which the shot is taken.
A countdown is displayed on the LCD monitor
indicating the time remaining until the picture is
taken.
Self-timer mode is automatically cancelled after
each shot.
3
4
●
!
To stop the self-timer, once it has started running, press the
“BACK” button.