126
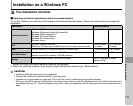
Installation on a Windows PC
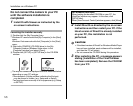
Do not connect the camera to your PC
until the software installation is
completed.
1 Install FinePixViewer as instructed by the
on-screen instructions.
Launching the installer manually
ADouble-click the [My Computer] icon.
*
Windows XP users should click [My Computer] in the [Start]
menu.
Windows Vista users should click [Computer] in the [Start]
menu.
BRight-click [FINEPIX] (CD-ROM drive) in the [My
Computer] window (Windows Vista users: in the
[Computer] window) and select [Open].
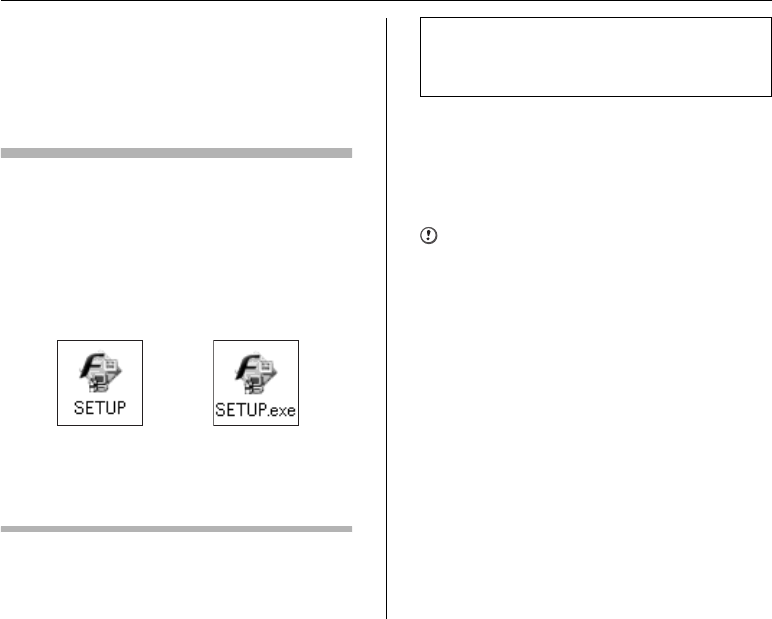
CDouble-click [SETUP] or [SETUP.exe] in the CD-ROM
window.
*
The way file names are displayed differs as described below
depending on your PC settings.
-File extensions (3-letter suffixes indicating the file type)
may be shown or hidden. (e.g. Setup.exe or Setup)
-Text may be shown normally or all in uppercase (e.g. Setup
or SETUP).
2 Install DirectX as directed by the on-screen
instructions and then restart your PC. If the
latest version of DirectX is already installed
on your PC, this installation is not
performed.
CAUTION
• If the latest version of DirectX or Windows Media Player
has not been installed, each software will be installed,
and then the PC will restart.
• Do not remove the CD-ROM during this procedure.
3 After restarting the PC, a message appears
stating [Installation of the FinePixViewer
has been completed]. Remove the CD-ROM
from your PC.
For Windows Vista users:
When loading the bundled CD-ROM on your PC, the
[AutoPlay] window may appear. In this case, click
[SETUP.exe].
When [User Account Control] window appears, click [Allow].


