10
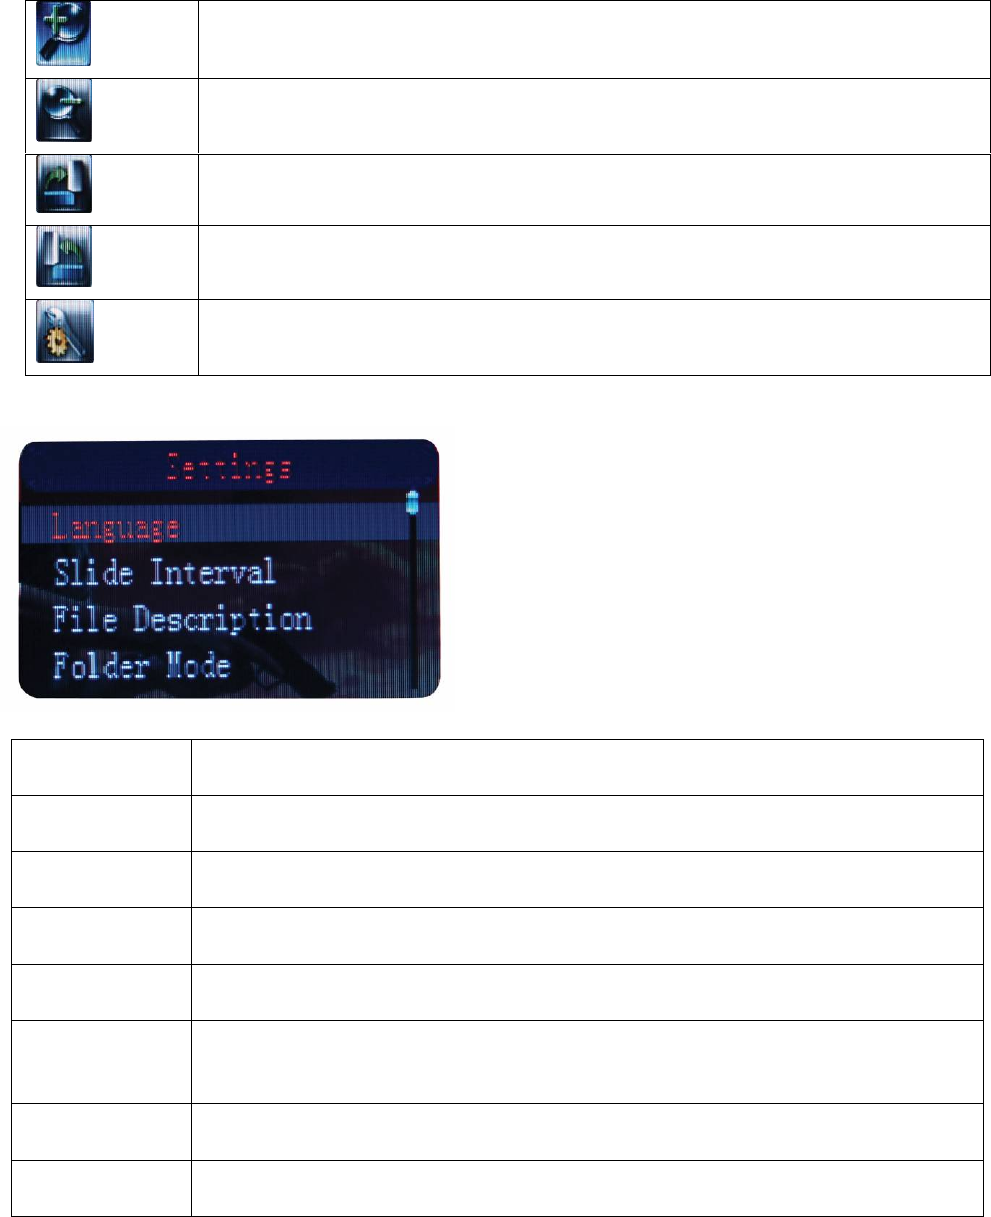
5. Select the photo you want to view by pressing the “Enter” button on the Remote Control or
on the Built-in Control. Pressing the “Menu” button on the Remote Control will show the
options below.
.
6. Select the “Settings” icon to open the “Settings” Menu.
Language Select this to choose the language you want your “Settings” menu to
be.
Slide Interval Select this to set the time interval between pictures for “AUTOPLAY”
mode. The time limit can vary from 3 seconds to 60 seconds.
File
Description
Enabling this option will show the file name and order of the files being
displayed onscreen.
Folder Mode Enabling this option will show the folders in the memory instead of
displaying all of the photos as thumbnails at the same time.
Aspect Ratio Select this to have the photos displayed at the ratio of the picture or by
expanding to the full screen size of your Digital Photo Frame.
LCD Power
Saving
Select this to set the “LCD power saving” mode. Select the time for
your Digital Photo Frame to turn off automatically according to the time
limit, or select “Off” to disable this function.
Default Setting Select this to change all settings back to factory default settings.
System
Information
Select this to show the system information for your Digital Photo Frame.
Zoom in.
Zoom out.
Rotate photo clockwise 90 degrees.
Rotate photo counterclockwise 90 degrees.
Opens the “Settings” Menu.
