


7
Getting Started
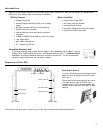
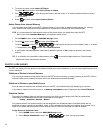
1. Plug the AC Power Adapter into the DPF’s DC power jack and an electrical wall outlet.
2. Slide the power button on the left side of the DPF up to the ON position.
3. If prompted, select the desired language for the user interface display (varies by model).
4. After the initial start up screen is displayed, a slideshow will automatically begin displaying the photos that are stored in
the internal memory.
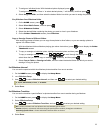
5. To view your own photos, insert a memory card containing your photos into the slot on the DPF. Press
on
Start Slideshow.
CAUTION: The memory cards will only fit in one direction; do not force them as this will damage the card reader.
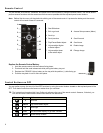
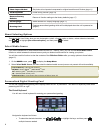
The HOME Screen
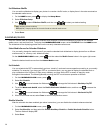
The main DPF features, PHOTOS and CALENDAR/CLOCK, are accessed from the HOME screen. To access the HOME
screen while a slideshow is playing, press
.
PHOTOS
Display your photo files (.JPG or .JPEG) individually or as slideshows. PHOTOS-Manage: set viewing
preferences, assign photos to category folders, import and delete photo files (page 10)
CALENDAR
View calendar and clock with photo slideshow, and manage the calendar and clock settings (page 14)
Edit
Quick access to single photo manage mode for Zooming, Rotating, or Deleting currently displayed photo.
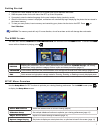
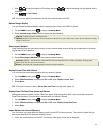
SETUP Menu Overview
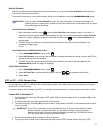
Use the Setup Menu for DPF functions to optimize your viewing/listening preferences. On the HOME screen press
to display the
Setup Menu screen.
Select Media Source
Select the media source for current viewing (page 8)
Slideshow Setup
Set multiple slideshow functions to optimize your viewing preferences (page 12)
Adjust Screen Colors
Adjust LCD screen settings as desired (page 10)
Optimal Image Display
Set photos to display as actual photo size, or optimized to best fit the screen (page 11)