EN-26
Protecting 3KRWRVDQG9LGHRV
Set the data to read-only to prevent photos or videos from being erased by mistake.
1. Press the 7 button.
The last photo or video appears on the screen.
2. Select the photo or video that you want to protect
with the left or right side of the 4-way navigation
control.
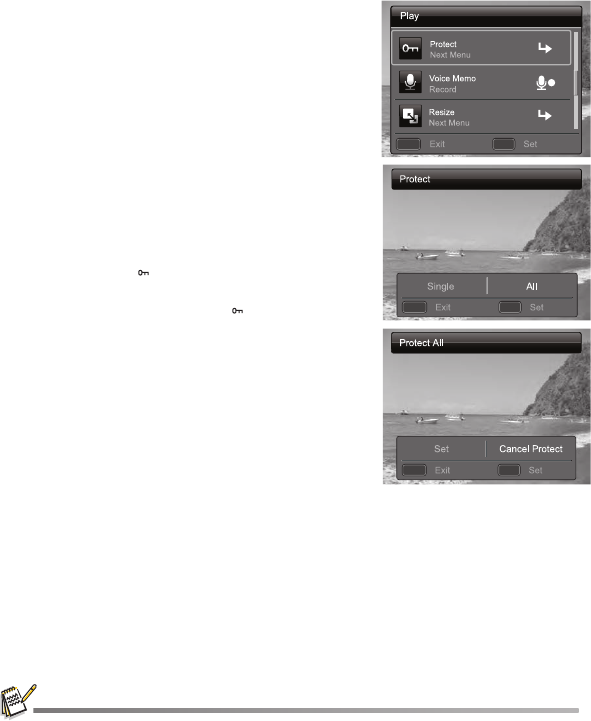
3. Press the MENU button.
4. Select [Protect] with the up or down side of the
4-way navigation control, and press the SET button.
5. Select [Single] or [All] with the left or right side of
the 4-way navigation control, and press SET button.
6. Select [Set] with the left or right side of the 4-way
navigation control, and press the SET button.
Protection is applied to the photo or videoand the
camera returns to the playback mode.
The protect icon [ ] is displayed with protected
photos and videos.
When [All] has been selected, [ ] is displayed
with all the photos and videos.
Canceling the Protection
To cancel protection for only one photo or video, display
the photo or video on which you want to remove the image
protection.
1. Press the 7 button.
The last photo or video appears on the screen.
2. Select the photo or video that you want to cancel protection
with the left or right side of the 4-way navigation control.
3. Press the MENU button.
4. Select [Protect] with the up or down side of the 4-way navigation control, and press the
SET button.
5. Select [Single] or [All] with the left or right side of the 4-way navigation control, and press
the SET button.
6. Select [Cancel Protect] with the left or right side of the 4-way navigation control, and press
the SET button.
Theemoval of protection is executed and the camera returns to the playback mode.
Formatting an SD/SDHC memory card overrides protection, and erases all photos and videos
regardless of their protected status.
Date/Time
Setup
2010.01.01
Language
English
Auto Off
Off
MENU SET
;;
MENU SET
;;
MENU SET
;;


