


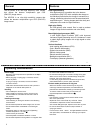


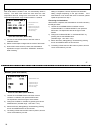
←・→ : The input characters can be edited by using the
arrow symbols.
1) Set the flashing cursor to either of the arrow symbols and
Press SET button. The flashing cursor shifts in the arrow
direction. Press the SET button repeatedly to where the
flashing cursor overlaps the character to be changed.
2) Select the character to be inserted with the UP and DOWN
buttons, then press SET to change the character.
RESET : To delete all characters from the display, shift the
flashing cursor to “RESET”, then press SET. After
deleting, the flashing cursor returns to the start of
the input character select table.
RET : Position the flashing cursor to “RET” and press SET
to exit the “CAMERA TITLE MENU” and return to
the “MAIN MENU”.
END : Shift the cursor to “END” and press the SET button to
close the menu and return to the normal screen.
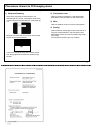
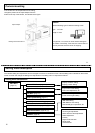
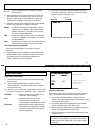
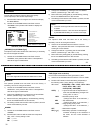
Title positioning setting POSITION
Use when the display position on the screen has been
determined.
1) Shift the flashing cursor to Position and press SET to open
the title position screen indicated in the figure. Screen top
and bottom positions are determined respectively by
“MODE” settings “TOP” and “BOTTOM”.
2) Press the UP and DOWN buttons to shift the characters
horizontally. Afterwards, press SET to confirm the display
position and return to the main menu.
CAMERA NO.1
…… Character position (Top)
…… Character position (Bottom)
Title positioning screen (Top)
UP button DOWN button
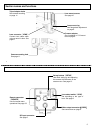
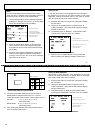
Light control mode setting
1) Press the SET button for longer than 2 seconds to display
the main menu.
2) Use the UP and DOWN buttons to shift the cursor to
“LIGHT CONTROL”, then press the SET button to display
the light control menu.
3) While the cursor is at “MODE”, press the SET button to shift
the mode in the sequence “AVERAGE”, “BLC”, “PEAK/AVE”.
AVERAGE : Responds to the average lighting over a
broad area. (Factory setting)
BLC : Exposure is controlled only by the
luminosity level of specific area.
(Scanning area is selectable from 9 area.)
PEAK/AVE : The peak level and the average level are
used together and exposure is controlled.
(The ratio of a peak value and average
value is changeable.)
Light Control Menu
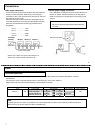
Video level adjustment
The optimum video level is set at the factory (factory setting is
“000”). If necessary, the level can be changed as foIIows.
1) Use the UP and DOWN buttons to shift the cursor to
“LEVEL”, then press the SET button. The adjustment value
at the right of Level flashes.
2) Change the video level by pressing the UP and DOWN
buttons. (Variable range: -128~000~+127)
3) Return the factory setting(000) by simultaneously pressing
the UP and DOWN buttons for two seconds.
4) Press the SET button to confirm the setting and the cursor
migrates to “RET”.
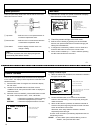
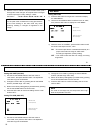
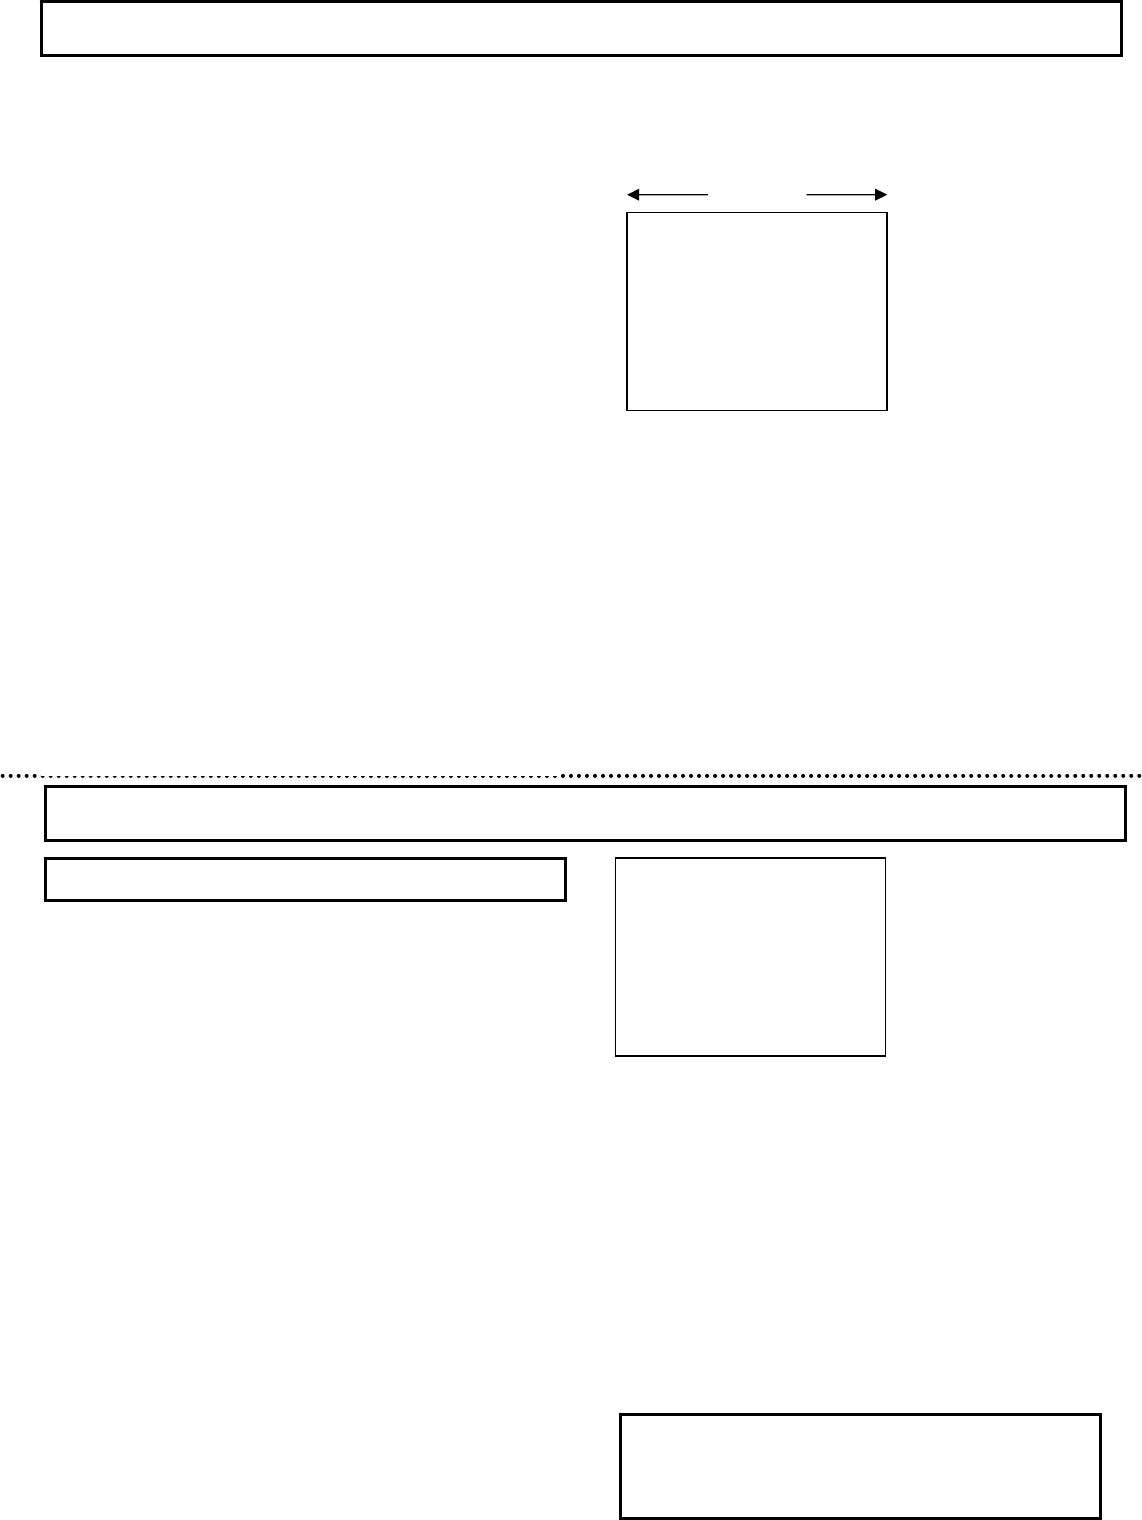
◆ LIGHT CONTROL MENU ◆
>MODE :AVERAGE
LEVEL : 000
RET
END
…… Select light control mode
…… Video level adjust (-128~000~+127)
…… Return to the main menu
…… End of menu display
LIGHT CONTROL MENU (MODE: AVERAGE)
Note
For video level adjustment on lenses that use the video
signal type lens iris, please refer to the user's manual
of the lens.
15
16