Getting Started
25
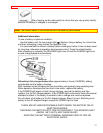
Notes when using the DC camera light:
Keep the DC camera light away from splashing or dripping water.
Never cover the DC camera light with paper, plastic or other object as the cooling vents
may become blocked possibly causing the camera light to overheat.
Never use the DC camera light in the vicinity of explosive or highly flammable materials.
Always allow the DC camera light to cool fully before storing.
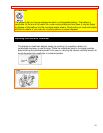
The DC camera light becomes very hot during use of the camera light or immediately
after use. Be careful that your hand or hair does not touch them.
When the DC camera light is on, avoid subjecting the camera light to impacts or sharp
vibrations.
If the DC camera light is turned on and off during recording, there could be noise in the
picture. Watch the battery charge indicator especially when using a battery as the power
source.
When the DC camera light is used, the operation time of the camera/recorder when a
fully-charged battery pack is attached is halved.
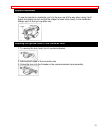
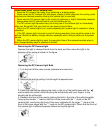
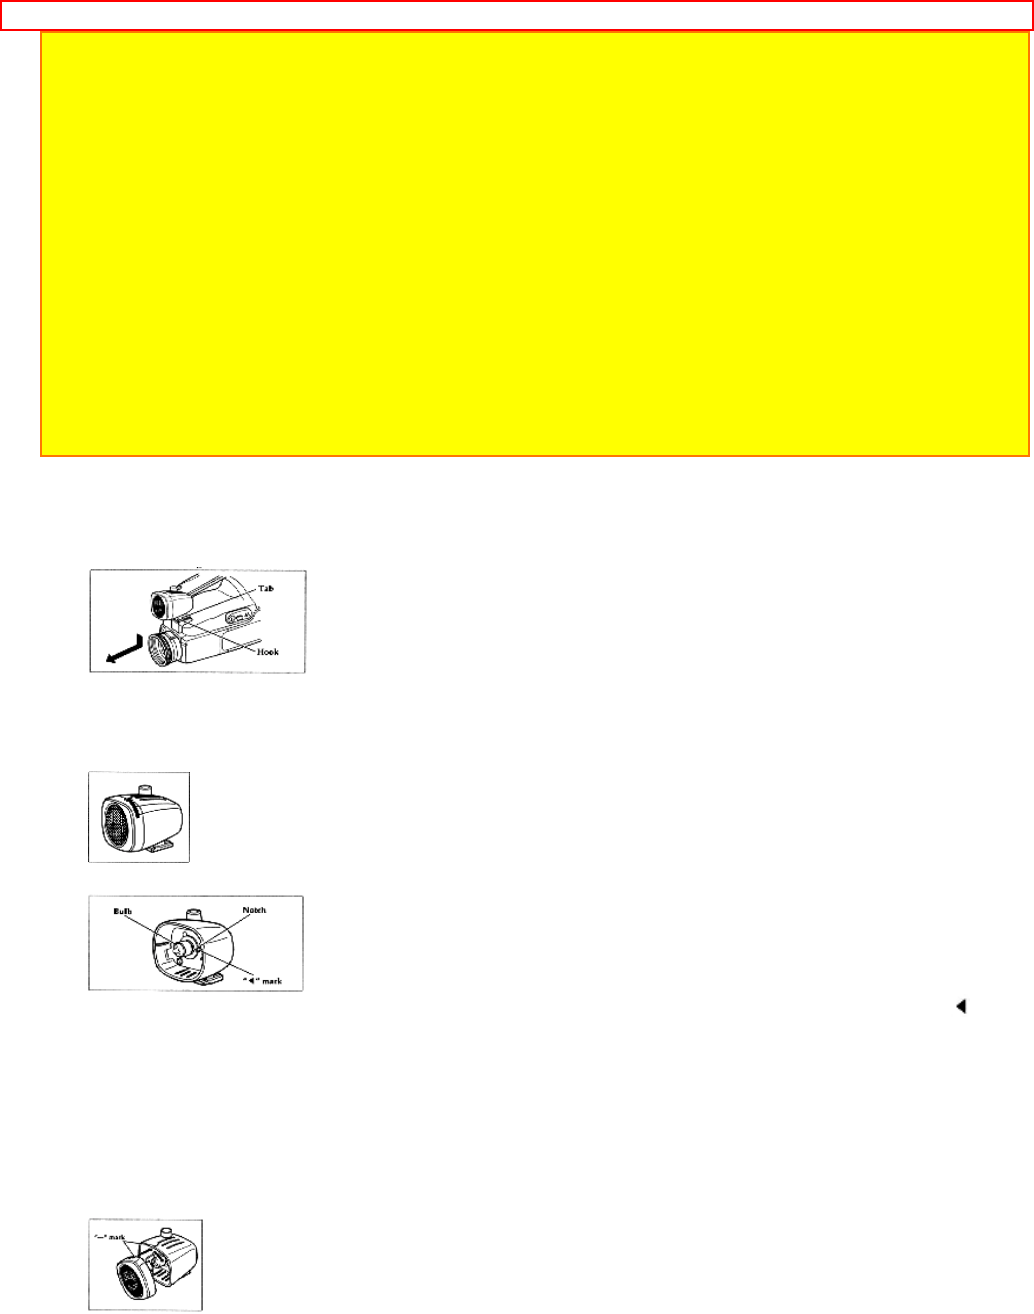
Removing the DC Camera Light
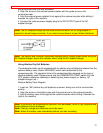
Depress the light to release the tab from the hook and then move the light in the
direction of the arrow as shown in the figure.
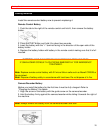
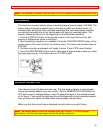
Replacing the DC Camera Light Bulb
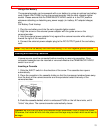
1. Turn the front of the case counter-clockwise and remove it.
2. Remove the bulb by pulling it out through the opened case.
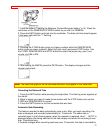
3. Install the new bulb by aligning the notch in the rim of the bulb's base with the "
"
mark outside the socket. Avoid touching the bulb directly with your fingers. It may
shorten the life of the bulb.
4. Reattach the front of the case by placing the bulb in the hole of the reflective plate,
lining up the smaller "-" mark on the front of the cover with the "-" mark on the DC
camera light, and turning the front of the cover clockwise till the larger "-" mark on the
front of the cover aligns with the "-" mark on the DC camera light. Check that the front of
the camera light is attached properly before turning the light on.


