


Getting Started
27
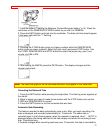
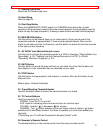
1. Load the battery ("Loading the Batteries: Camera/Recorder battery" p 14). Press the
red button on the CAMERA/OFF/VIDEO switch as you slid it to CAMERA.
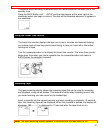
2. Press the DATE button and look into the viewfinder. The date and time should appear
in the lower right with the "1" flashing.
3. Pressing the F.FWD button gives you higher numbers while the REW/REVIEW
button gives you lower numbers. Select the right month and press STOP button. Use
the F.FWD, REW/REVIEW and STOP buttons to select the proper day, year, hour,
minute, and AM or PM.
4. After setting the AM/PM, press the DATE button. The display changes and the
internal clock starts.
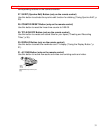
Note: The date/time graphics will be recorded whenever they appear in the viewfinder.
Correcting the Date and Time
1. Press the DATE button while pressing the stop button. The flashing cursor appears at
the month.
2. Move to where you need to make the correction with the STOP button and use the
F.FWD and REW/REVIEW to correct.
3. Press the DATE button to set the corrected date and time.
Automatic Date Recording
This feature records the date automatically once a day. After you begin recording, the
date is displayed and recorded automatically for 10 seconds. The same date is
recorded again in the following cases; when the cassette is replaced, when " AUTO" is
displayed again after being switched to the date display and when the recording is less
than 10 seconds long.
If the date changes while recording continues over 10 seconds, the date is recorded for