


19
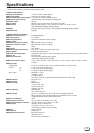
■ MENU-PAGE 2
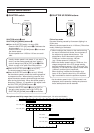
[DATE] menu
Set the date.
Use the [LEFT]/[RIGHT] buttons to select the part of the
date to be changed (the numbers will blink). Use the
[UP]/[DOWN] buttons to set the new value.
[TIME] menu
Set the time.
Use the [LEFT]/[RIGHT] buttons to select the part of the
time to be changed (the numbers will blink). Use the
[UP]/[DOWN] buttons to set the new value.
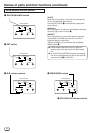
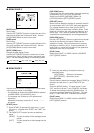
[DATE FORM] menu
Change the date display format.
Use the [LEFT]/[RIGHT] buttons to select one of three
formats (year, month, day/day, month, year/month, day,
year). The date displays change in the following order:
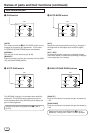
[IRIS ZONE] menu
Change the size of the zone where automatic sensitivity
compensation (ALC, ALC+EEI) is performed.
Select from [LARGE], [MEDIUM], [SMALL] or
[V.STRIPE] with the [LEFT]/[RIGHT] buttons.
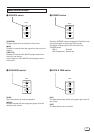
[IRIS DET.] menu
Select the level detection method for automatic sensitiv-
ity compensation (ALC, ALC+EEI) from peak detection
(P), average detection (A) or both. Use the [LEFT]/
[RIGHT] buttons to select from 9 different levels. Peak
detection is at the far left, while average detection is at
the far right. The 7 levels in between can be used for
combinations of peak detection and average detection.
[GENLOCK] menu
Use the [LEFT]/[RIGHT] buttons to adjust the horizontal
phase for the external sync signal. Phase can be
adjusted in 9 steps. Each time the button is pressed,
the phase is shifted by 34 ns. Pressing the button 10
times (340 ns), moves the indication by one graduation.
Adjustment up to 2.6 µs is possible.
[PAGE] menu
Switch menu PAGE 1 to PAGE 3 with the CURSOR
[LEFT]/[RIGHT] buttons.
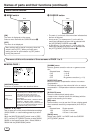
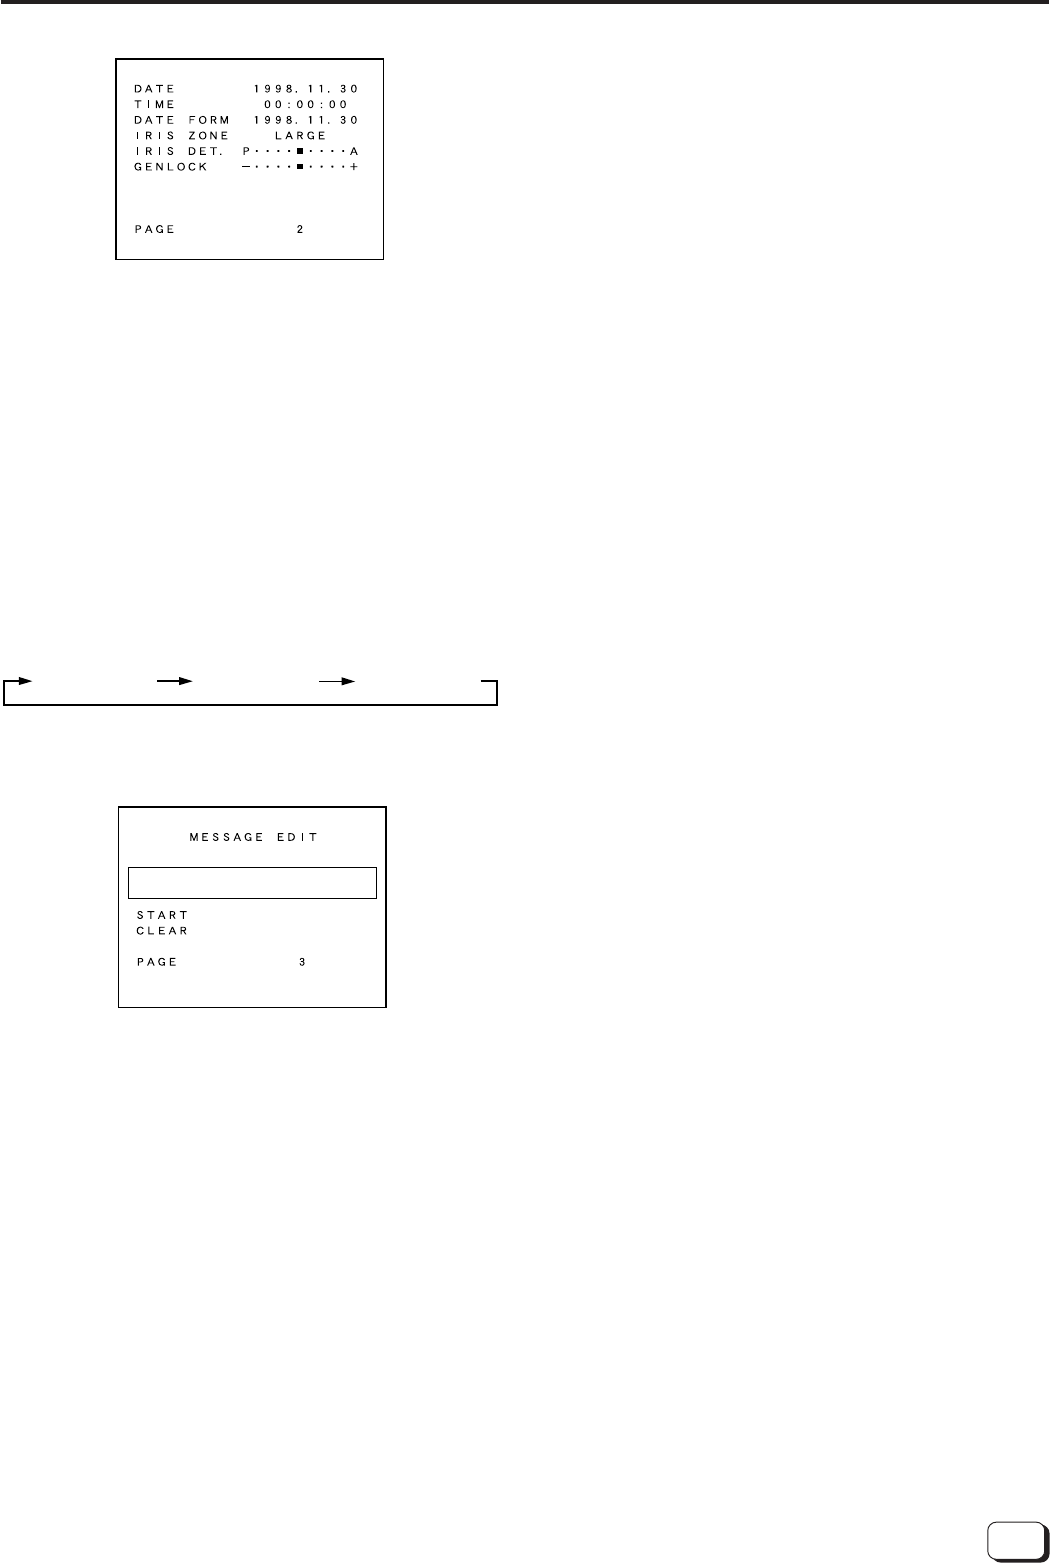
■ MENU-PAGE 3
Use this menu to edit the message which will be shown
in the upper left corner of the screen.
• The message is shown when [MESSAGE] is selected
in MENU-PAGE 1's [AUXILIARY] menu.
• The message can include up to 22 alphanumeric
characters.
Selectable characters include A to Z, 0 to 9, ., :, -, /,
and space.
[START] menu
1 When [START] is selected, the right arrow (→) and
left arrow (←) together with "FIRST" and "LAST" are
shown.
2 The RIGHT/LEFT buttons function as described
below.
[RIGHT] : The first character of the message can be
edited.
[LEFT] : The last character of the message can be
edited.
3 Once you start editing, the buttons function as
described below.
[UP]/[DOWN] : Selects the characters.
[LEFT]/[RIGHT] : Moves the cursor.
[CLEAR] menu
Use this menu to delete the message. When [CLEAR] is
selected, the right arrow (→) and "EXECUTE" are
shown.
Press the [RIGHT] button. The down arrow (↓) and
"OK", and the up arrow (↑) and "CANCEL" are shown.
To delete the message, press the [DOWN] button. To
cancel the operation, press the [UP] button. The right
arrow (→) and "EXECUTE" indications are restored.
[PAGE] menu
Switch menu PAGE 1 to PAGE 3 with the CURSOR
[LEFT]/[RIGHT] buttons.
year, month, day day, month, year month, day, year