EN31
PLAYBACK
Playback Sound
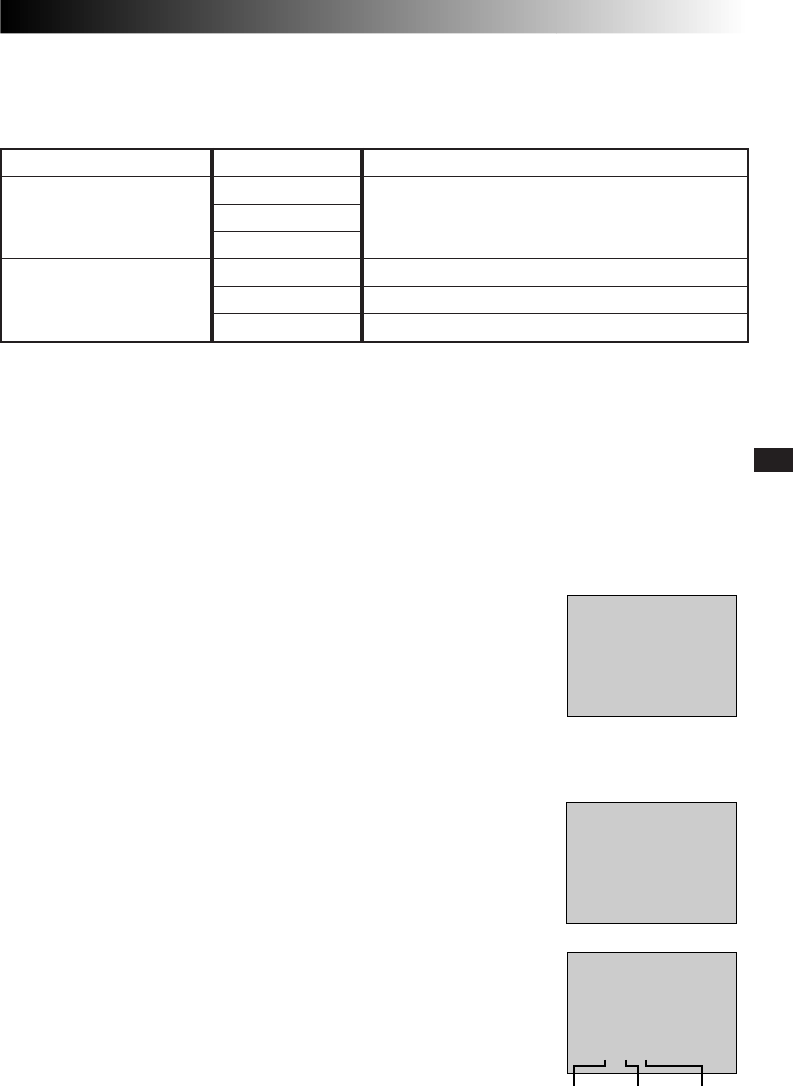
During playback, the camcorder detects the sound mode in which the recording was made, and plays the
sound back. Select the type of sound to accompany your playback picture. (32 kHz is preset to “SOUND 1”
and 48 kHz is preset to “FULL SOUND”.)
INDICATION
You can make the playback sound, time code and date indications disappear.
This function overrides the “TIME CODE” and “DISPLAY” settings in the Playback
Menu. To change this setting, select “INDICATION” in the Playback Menu
(੬ pg. 30).
OFF– The playback sound, time code and date indications do not appear on the
Playback Screen.
ON– The playback sound, time code and date indications are displayed
according to how “TIME CODE” and “DISPLAY” are set in the Playback
Menu (factory preset).
NOTE:
If “INDICATION” is set in the Date/Time Menu, “INDICATION” in the Playback
Menu will also be set to the same setting (
੬
pg. 18, 20).
DISPLAY (Displaying the Date During Playback)
If the time has been set, the date is automatically recorded separately from the
recorded video signal. You can display or remove the date anytime during
playback. To change this setting, select “DISPLAY” in the Playback Menu
(੬ pg. 30).
ON– The date is displayed on the playback screen (factory preset).
OFF– The date is not displayed.
TIME CODE (Displaying The Time Code During Playback)
You can display the time code on screen during playback. This is especially useful
for editing. To change this setting, select “TIME CODE” in the Playback Menu
(੬ pg. 30).
ON– The time code is displayed on the playback screen.
OFF– The time code does not appear (factory preset).
DEC 25 ’ 98
PM 5 : 30
TC
12 : 34 : 24
Display
Minutes Seconds Frames*
*25 frames = 1 second
If you want to change the output sound of a tape recorded at 32 kHz, access the Playback Menu and, in step 3
on page 30, select “32 kHz MODE” and set it for “FULL SOUND”, “SOUND 1” or “SOUND 2”. For tapes
recorded at 48 kHz, set in the same manner.
NOTES:
●
You can also use the provided RM-V711U remote control’s AUDIO MONITOR button to change the output
sound (without having to access the Playback Menu). Make sure you point the remote control at the
camcorder’s remote sensor.
●
The camcorder cannot detect the sound mode in which the recording was made during fast-forward or
rewind. During playback the sound mode is displayed in the upper left corner.
TC
12 : 34 : 24
25 . 12 . 99
16 : 40
TC
32kHz/SOUND1
12 : 34 : 24
25 . 12 . 99
16 : 40
Recording sound
32 kHz
48 kHz
Display
FULL SOUND
SOUND 1
SOUND 2
FULL SOUND
SOUND 1
SOUND 2
Output sound
Stereo sound
Stereo sound
“L” sound is output on both channels
“R” sound is output on both channels
