


15
T
W
T
W
T
W
T
W
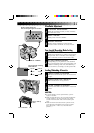
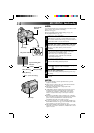
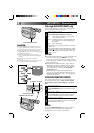
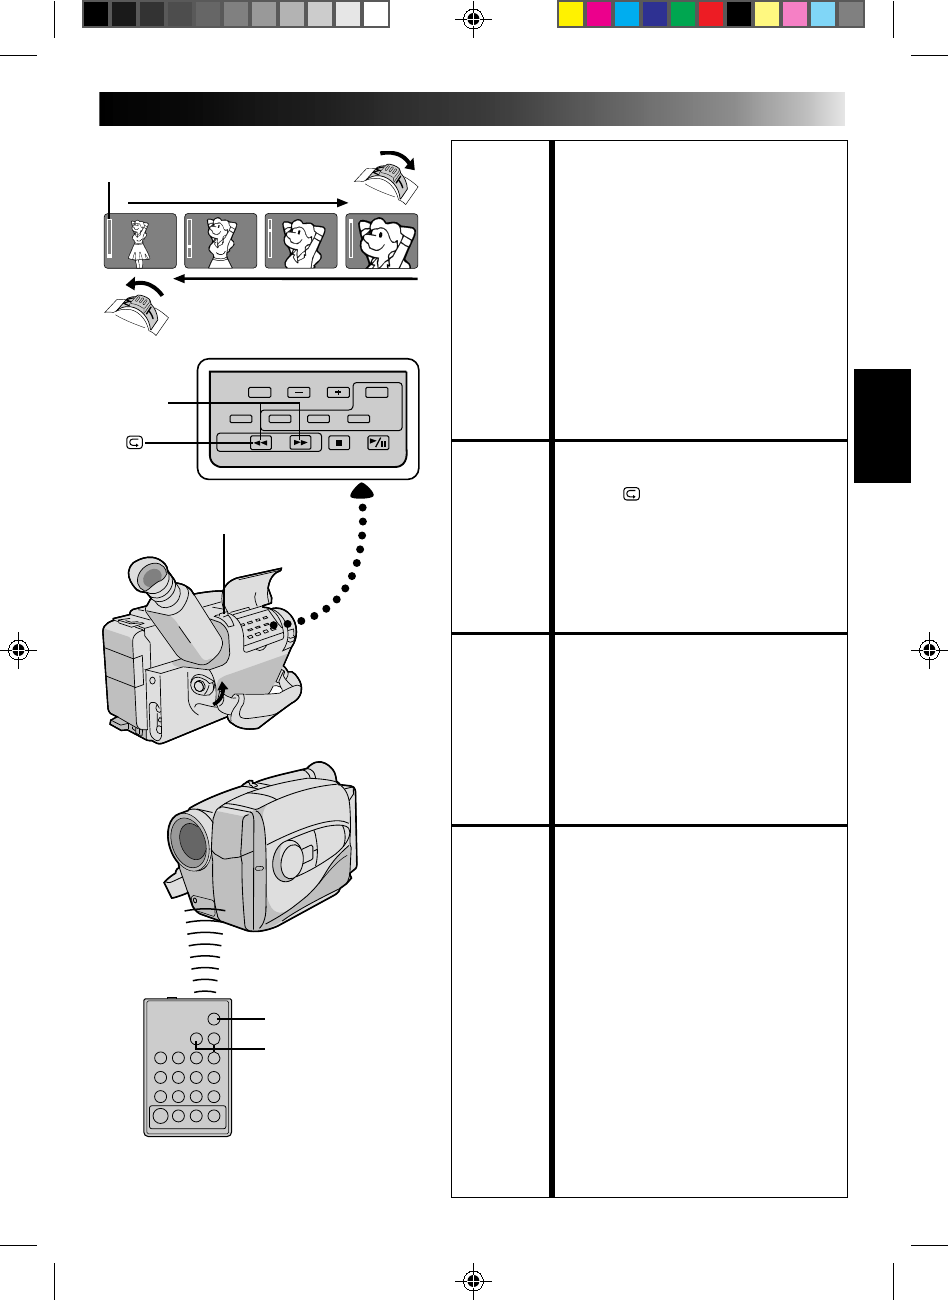
RETAKE
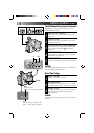
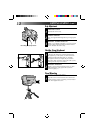
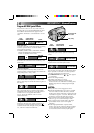
Power zoom switch
Zoom-in
Zoom indicator
Zoom-out
RECORDING
Basic Features
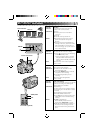
START/STOP
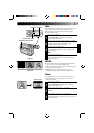
VISS
RM-V700U (optional)
FEATURE: Zooming
PURPOSE: Varies the focal length of the lens and
produces the zoom in/out effect.
OPERATION:
Zoom In
1) Pull the power zoom switch down
toward “T”.
Zoom Out
2) Push the switch up toward “W”.
NOTES: ●
The further the power zoom switch is
pushed, the faster the zoom speed
becomes.
●
Focusing may become unstable during
zooming. In this case, set the zoom while
in Record–Standby, set manual focus or
Focus Lock (
੬
pg. 20, 21), then zoom in
or out in Record mode.
FEATURE: Quick Review
PURPOSE: To check the end of the last recording.
OPERATION: 1) Press “
” for less than 2 seconds during
the Record–Standby mode.
• Tape is rewound for about 2 seconds
and played back automatically, then
pauses in Record–Standby mode for the
next shot.
NOTE:
Distortion may occur at start of playback.
This is normal.
FEATURE: Retake
PURPOSE: To re-record certain segments.
OPERATION: 1) Make sure the camcorder is in the
Record–Standby mode.
2) Press either RETAKE button to reach the
start point for new recording.
3) Press Recording Start/Stop to start
recording.
NOTE:
Noise may appear during Retake.
This is normal.
FEATURE: Index Code Marking
PURPOSE: To give you automatic access to any selected
point on a recording. Auto Marking and
Manual Marking are available.
OPERATION:
Auto Marking
An index code is always marked to start the
first recording on a new date after a cassette
is inserted.
Manual Marking (Using the optional
RM-V700U Remote Control Unit)
1) Press VISS once to place the index code.
INDEX blinks in the viewfinder during
marking.
NOTES: ●
If VISS is pressed during
Record–Standby mode, the mark is
placed where START/STOP is pressed.
●
If the date changes during a recording, it
becomes the first recording of the new
date and an index mark is placed at that
point.