22
RECORDING
Advanced Features (cont.)
+
02
+
06
–
06
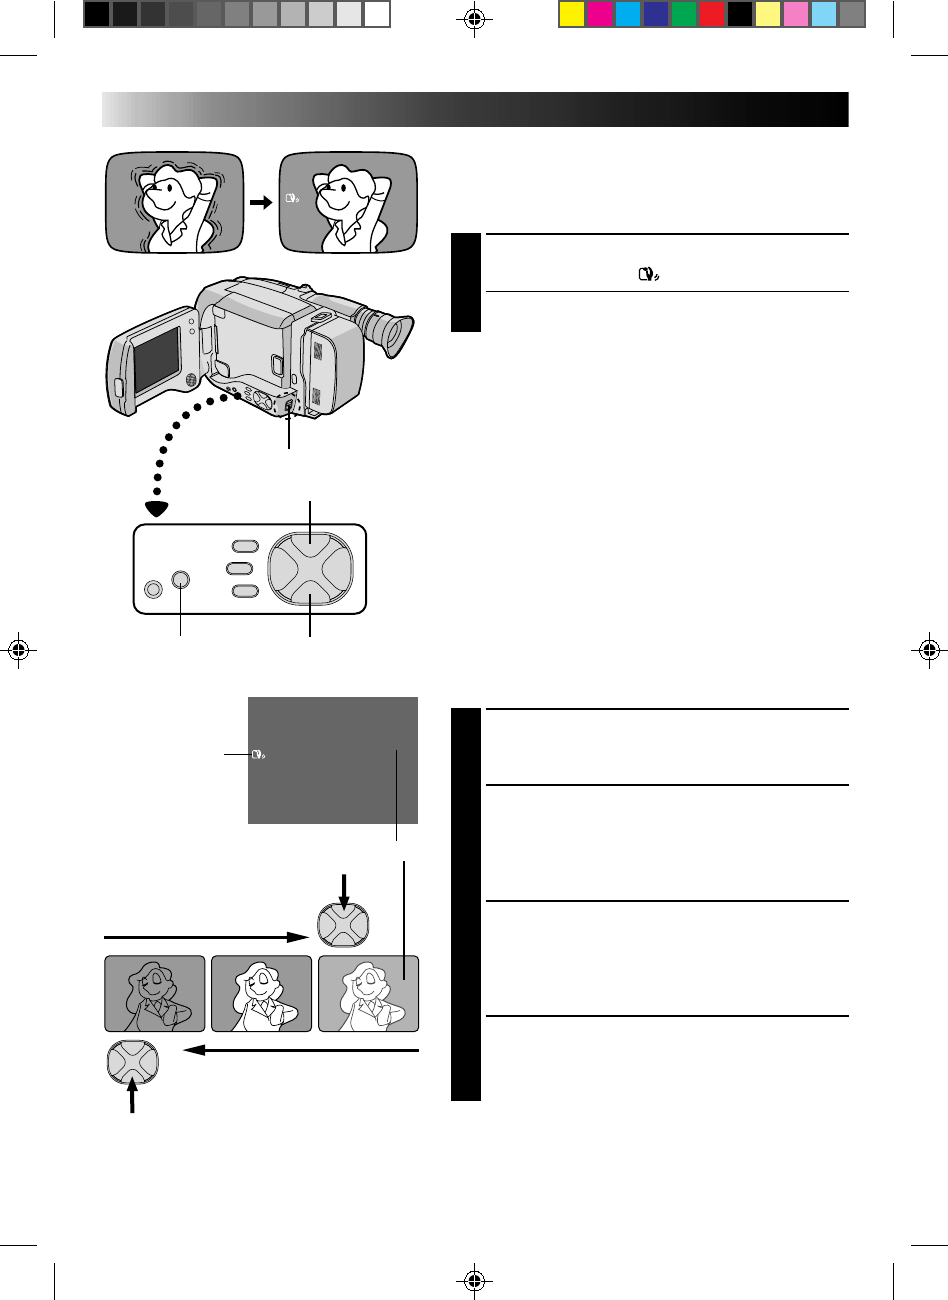
Digital Image Stabilizer
This feature compensates for unstable images caused by
camera-shake, particularly noticeable at high magnifica-
tion.
ACTIVATE D. I. STABILIZER
1
Press D.I.STABILIZER. “ ” appears in the viewfinder.
•To switch off the Digital Image Stabilizer, press
D.I.STABILIZER. The indicator disappears.
NOTES:
●
Accurate stabilization may not be possible if hand
shake is excessive, or under the following conditions:
•
When shooting subjects with vertical or horizontal
stripes
•
When shooting dark or dim subjects
•
When shooting subjects with excessive backlighting
•
When shooting scenes with movement in various
directions
•
When shooting scenes with low-contrast
backgrounds
●
Switch off DIS when recording with the camcorder on
a tripod.
Exposure Control
This feature automatically adjusts the iris for the best
available picture quality, but you can override and make
the adjustment manually.
SELECT SHOOTING MODE
1
Set the Shooting Mode selector to “PRESET”.
BRIGHTEN IMAGE
2
Press + (maximum +06). The Exposure level
indicator appears in the LCD monitor or the
viewfinder.
OR . . .
DARKEN IMAGE
Press – (maximum –06). The Exposure level
indicator appears in the LCD monitor or the
viewfinder.
When you want to return to the factory setting . . .
RESTORE INITIAL SETTING
3
Press + and – simultaneously. The standard setting is
immediately restored and the Exposure level
indicator disappears.
Exposure Level Indicator
–
+
LCD monitor
or viewfinder
Shooting mode selector
D.I. STABILIZER
D.I.S. Indicator
To brighten the image
To darken the image


