


EN 31
MasterPage: Advan_Heading0_Right
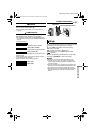
ADVANCED FEATURES
SYSTEM
Each setting is linked with “s SYSTEM”, which appears
when the Power Switch is set to “M”.
● The parameters are the same as in the description on
page 29.
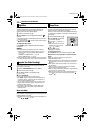
VIDEO DISPLAY
The “n” (VIDEO DISPLAY) settings are effective only for
video playback except “BRIGHT” and “AUX MIC”.
● The parameters (except “OFF” in ON SCREEN settings)
are the same as in the description (CAMERA DISPLAY) on
page 29.
[ ] = Factory-preset
੬ pg. 13, “Brightness Adjustment Of The Display”
When set to “OFF”, the camcorder’s display disappears.
When set to “AUTO”, the date/time are displayed in the
following cases:
● When playback starts. The camcorder displays the date/
time when scenes are recorded.
● When the date is changed during playback.
੬ pg. 30, “AUX MIC”
BRIGHT
ON SCREEN OFF / [LCD] / LCD/TV
DATE/TIME [OFF] / AUTO / ON
TIME CODE [OFF] / ON
AUX MIC OFF / [ON]
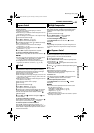
FEATURES FOR RECORDING
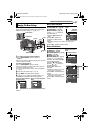
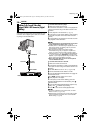
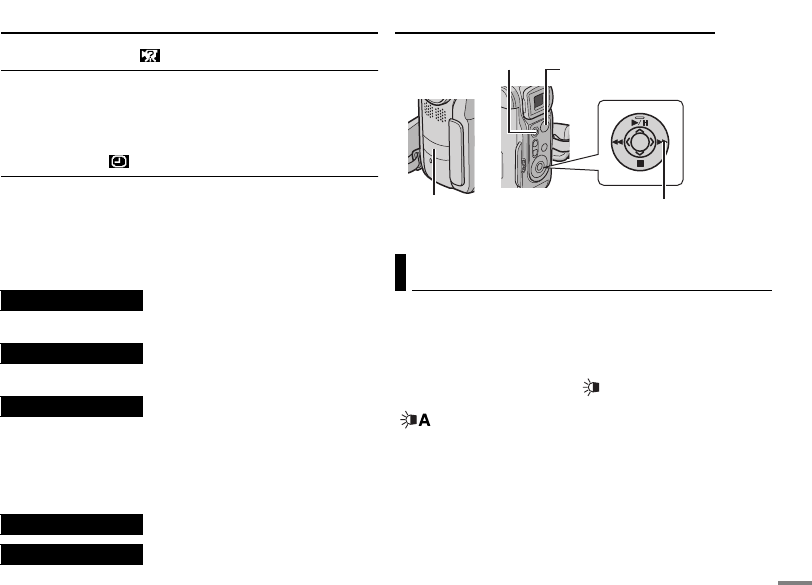
LED Light can be used to brighten the subject in the dark
place during video recording or D.S.C. shooting.
1 Press LIGHT repeatedly to change the setting.
OFF: Turns off the light.
ON: The light is on always. ( appears.)
AUTO: The light turns on automatically when dark.
( appears.)
2 Press the Recording Start/Stop Button to start video
recording or SNAPSHOT to shoot a still image.
NOTES:
● Be careful not to point the LED Light directly to eyes.
● If the light does not reach the subject, the Night-Alive
function will be activated, and makes it possible to shoot
the subject brighter.
● There is a difference in the brightness of the images shot
between the center area which is illuminated by the LED
Light and the surrounding areas (which will be darker).
● Since subjects are shot at a reduced shutter speed when
the LED Light setting is “ON”, they will appear slightly
blurred.
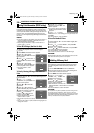
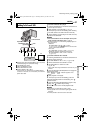
LED Light
B
A
C
K
L
I
G
H
T
F
O
C
U
S
L
I
G
H
T
N
I
G
H
T
SET
SNAPSHOT
LIGHT
LED Light
Recording Start/Stop Button
GR-DX97US.book Page 31 Monday, February 9, 2004 2:28 PM