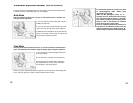
Average Exposure Metering Mode (A)
(Set the exposure metering mode selector lever to "A".)
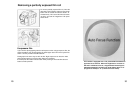
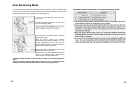
The average light of the entire picture area is
mea
sured, with emphasis on the center.
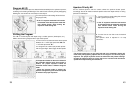
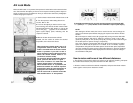
Spot Exposure Metering Mode (S)
(Set the exposure metering mode selector lever to "S".)
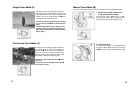
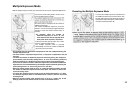
The light in the circle at the center of the picture
area is measured to determine the exposure. This
mode is best suited for strongly backlit subjects,
or when you desire to measure a specific area.
When the spot you want to measure is not at the
center of the picture, use the AE lock function.
(See pages 57-58 AE Lock Mode.)
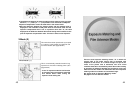
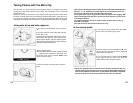
Average/Spot Auto Switching Exposure Metering Mode (A-S AUTO)
(Set the exposure metering mode selector lever to "A
-
S".)
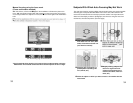
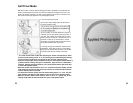
With the A-S metering mode, average or spot expo-
sure metering is selected automatically and the
appropriate exposure is set accordingly.
The spot mode is selected automatically when the
brightness within the spot metering area is lower than
the brightness of the average metering area by about
1.5 EV or greater. The average mode is selected
when the spot exposure metering value is the same
or brighter than the average value. When the
difference between the spot value and average value
is between 0.75 and 1.5 EV, the appropriate exposure
is achieved at an intermediate value.
•lf a polarizing filter is necessary, use a circular polarizing filter. A linear polariz-
ing filter is not compatible with the Mamiya 645 AF and its operations.
Exposure Compensation
In some situations, such as a great difference between the subject and background
brightness or overall subject tones that will not meter correctly because they are all
black or white, the resulting photograph may be under- or overexposed. When this
occurs, use the exposure compensation function. Exposure compensation can also be
used when you want to intentionally create overexposed or underexposed pictures.
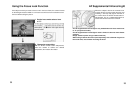
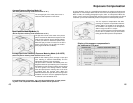
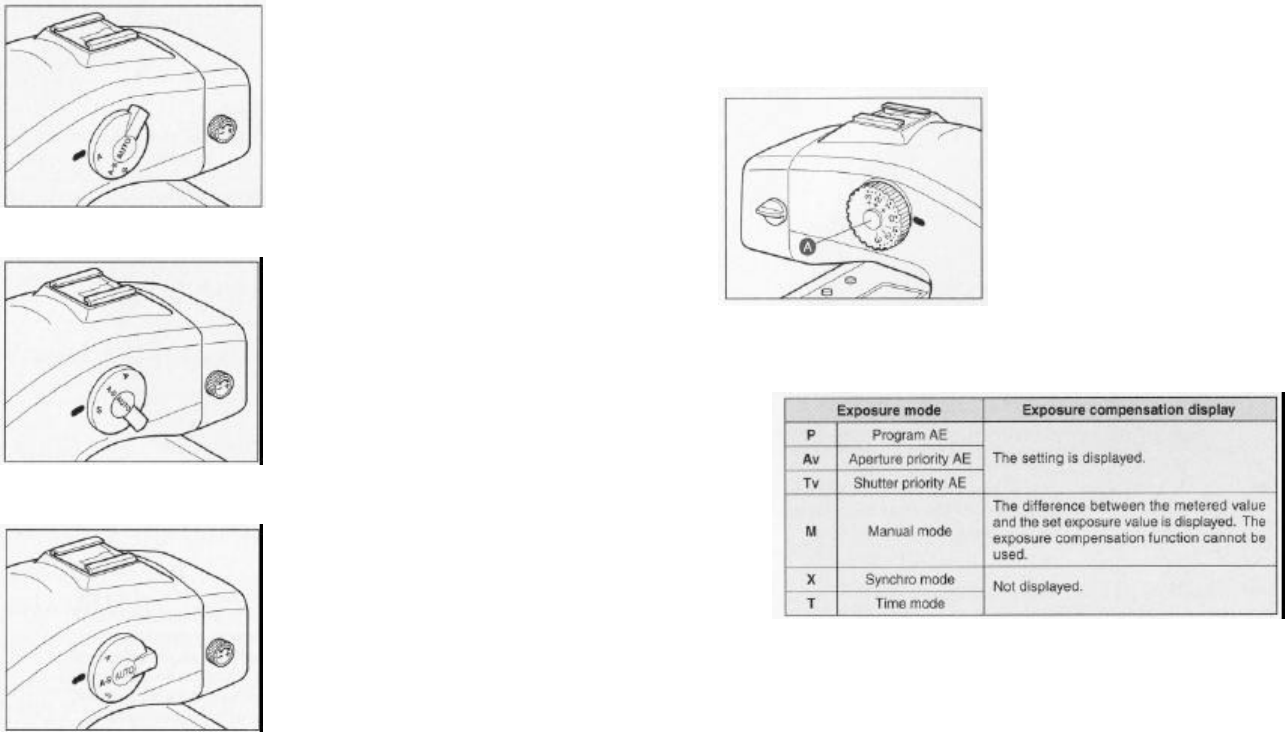
Turn the exposure compensation dial while
pressing the exposure compensation dial lock
release button “A”
located on the right side of
the viewfinder. The exposure can be adjusted
within a range of ±3 EV in 1/3 steps.
Be sure to set the exposure compensation dial
back to the "0" position once you are finished
taking photos with exposure compensation.
Display of the exposure compensation in
the viewfinder's LCD panel
45
46


