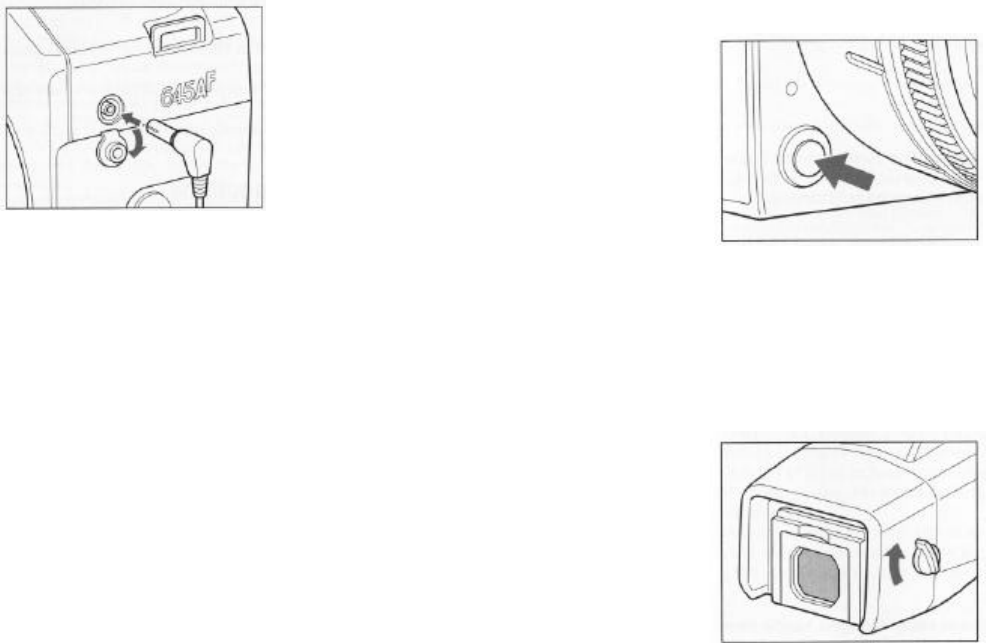
Flash Photography with Flashes other than Metz
1. Mount the flash onto a flash bracket or if it is
a handle-mount style flash attach to the bottom
of the camera.
Do not attach a dedicated flash unit to the
camera's hot shoe that is not designed
specifically for the Mamiya 645AF. To use this
type of flash, use a flash bracket or other
means, and connect the synchro cord to the
camera's synchro terminal.
(See note below about flashes designed
exclusively for other camera makes.)
*Remove the rubber cover when connecting the synchro cord.
After shooting, be sure to attach the rubber cover in order to protect the
synchro terminal's contacts.
2. Turn the exposure mode setting dial and set it to "X" (1/125 sec.) or "M" (manual).
When "M" (manual) is selected, turn the front dial and set the shutter speed to 1/125
sec. or less.
3. Turn the rear dial to set the aperture, then take the picture.
*This camera's synchro contact is an X contact.
*When using MF or M grade flash bulbs, set the shutter speed to 1/30 sec. or
less for MF grade flash bulbs, 1/15 sec. or less for M grade flash bulbs.
WARNING
•
Using flashes designed exclusively for other makes of cameras may
damage the camera's internal mechanisms if connected to the
camera's hotshoe. In this situation, use an off-camera flash bracket
and connect a PC cord to the camera's synchro terminal.
*When using flashes with a flash duration of 1/500 sec. or longer, set the
shutter speed to 1/30 sec. or less.
Depth of Field Preview/Eyepiece Shutter
Depth of Field Preview Button
When the preview button is pressed in, the depth of field for the aperture set on the
camera can be checked by looking through the viewfinder.
After focusing, press in the preview
button.
When using auto focus, the aperture is set to the
displayed aperture while the button is pressed
Use this when there is a strong light source behind the camera or when pressing the
shutter release button without looking through the viewfinder. (This prevents exposure
error due to light entering from the viewfinder.)
Turn the eyepiece shutter lever in the
