Shooting Suited for the Scene - b Scene Mode
38
Taking Pictures for a Panorama
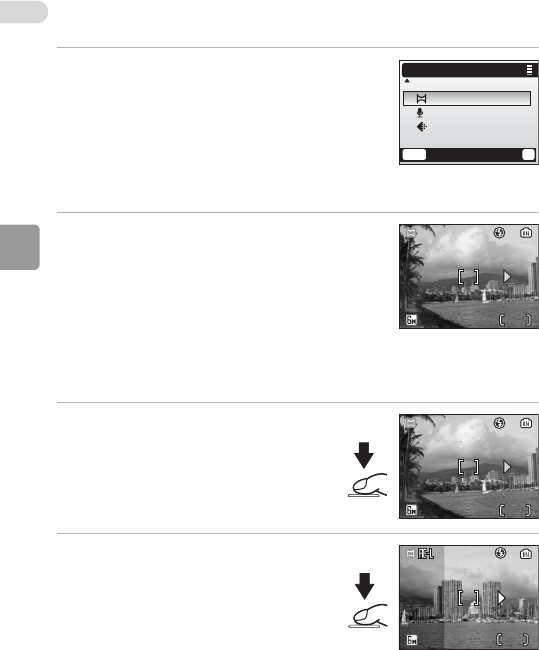
1 Press the multi selector G or H to
choose [F Panorama assist] in the
scene menu and press d.
•The E icon appears in yellow to indicate the
panorama direction (that is, the direction in
which pictures are serialized).
• For information on using the multi selector,
see “Multi Selector” (c 8).
2 Press G, H, I, or J to select the
desired pan direction and press d.
• The arrow showing the selected direction
turns white.
• Before the first picture is taken, the flash
mode (c 24), self-timer (c 26), macro
close-up (c 27), and exposure compensa-
tion (c 28) settings can be adjusted.
• The direction can be re-selected by pressing d again.
3 Take the first picture.
• The first picture is displayed in the
first third of the monitor.
4 Take the second picture.
• Compose the next picture so that it
overlaps the first picture.
• Repeat until you have taken the
necessary number of pictures to
complete the scene.
MENU
Exit
?
Scene menu
SCN
Back light
Panorama assist
Voice recording
Image mode
L
5
5
5
5
4
4


