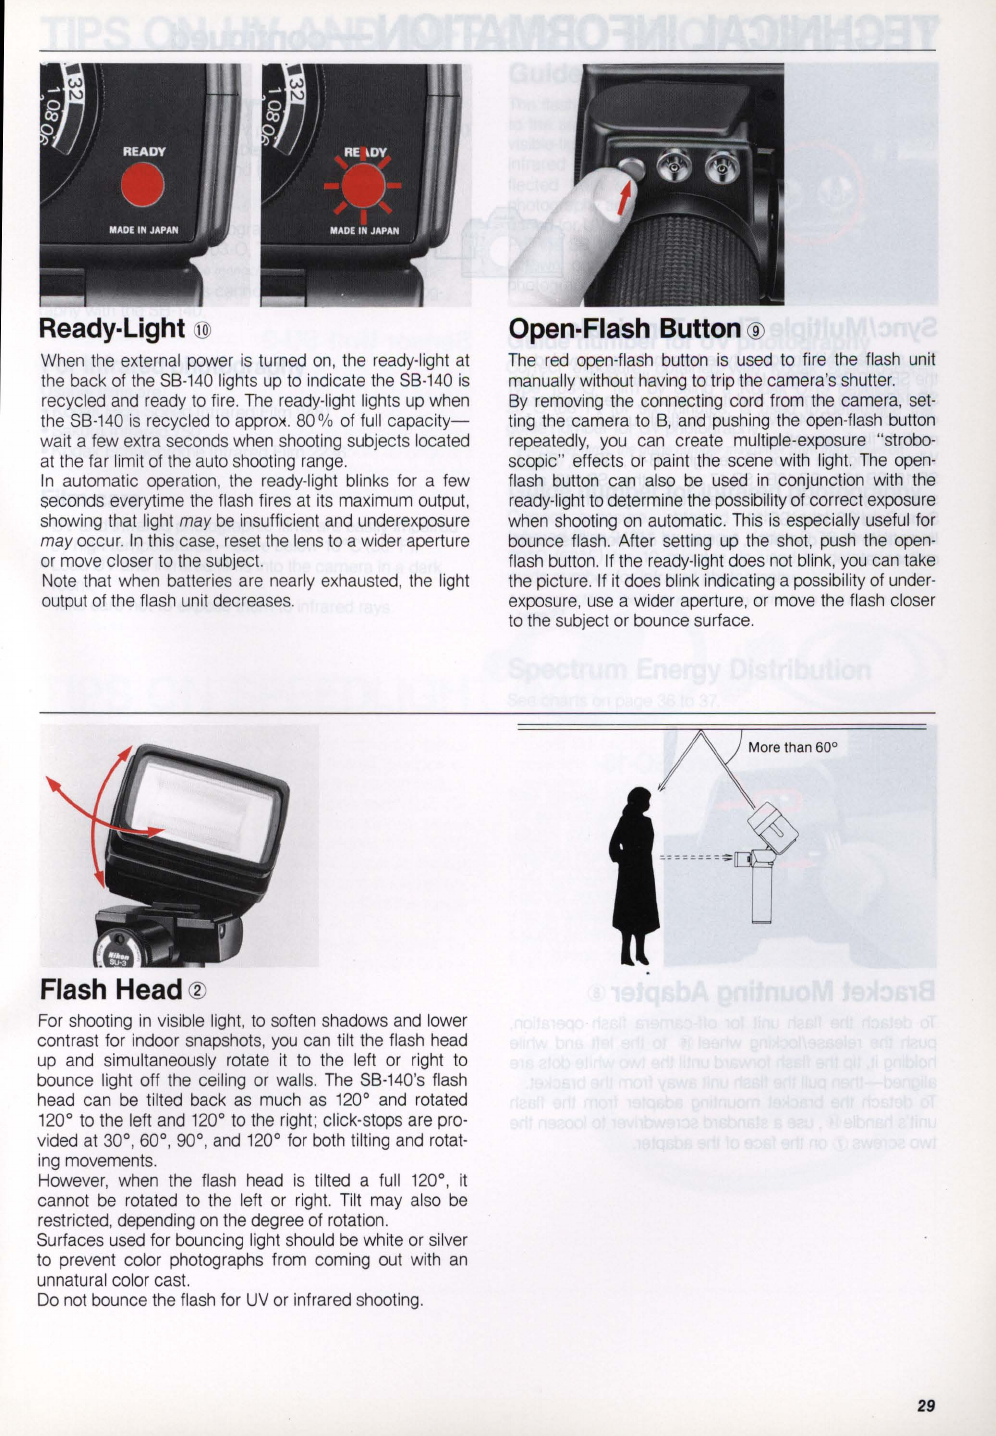
Ready-Light
@
When the external power
is
turned
on,
the ready-light at
the back of the 8B-140 lights up to indicate the 8B-
140
is
recycled and ready to fire. The ready-light lights up when
the 8B-
140
is
recycled to appro)(.
80
% of full
capacity-
wait a few extra seconds when shooting subjects located
at the far limit of the auto shooting range.
In
automatic operation, the
re
ady-light blinks for a few
seconds everytime the flash fires at its maximum output,
showing that light may
be
insufficient and underexposure
may
occur.
In
this case, reset the lens to a wider aperture
or move closer to the subject.
Note that when batteri
es
are nearly exhausted, the light
output of the flash unit decreases.
Flash
Head @
For shooting
in
visible light, to soften shadows and lower
contrast for indoor snapshots,
you
can tilt the flash head
up and simultaneously rotate
it
to the left or right to
bounce light off the ceiling or walls. The
SB
-
140
's flash
head can be tilted back
as
much
as
120° and rotated
120° to the left and 120° to the right; click-stops are pro-
vided at 30°, 60°, 90°, and
120
° for both tilting and rotat-
ing movements.
However, when the flash head
is
tilted a full 120°,
it
cannot
be
rotated to the left or right. Tilt may also
be
restricted, depending
on
the degree of rotation.
Surfaces used for bouncing light should
be
white or silver
to prevent color photographs from coming out with
an
unnatural color cast.
Do not bounce the flash for
UV
or infrared shooting.
Open-Flash
Button
®
The
red
open-flash button
is
used to fire the flash unit
manually without having to trip the camera's shutter.
By removing the connecting cord from the camera, set-
ting the camera to B, and pushing the open-fl
ash
button
repeatedly,
you
can create multiple-exposure "strobo-
scopic" effects or paint the scene with light.
The
open-
flash button can also be used
in
conjunction with the
ready-light to determine the possibility of correct exposure
when shooting
on
automatic. This
is
especially useful for
bounce flash. After setting up the shot, push the open-
flash button. If the ready-light does not blink,
you
can take
the picture.
If
it
does blink indicating a possibility of under-
exposure, use a wider aperture, or move the flash closer
to the subject or bounce surface.
29


