


31
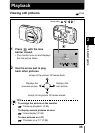
Setting the date and time
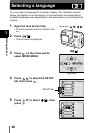
Getting started
1
6
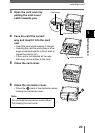
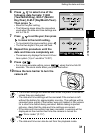
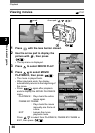
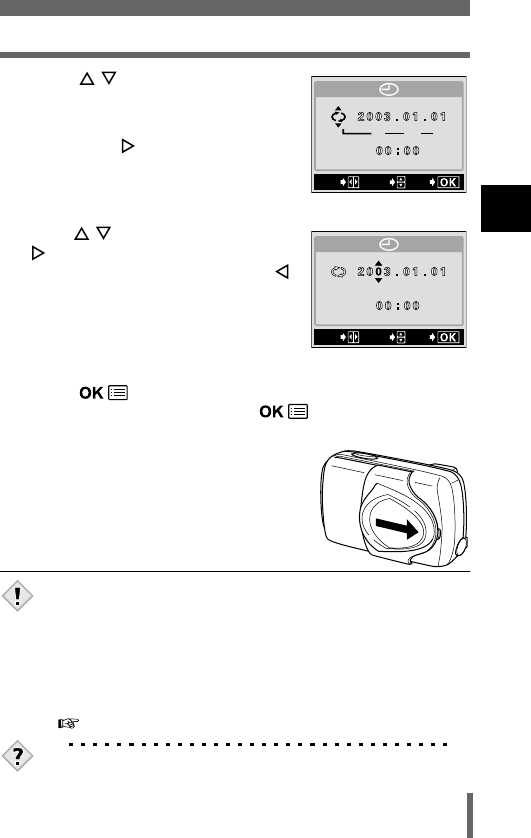
Press to select one of the
following date formats: Y-M-D
(Year/Month/Day), M-D-Y (Month/
Day/Year), D-M-Y (Day/Month/Year).
Then press
.
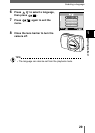
• Move to the year setting.
• The following steps show the procedure
used when the date and time settings are
set to Y-M-D.
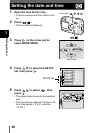
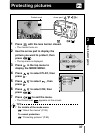
7
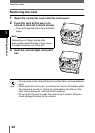
Press to set the year, then press
to move to the month setting.
• To move back to the previous setting, press .
•
The first two digits of the year are fixed.
8
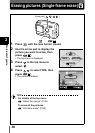
Repeat this procedure until the
date and time are completely set.
• The camera only displays the time in 24-hour
time system (“2 p.m” would be “14:00”).
9
Press .
• For a more accurate setting, press when the time hits 00
seconds. The clock starts when you press the button.
10
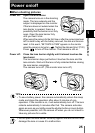
Close the lens barrier to turn the
camera off.
• The current settings are retained even when the power is turned off,
unless they are readjusted.
• The date and time settings will be canceled if the camera is left
without the battery for approximately one day. The settings will be
canceled more quickly if the battery was only loaded in the camera
for a short time before being removed. Before taking important
pictures, check that the date and time settings are correct.
• If the date and time setting has been canceled, a warning will be
displayed on the monitor next time the camera is turned on.
“Error codes” (P.117)
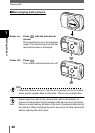
TIPS
• The date and time can also be set from the playback mode.
Y M D
SELECt
GO
SEt
SELECt
GO
SEt
Note