


19En
En
WHITE BALANCE
This camera incorporates electronic circuitry to automatically adjust color
hues so that they appear more natural (auto white balance control circuit). If
the auto white balance does not produce accurate results due to weather or
lighting conditions, you can control the white balance manually.
Note
White balance settings
Auto (AUTO) : The white balance is controlled automatically.
(No mark is displayed on the LCD monitor)
Clear Sky ( ) : Outdoors under a clear sky.
Cloudy Sky ( ) : Outdoors under a cloudy sky.
Incandescent Lamp ( ) : Under incandescent lighting.
Fluorescent Lamp ( ) : Under fluorescent lighting.
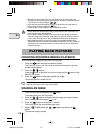
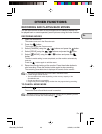
1 Open the lens barrier.
The camera turns on in the Record mode.
2 Press the button.
The monitor shows the Camera menu.
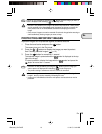
3 Select [PICTURE] using the / buttons and press the button.
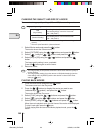
4 Select [
] using the / buttons and press the button.
5 Select [AUTO], [
], [ ], [ ] or [ ] using the /
buttons and press the button.
The white balance setting is now completed.
Press the
button again to exit the menu.
6 Take a picture.
Note
• The white balance setting returns to AUTO (default setting) when the clear
settings value is [RESET] and the lens barrier is closed. See “Clear settings”
( p.27).
• Under a combination of artificial and natural lighting or under fluorescent
lighting, natural hues may be difficult to achieve on the AUTO mode.
• To obtain an image coloring that resembles what you see under incandescent
lighting, set the white balance mode to [ ].
Caution
• Under special light source conditions, the white balance control circuitry may
not work completely as intended.
• When the flash is fired with a white balance setting other than AUTO, be sure
to check the color tone on the monitor to check if the white balance value set is
optimal.
• When the flash is fired with a white balance setting other than AUTO, colors
may appear different in the resulting images from the colors you see on the
monitor.
1/Basic04_C2-E.65E 8/22/01, 5:42 PM19